
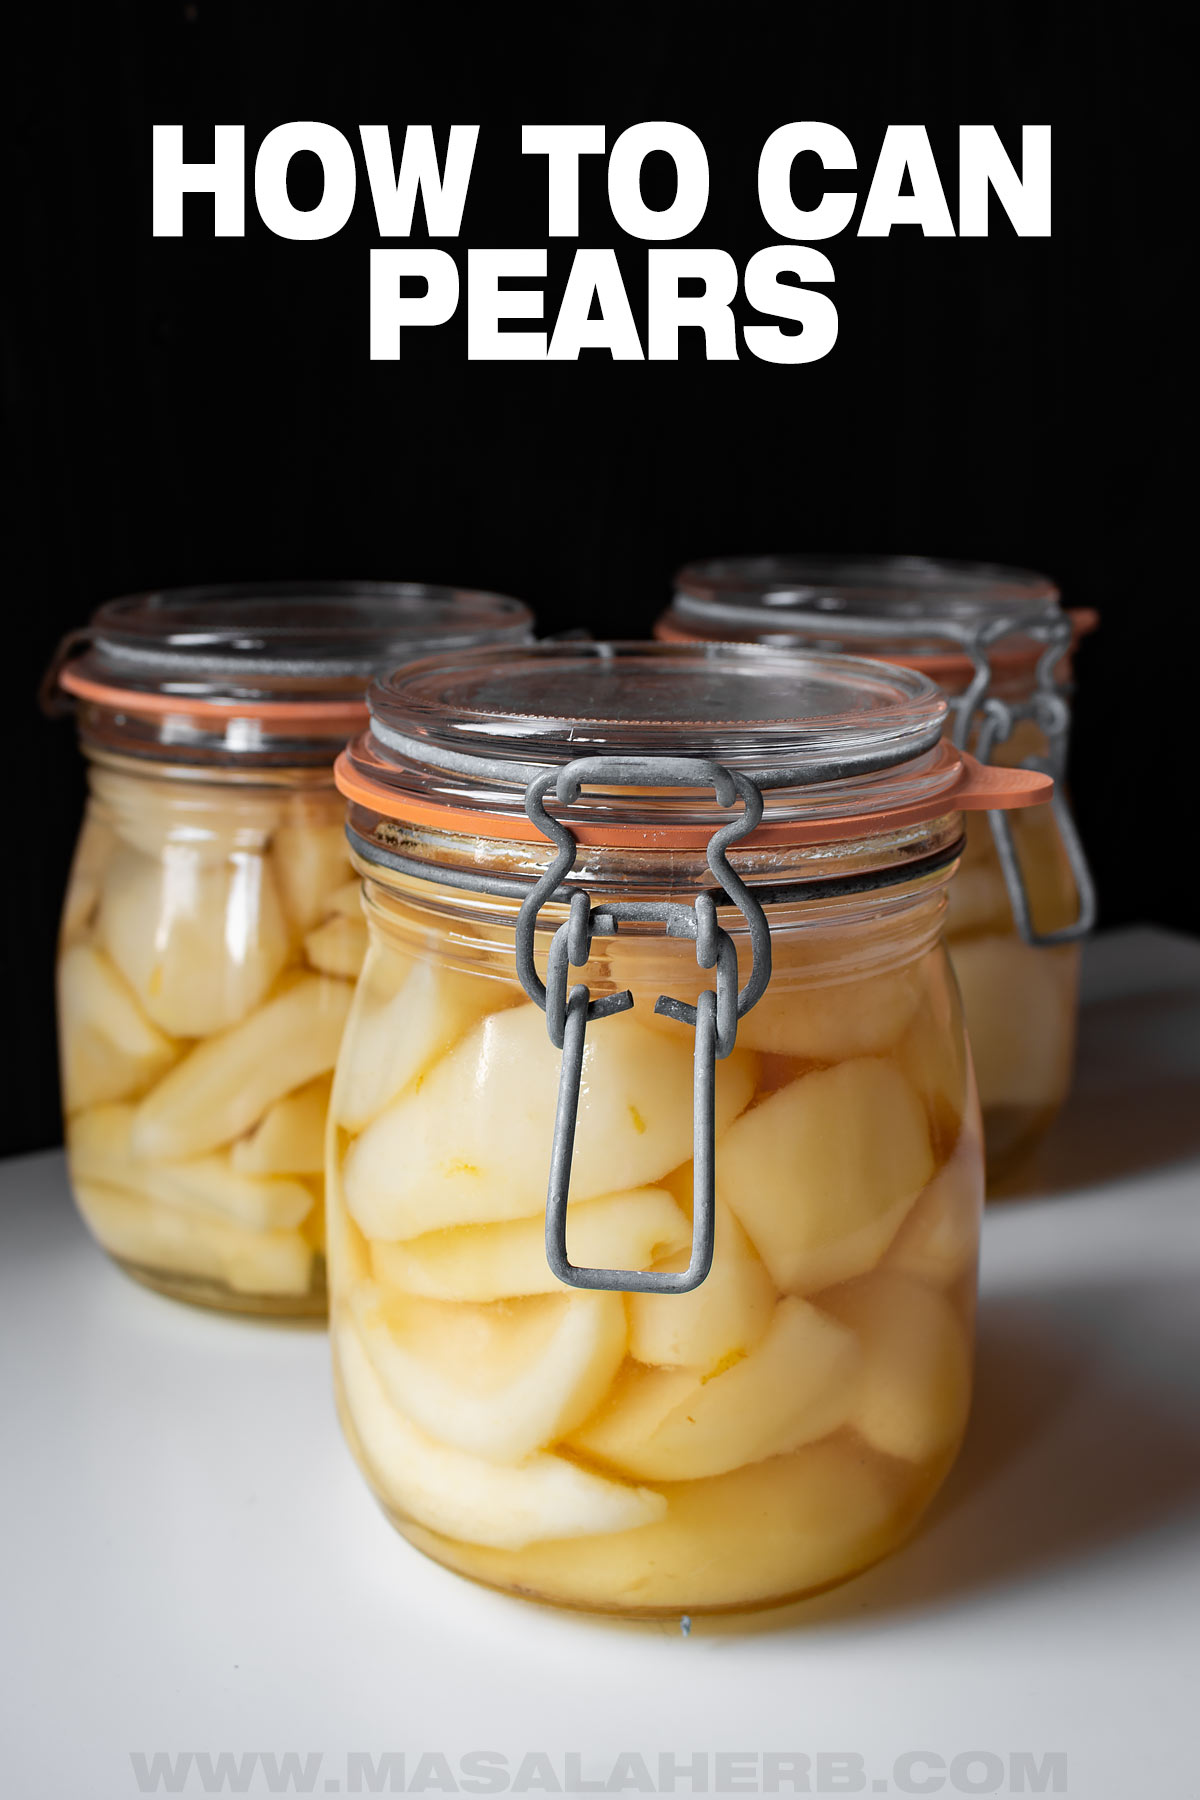
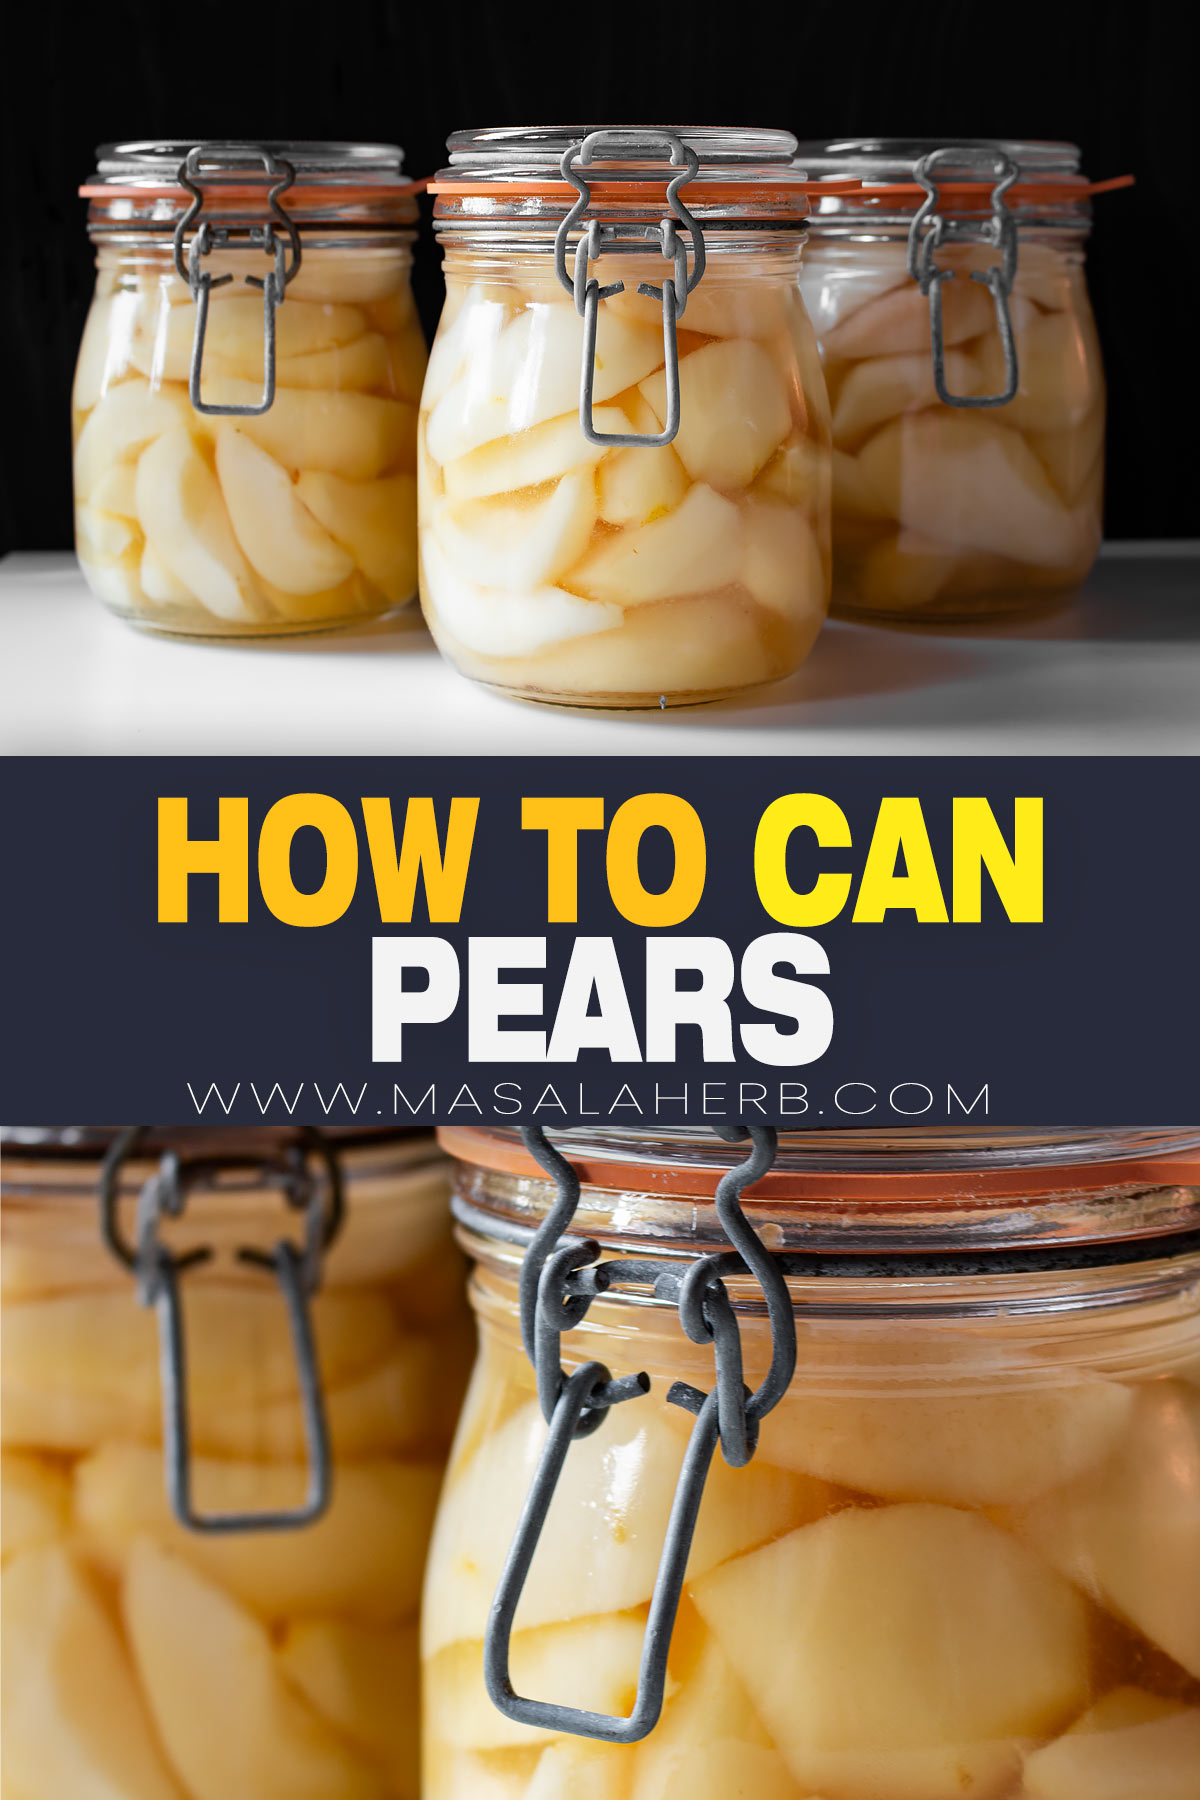
Make home canned pears in syrup from scratch. This is as per French canning customs, and it's our family recipe.
I take you through the process so that you successfully prepare a batch of home canned pears.

Global Food Recipes
with Spices and Herbs
Free E-Book available for a limited time. Grab yours now and get instantly inspired!
You missed out!
Jump to:
What are canned pears?
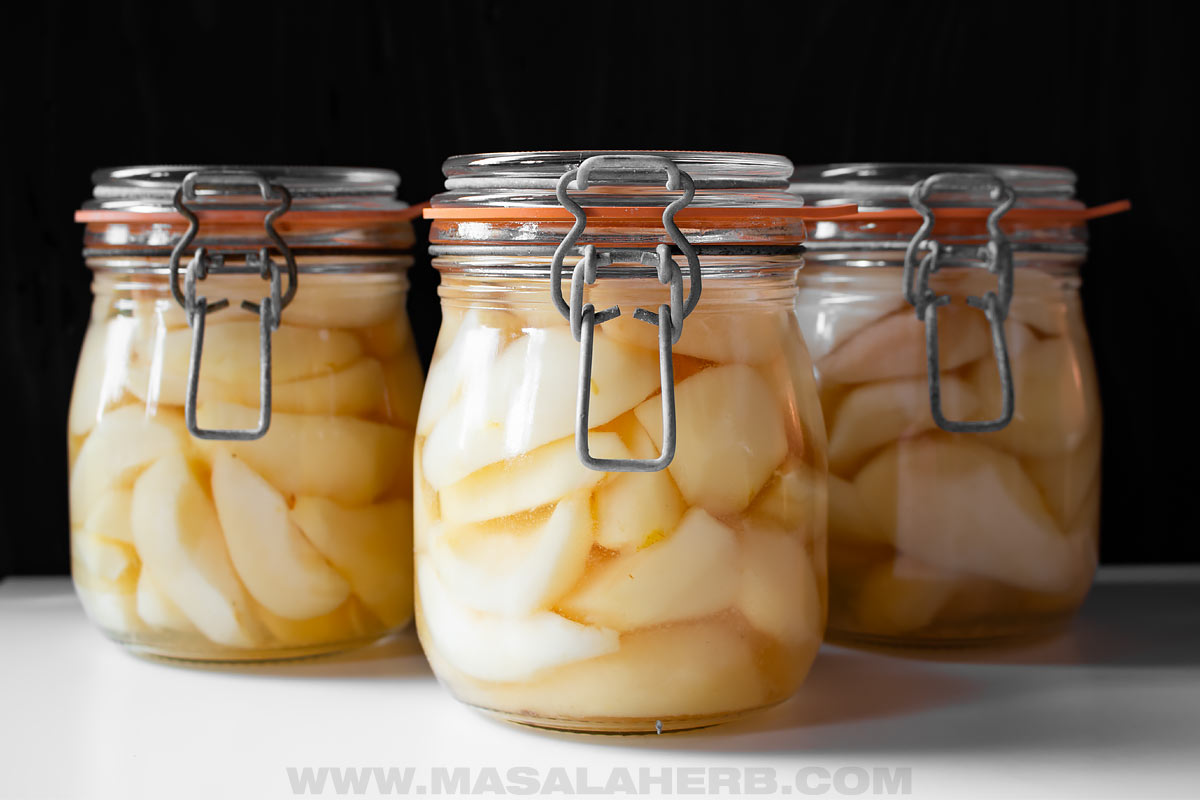
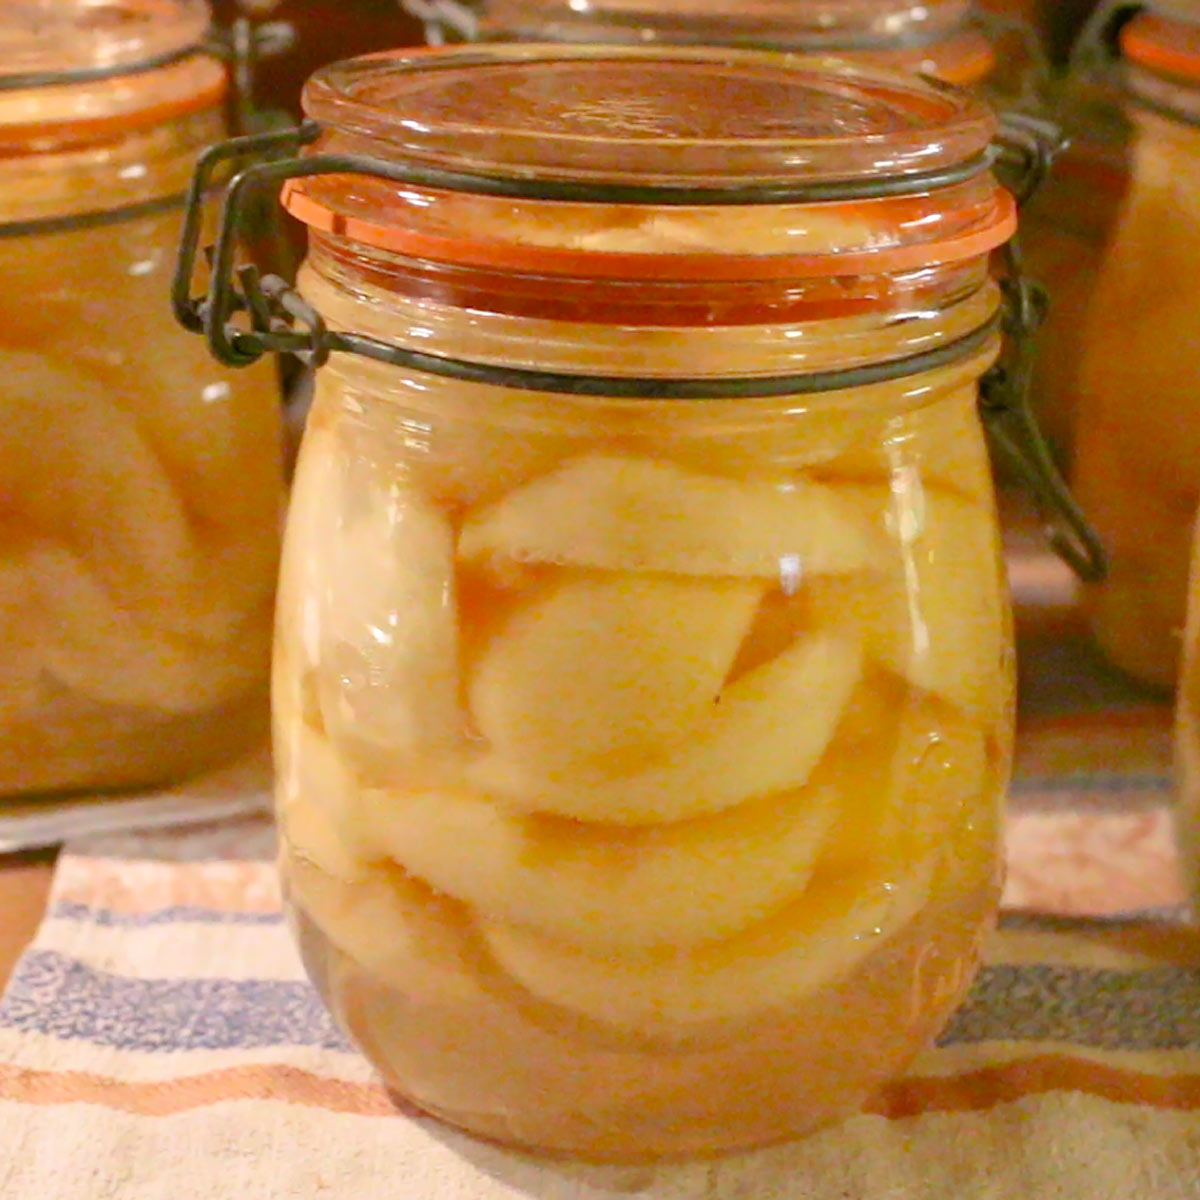
Canned pears are fresh, whole, halved, or quartered peeled pears that are covered in a medium to light syrup in a canning jar.
The jars are canned in a canner pot to increase the shelf life by killing germs. This technique is known as water bath canning.
Canning the fruits increases the shelf life to 12 to 24 months. Home canning is a predecessor of the commercial canned fruits that you see in stores.
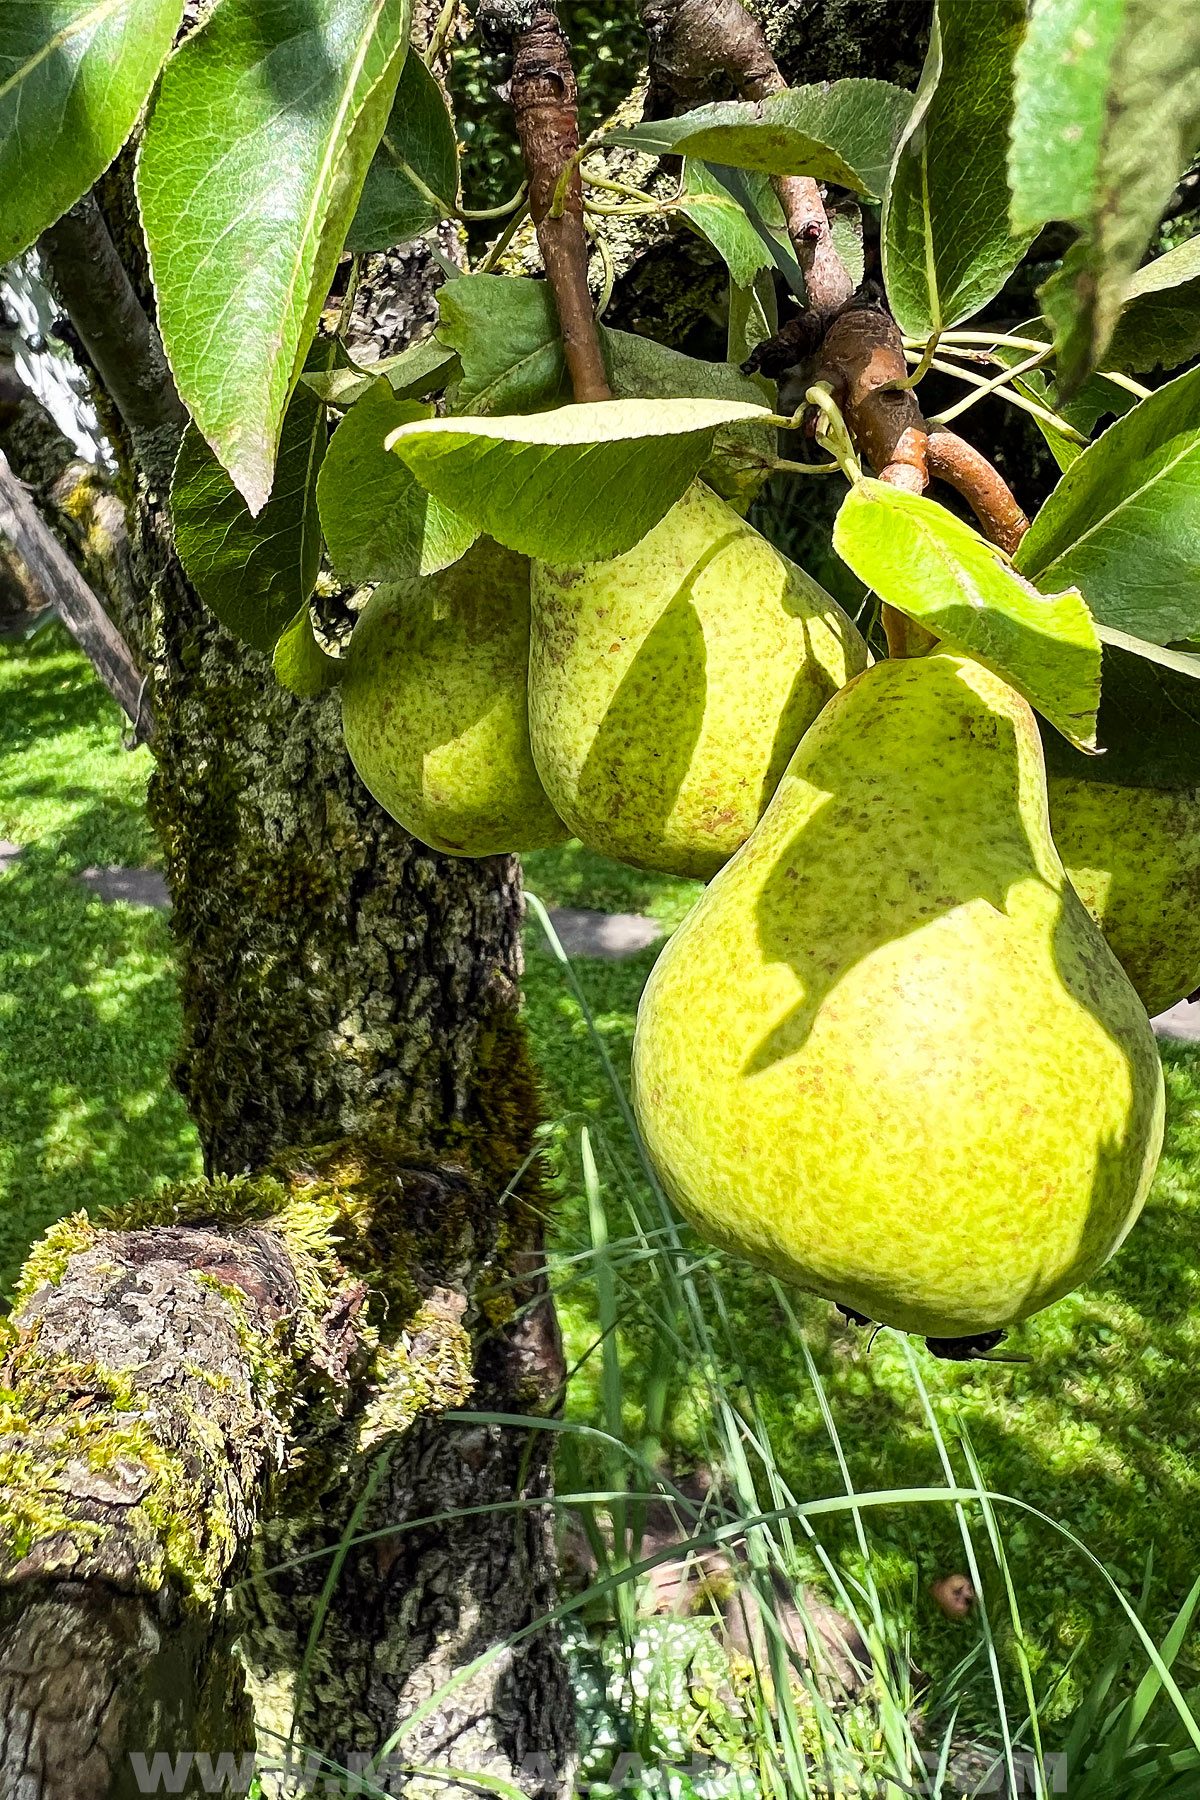
Harvest season always brings plenty of extra fruits that we don't eat in one go. The solution is to home-can the pears so that we get to enjoy them in the colder months too.
Other ways to preserve your pears for colder months include making pear jam or drying your pears into chips.
Ingredient Notes
You will need only 3 ingredients for the base recipe to make this from scratch at home.
The full recipe with US and metric measurement details can be found further below in the recipe card.
- Pears – Fresh pears of any variety. I do prefer firm pear varieties such as Bosc, Anjou or Concord, but you can use a pear variety such as Bartlett pears too.
- Water – To prepare the medium to light syrup
- Sugar – Plain regular sugar to dissolve and heat in the water to make the syrup.
Process Overview
Step 1
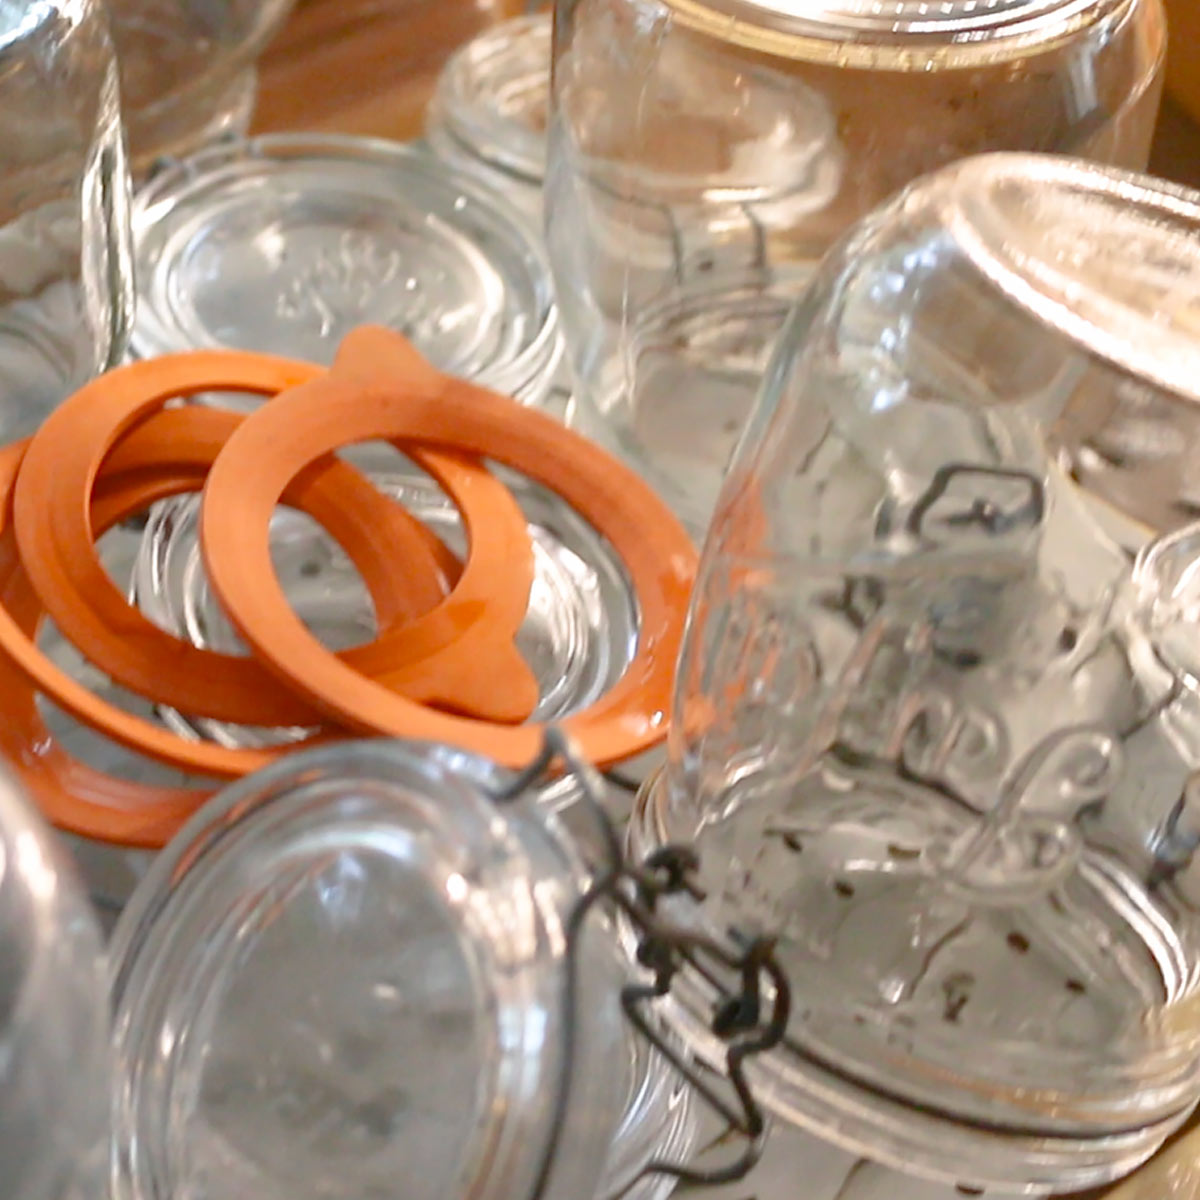
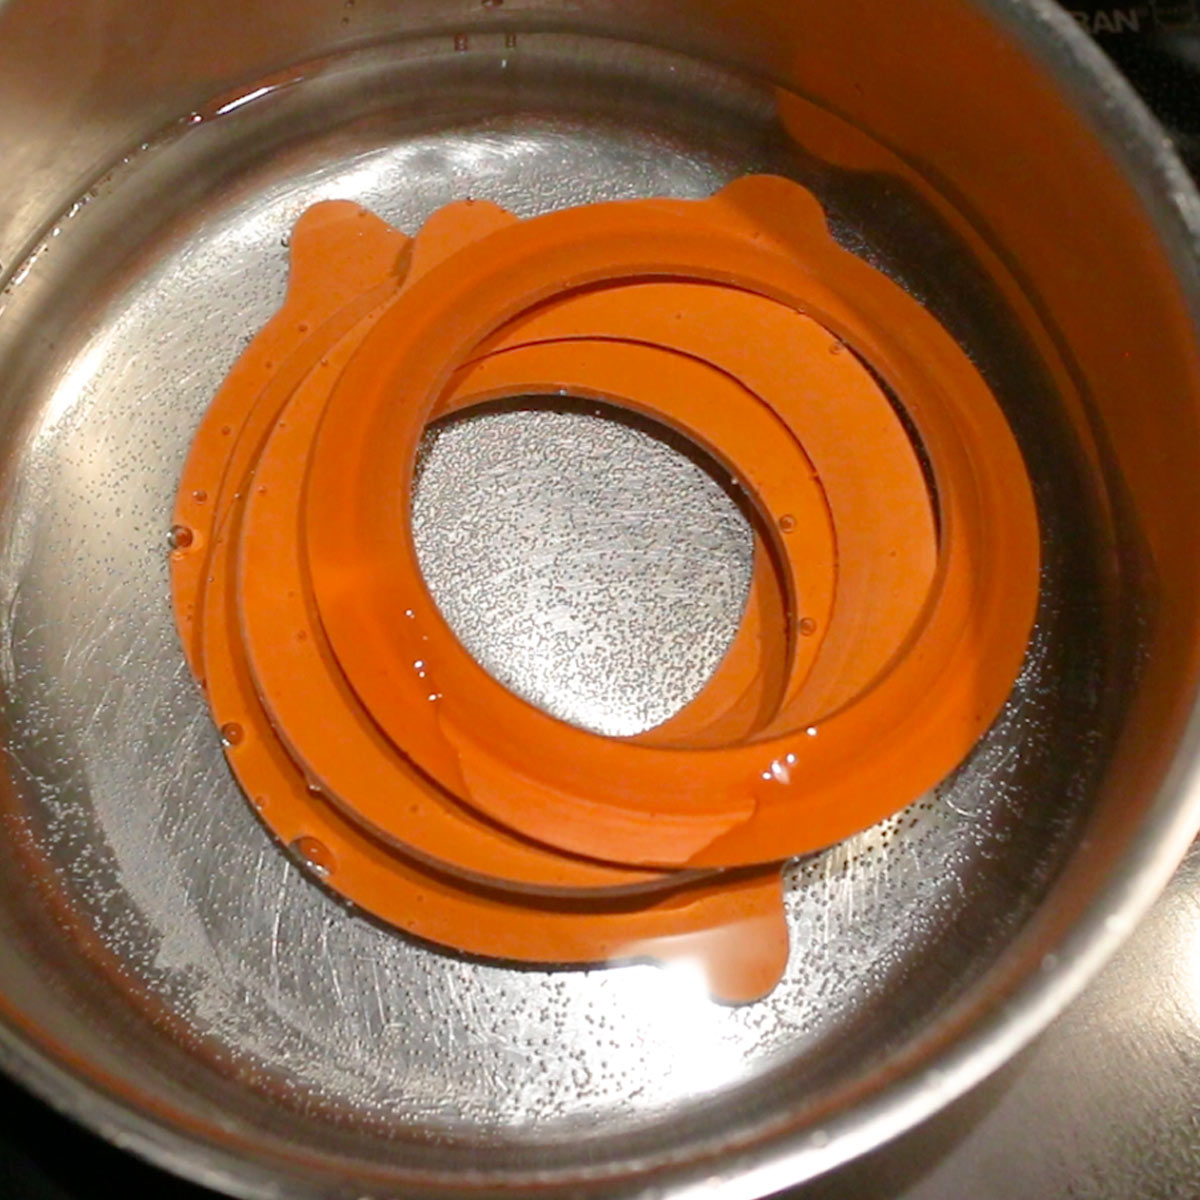
Wash your jars well with soapy water, also the rubber gaskets.
Boil rubber gaskets in some water in a small pan to kill all germs.
Step 2
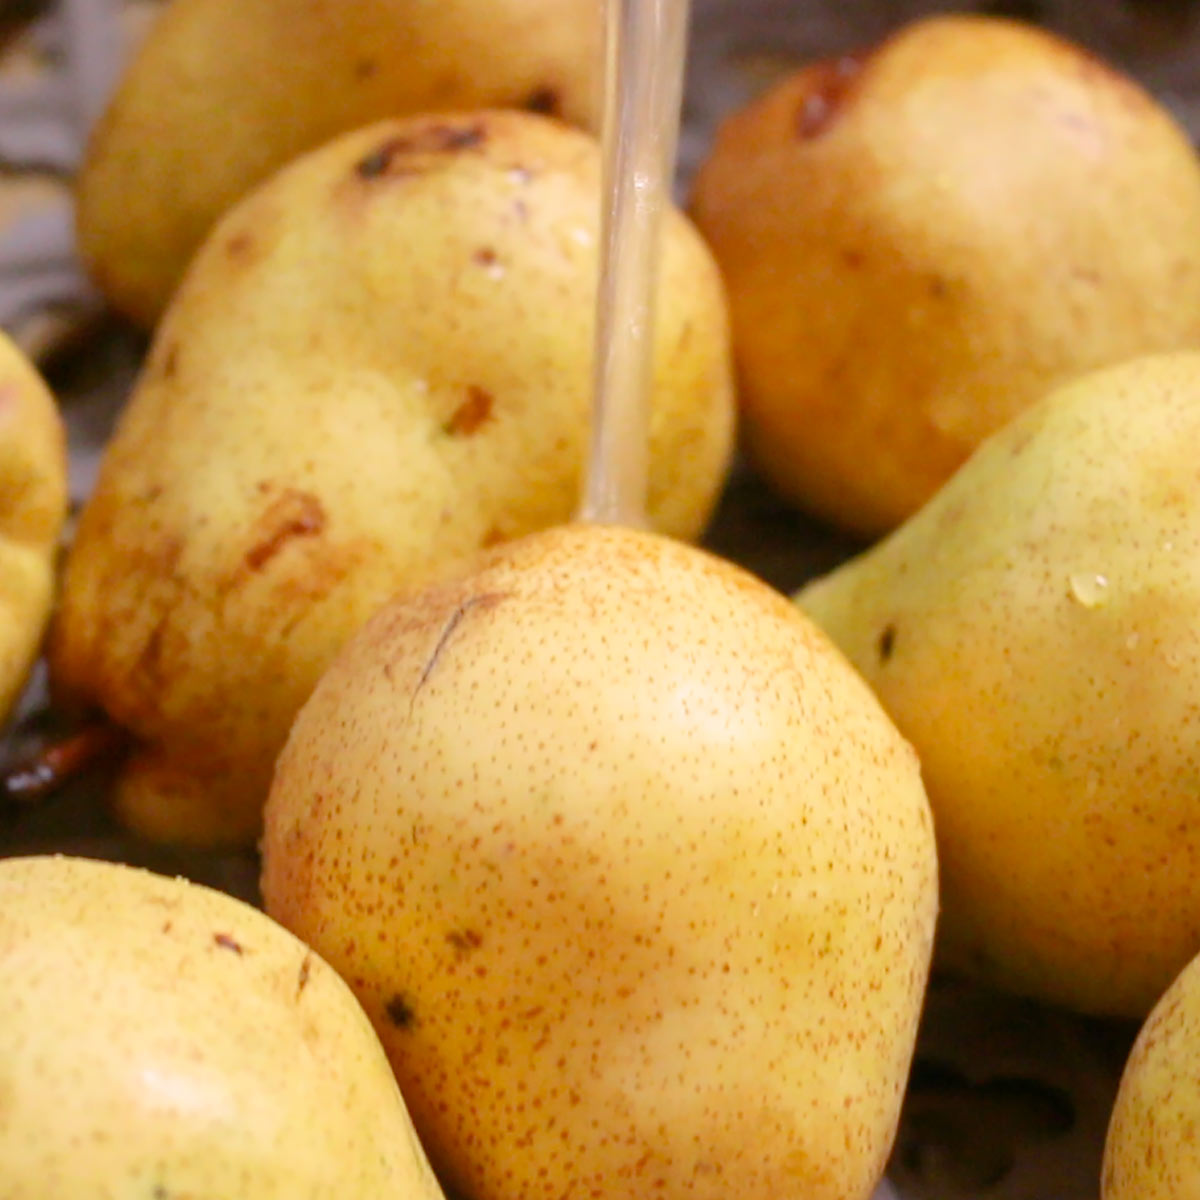
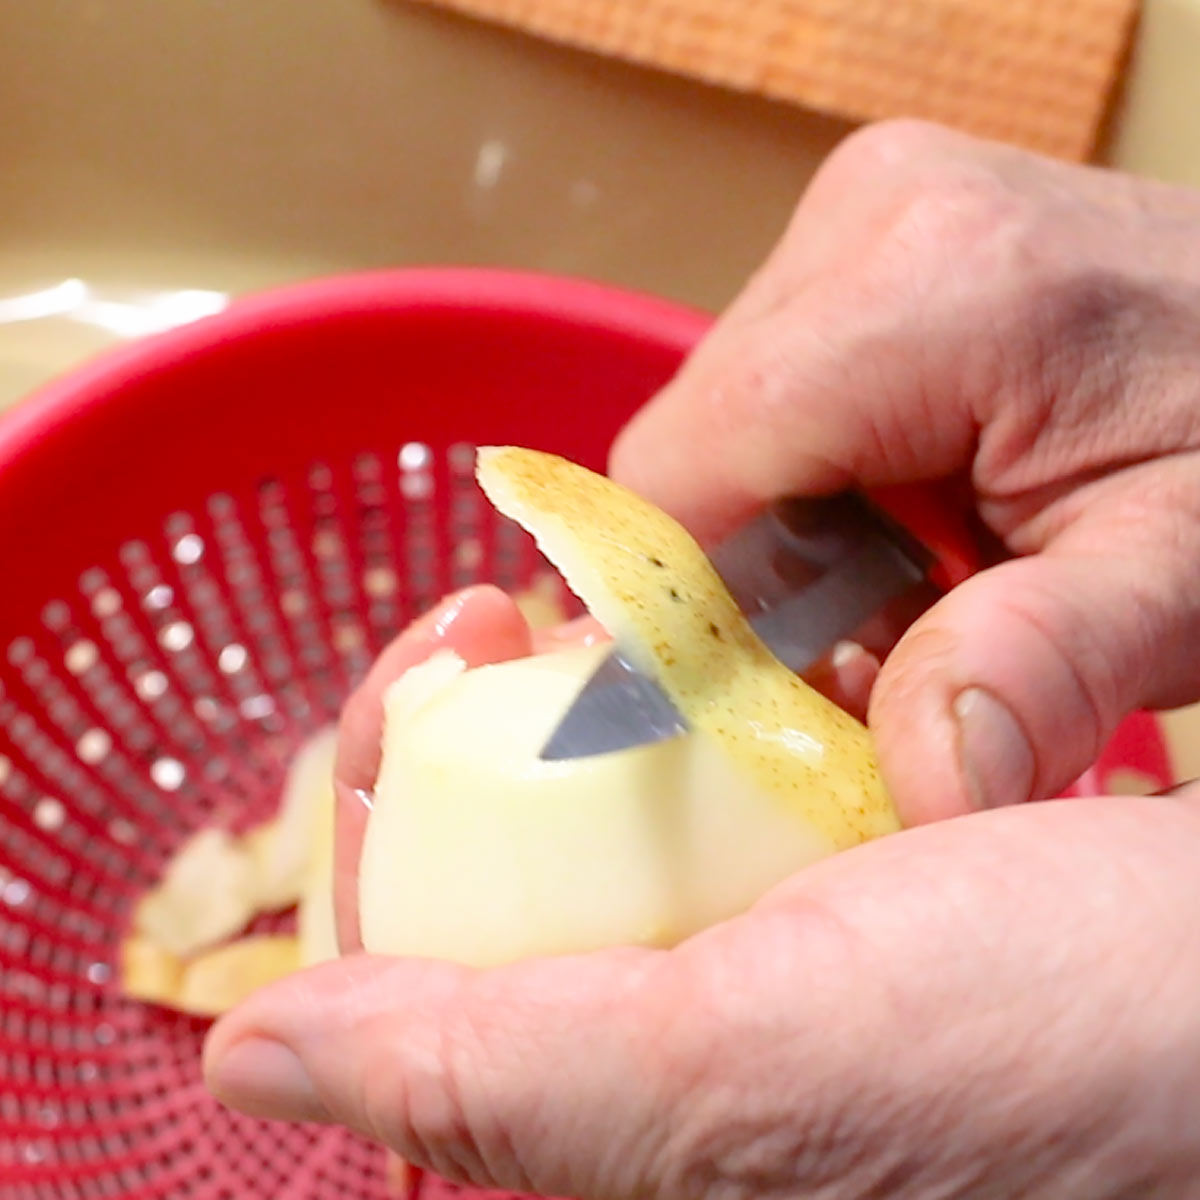
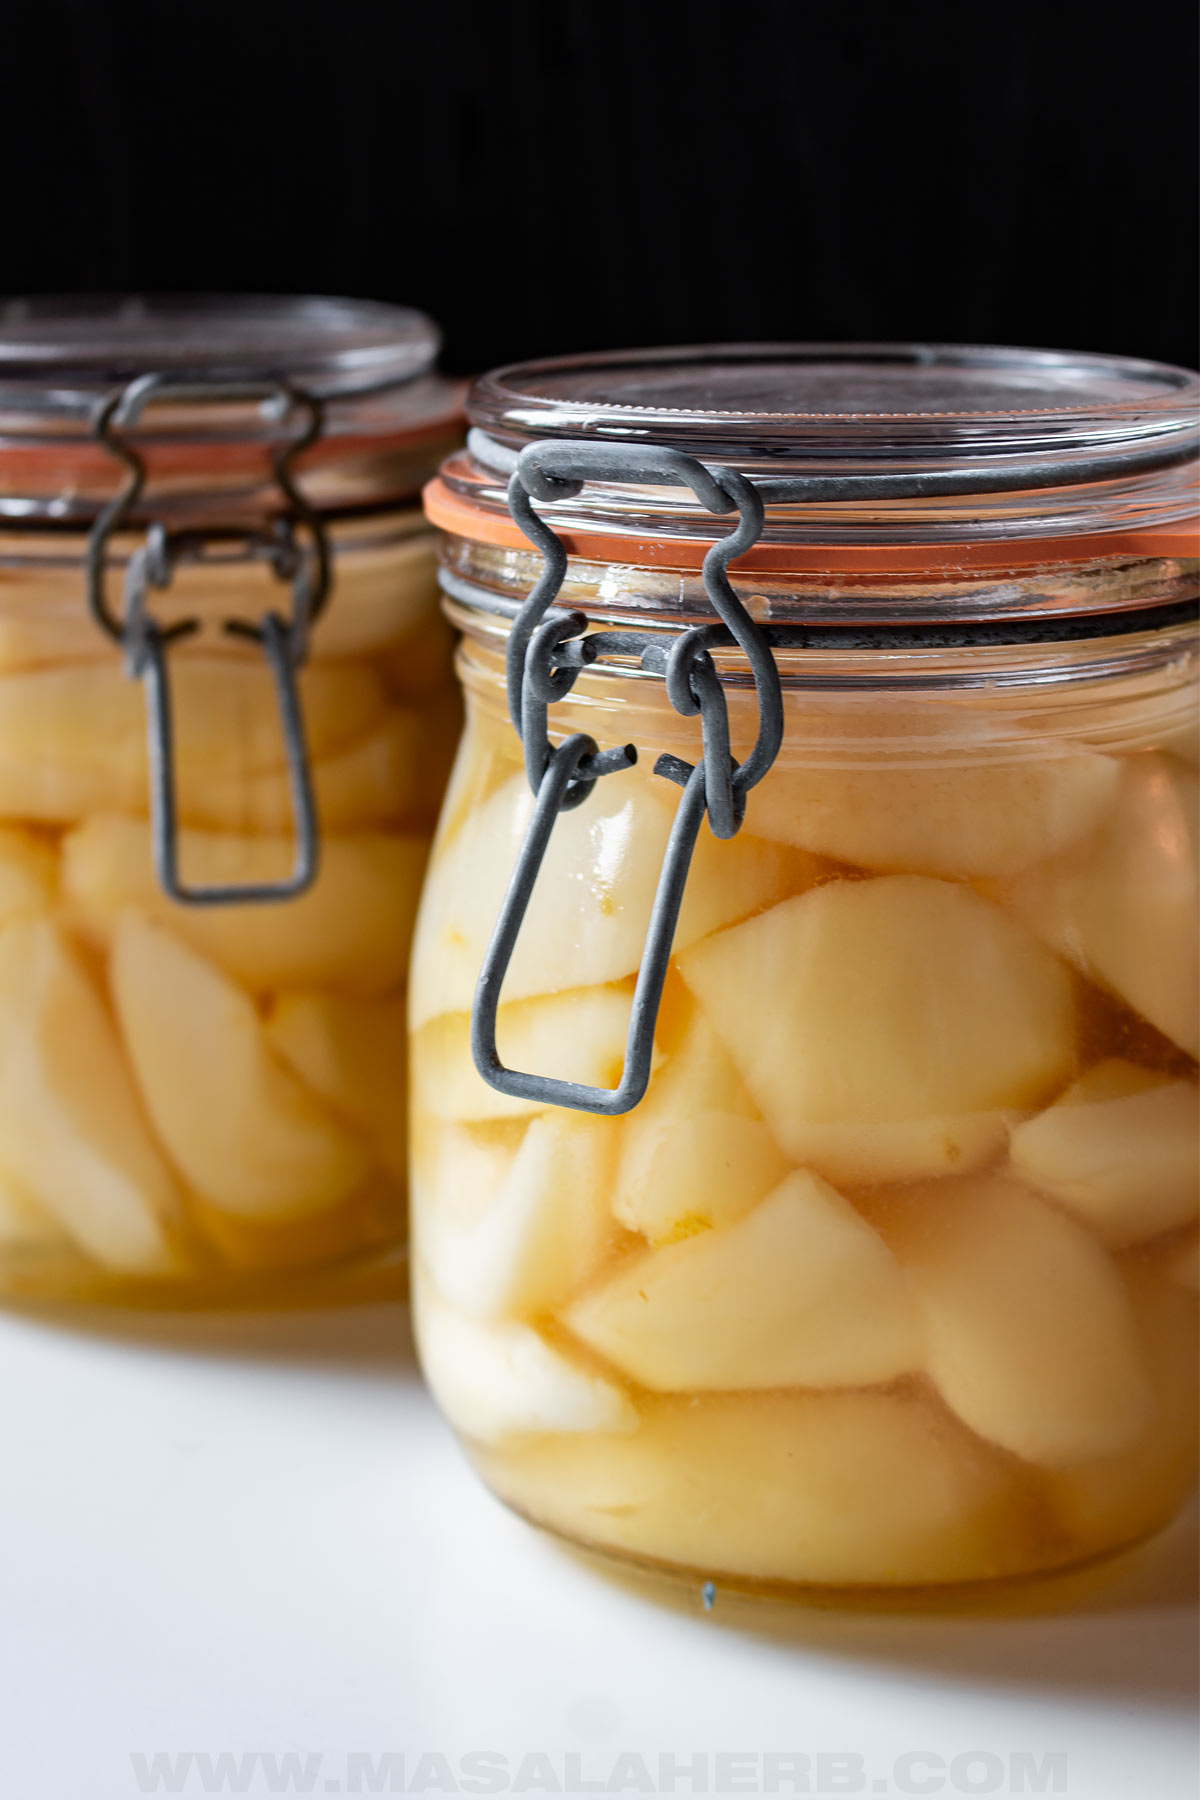
Rinse fruits, peel and cut open to take out the seed core. Cut the pears into quarters.
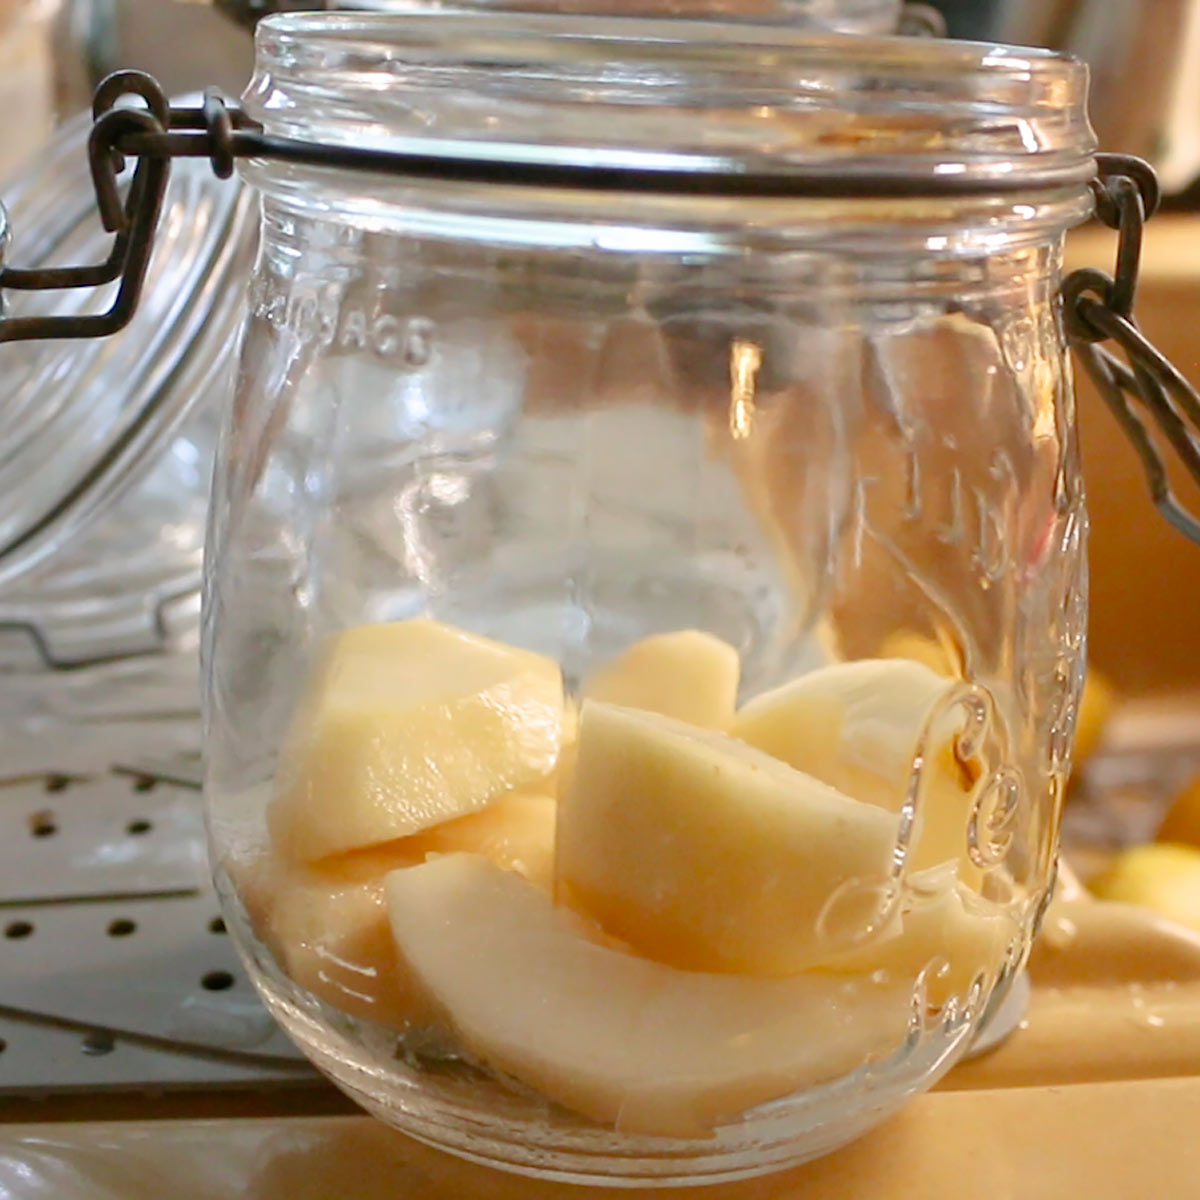
Place fruits into jars and fill each jar up to the top.

Step 3
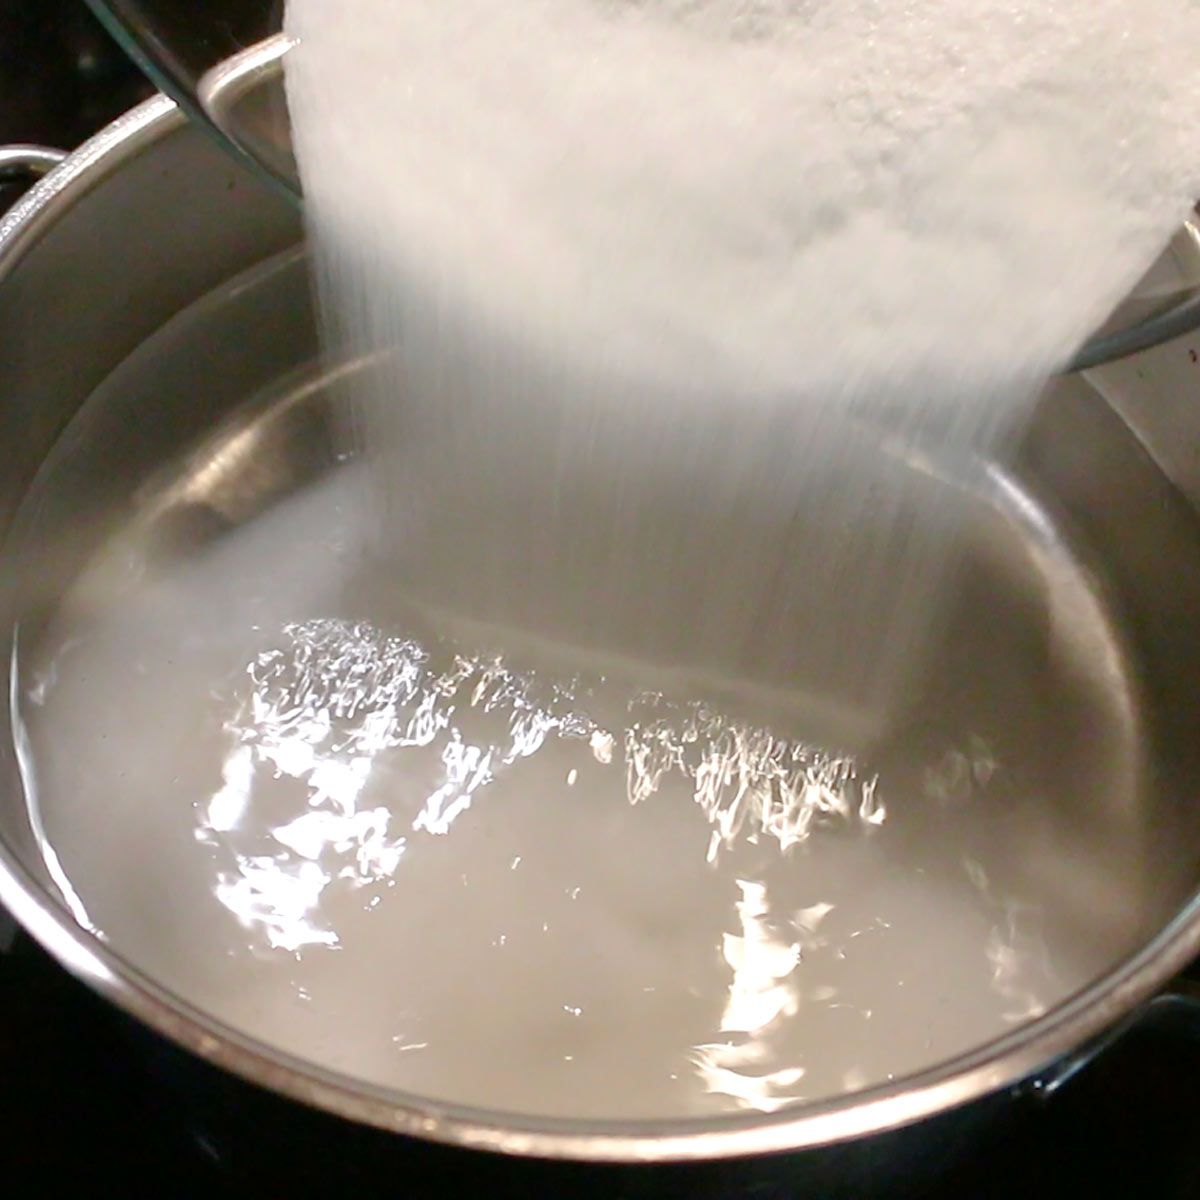
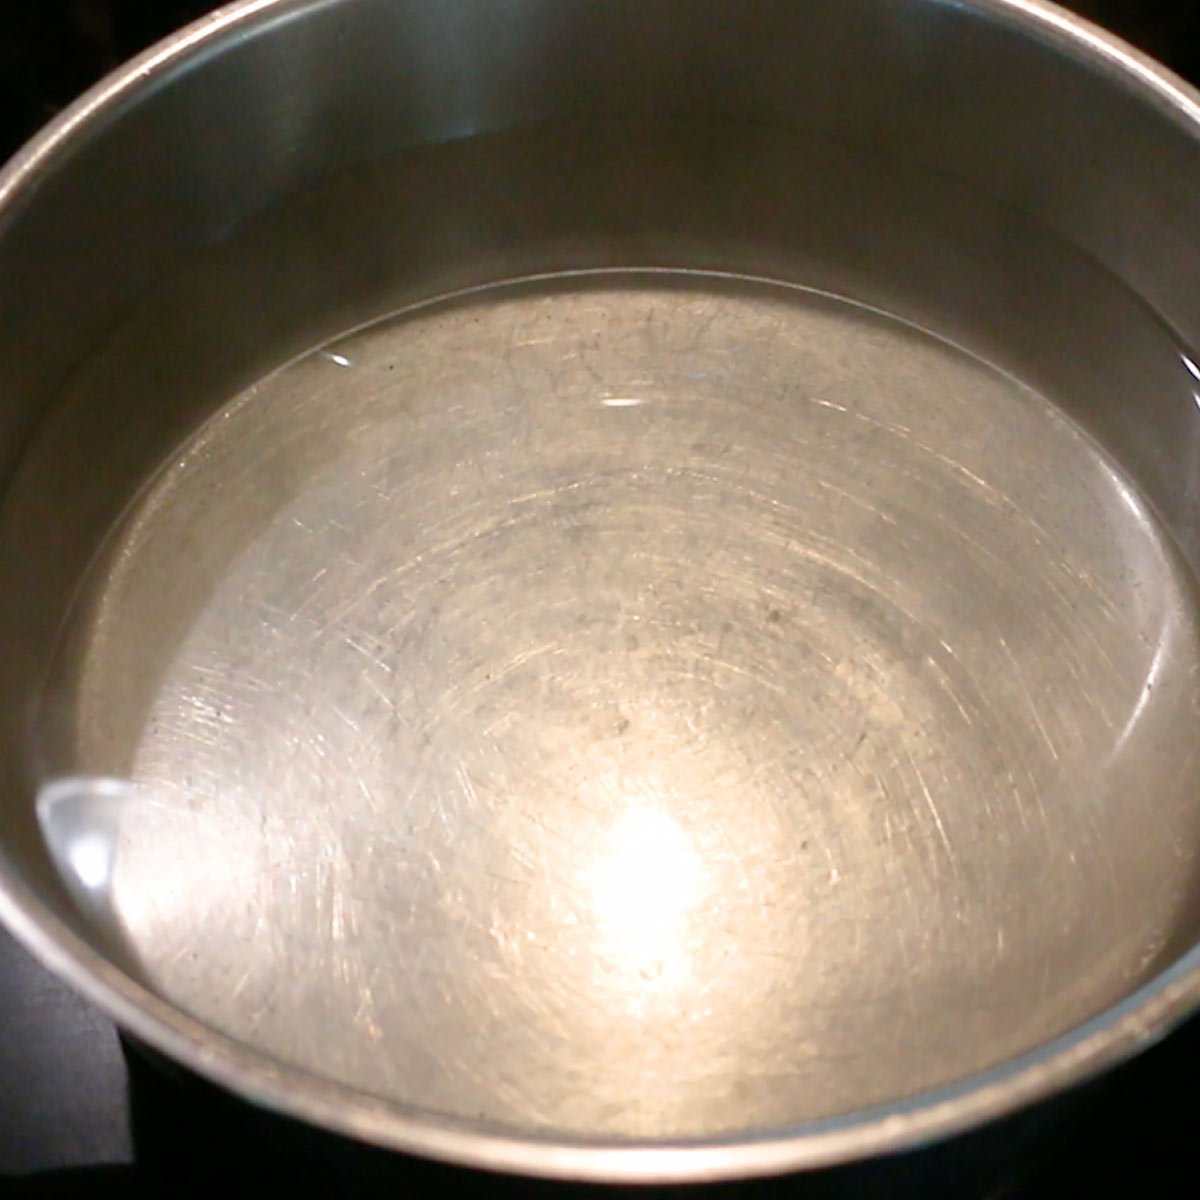
Prepare light water syrup by heating water and sugar (2:1 weight measurement ratio) in a pot until the sugar has dissolved in the water.
Step 4
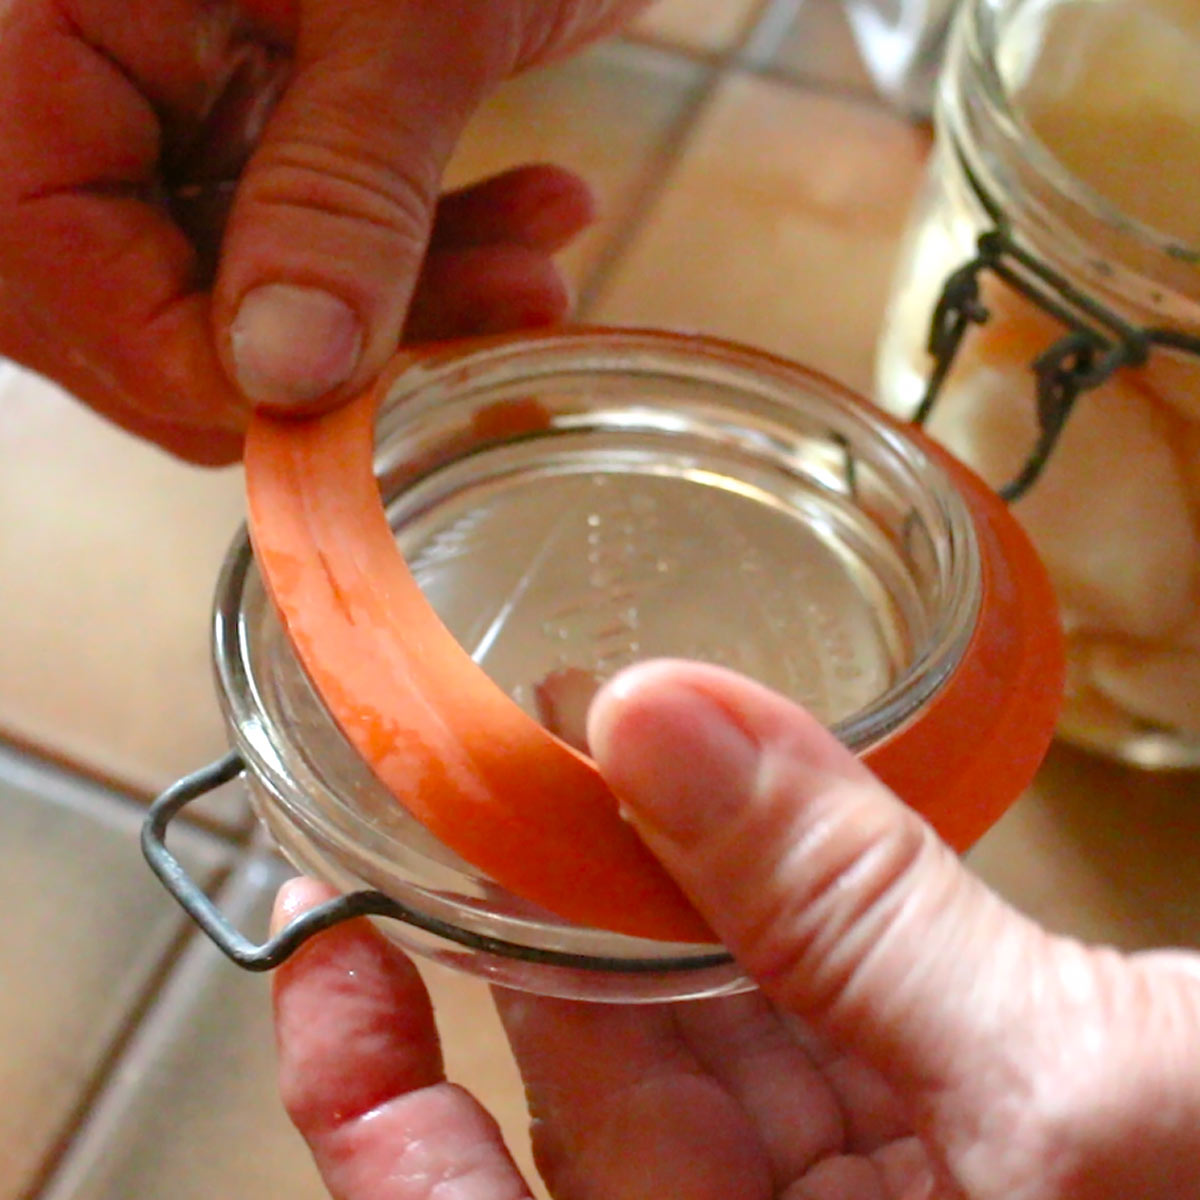
Place a rubber gasket around the lid. It should be placed properly along the lid shape.
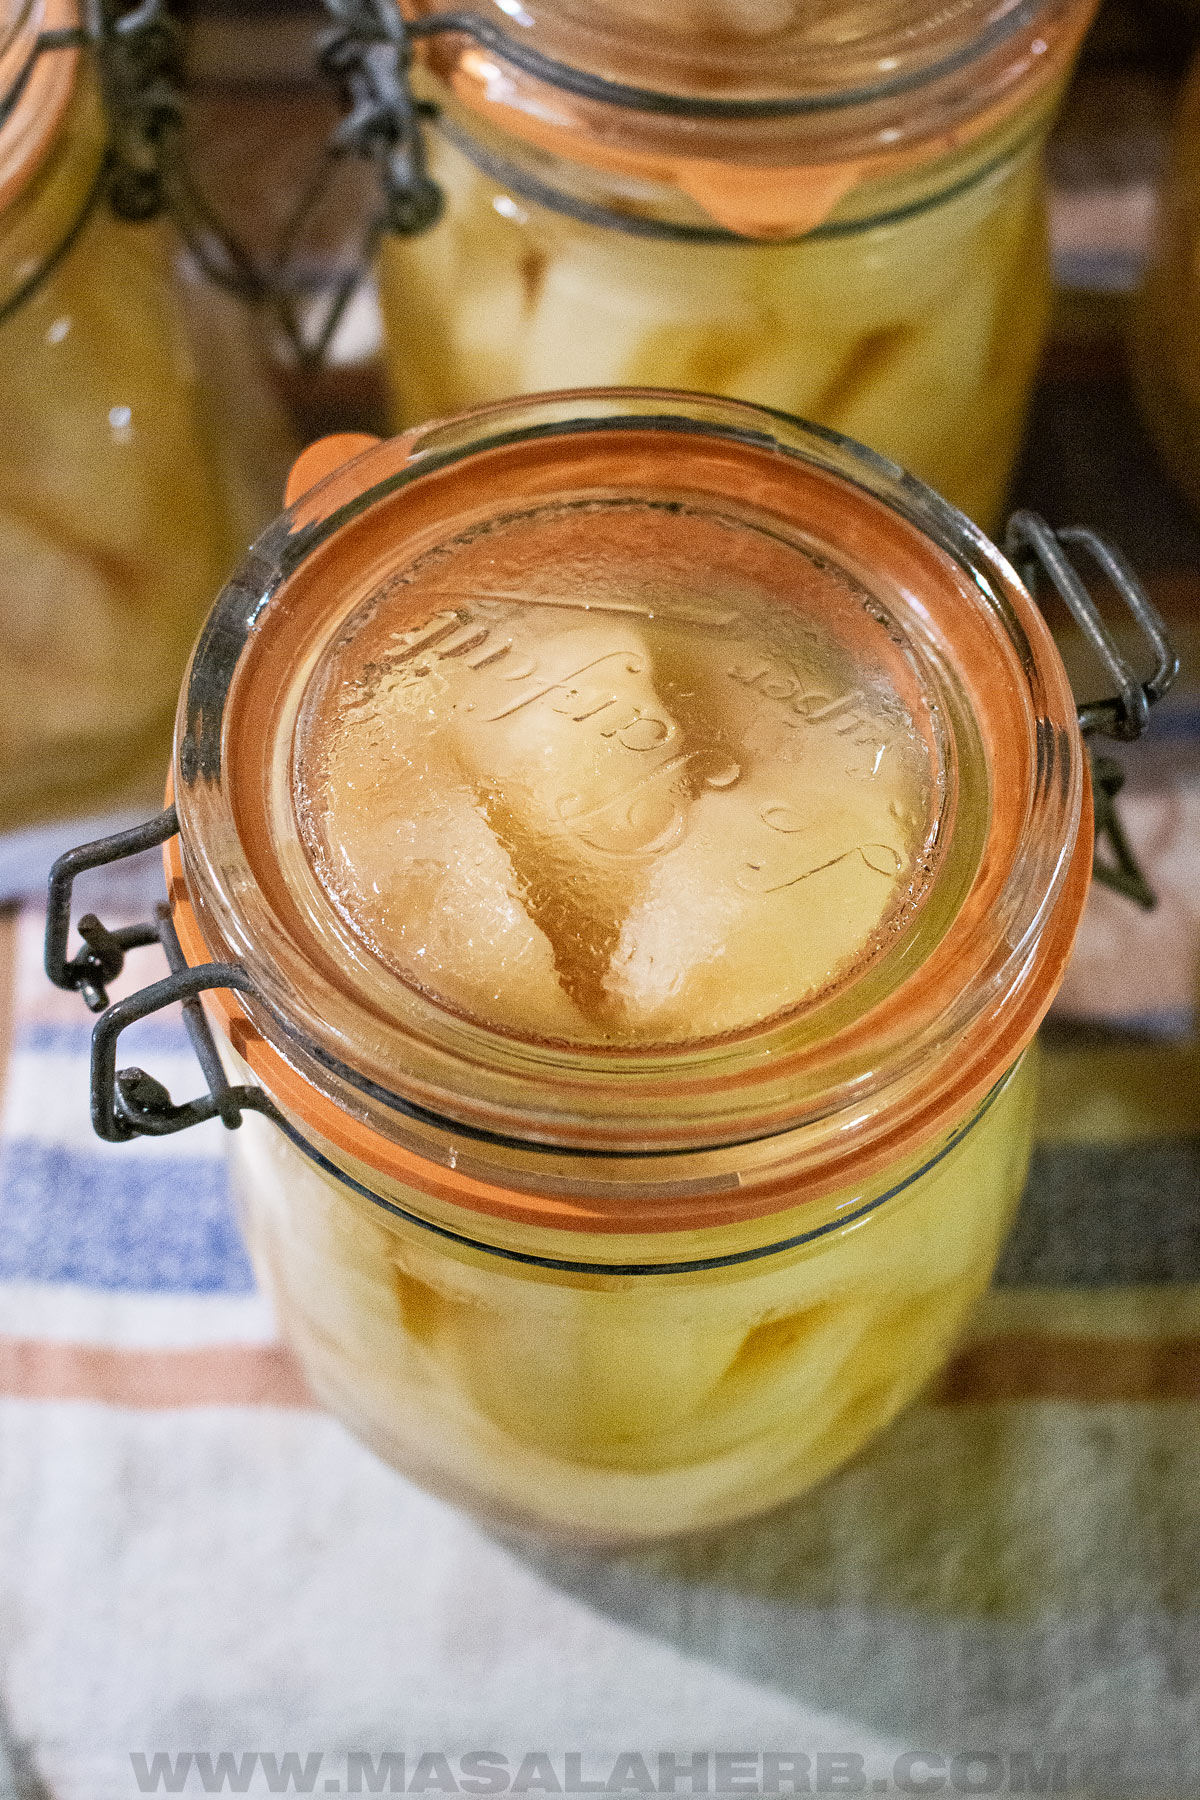
With a ladle, pour the prepared hot syrup liquids over the pears in the jar, the fruits need to be covered. Leave a ¼ to ½-inch headspace and wipe the rims clean.
Close the jars with the latch.


Step 5
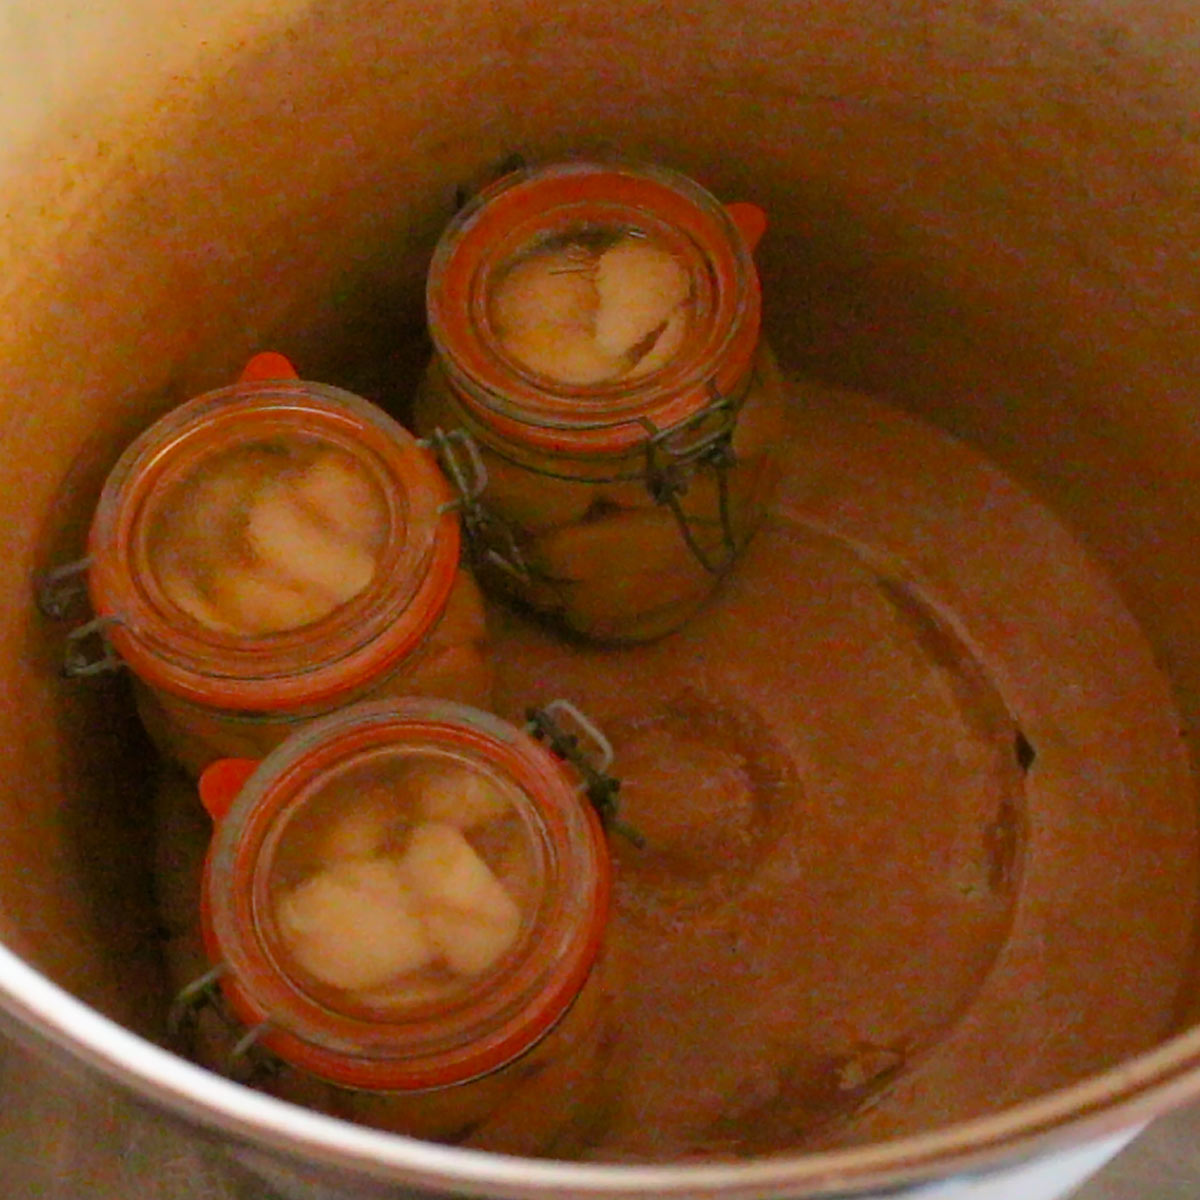
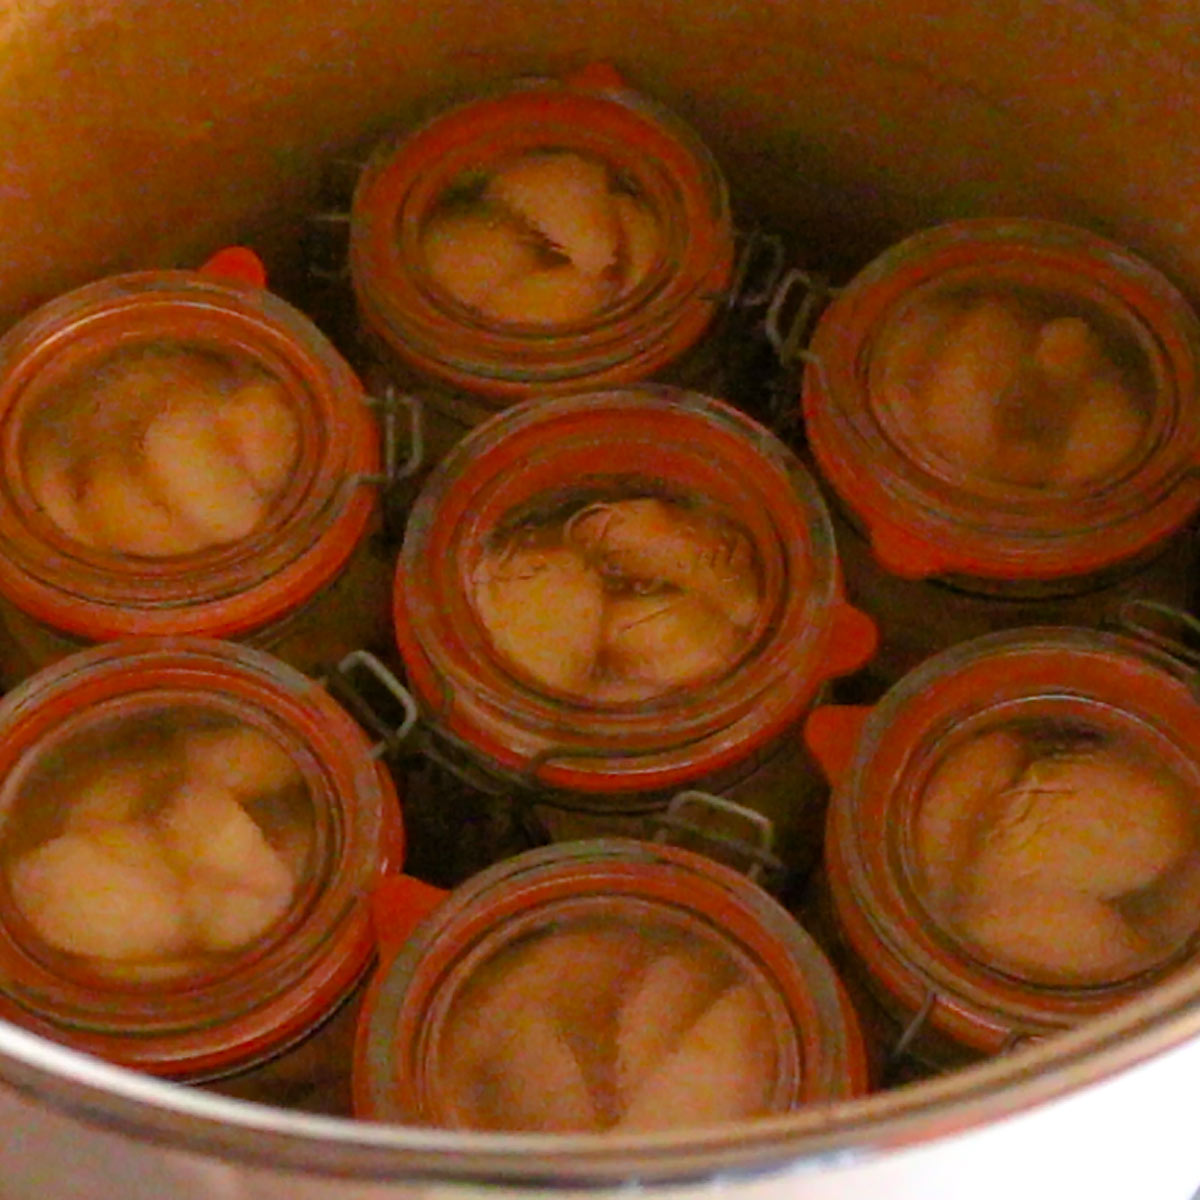
To sterilize jars and their insides, place filled-up closed jars into a canner pot next to each other and/or over each other if there is space.
If your canner came with a rack, place them on the rack as per canner instructions.
Step 6
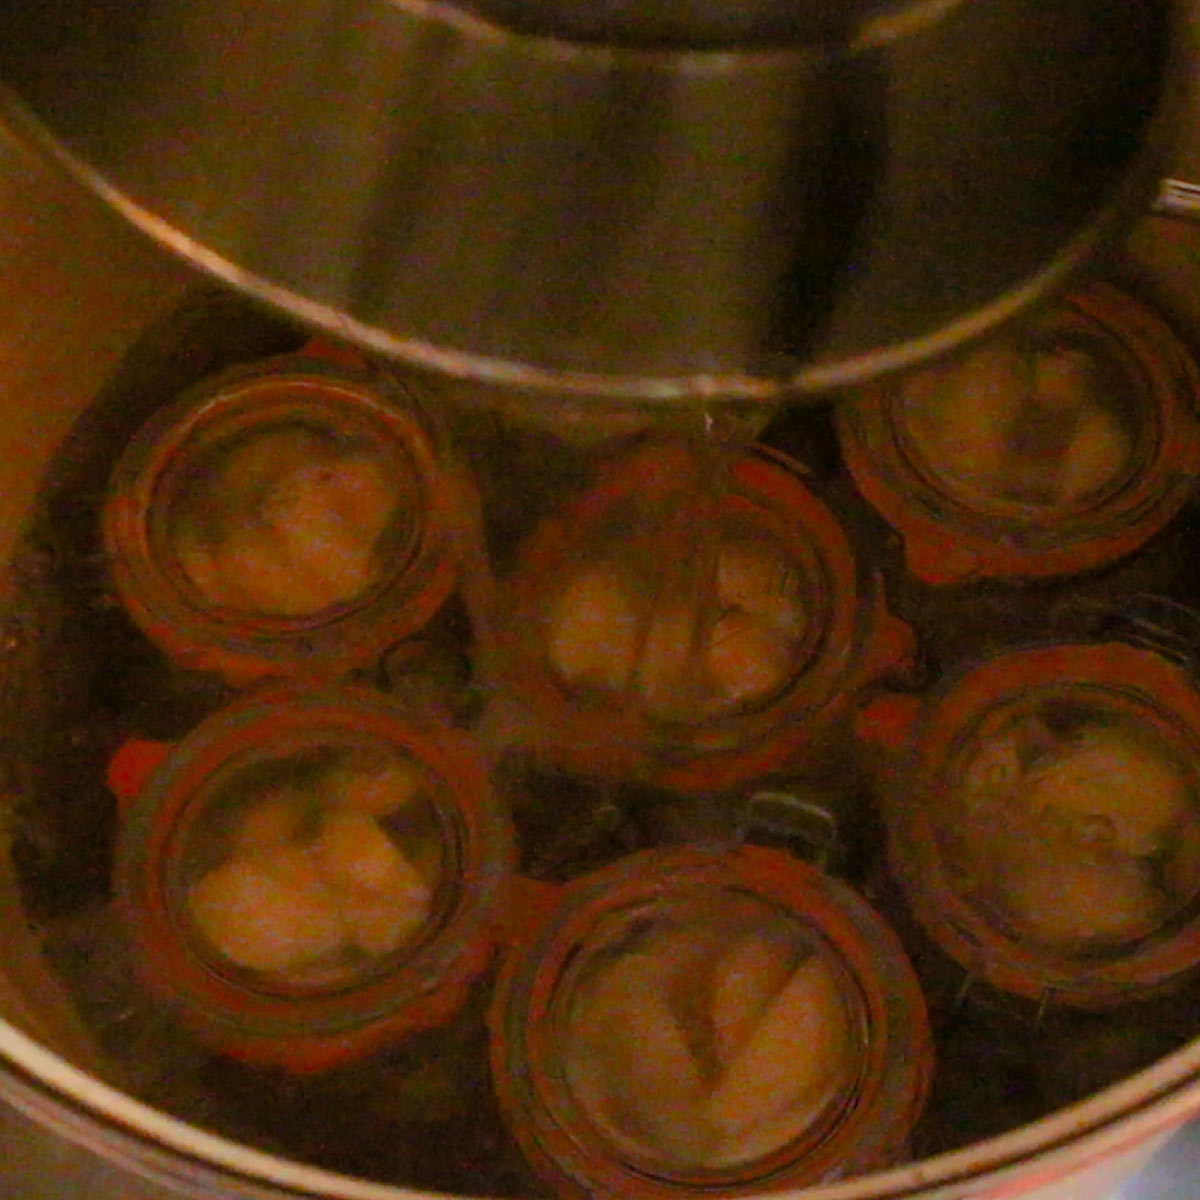
Cover jars completely with water. They should be submerged.
Close the canner with a lid and fix the thermometer so that you can read the temperature easily on the outside.

Step 7
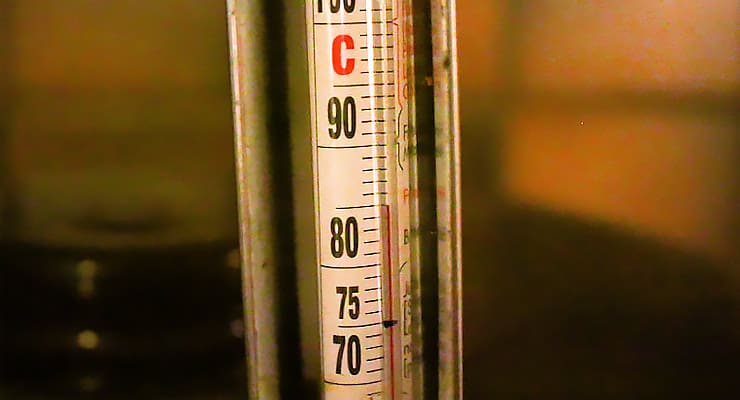
Heat up the canner and take it to about 200 Fahrenheit/ 90 Celsius.
Turn off the heat source when you hit 200 Fahrenheit/ 90 Celsius and let it sit for another 30 minutes.
Step 8
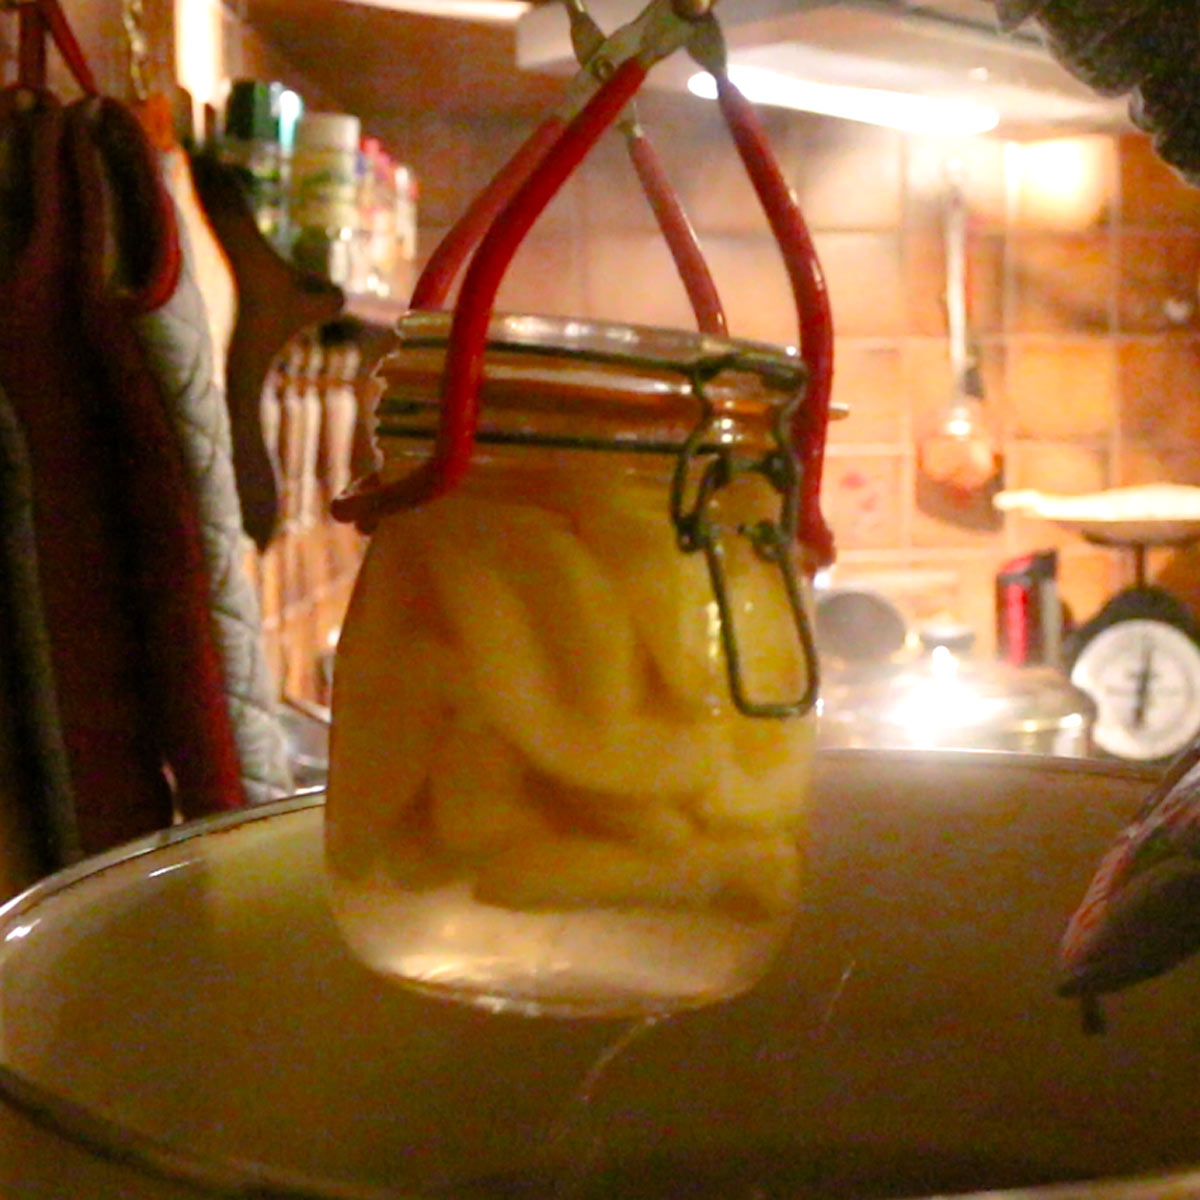
Open lid, and take out jars with the help of a jar lifter.
Place jars on a spread-out kitchen towel to cool at room temperature, and keep them there until they are done cooling down.
📖 Recipe

Home Canned Pears Recipe
Instructions
Filling the Jars
- Prepare your jars and rubber gaskets. Scrub and wash them well with soapy water. Rinse off well, there shouldn't be any soap in your jars.
- Place the rubber gaskets into a pan with water to boil them. This is to kill all germs well.
- Rinse your pears well. Peel, cut into quarters and core your pears.~11 pounds Pears
- Place pear quarters into your jars. Fill each jar with pears up to the top.
- Prepare the simple syrup by heating the water and stirring in the sugar. Dissolve the sugar well into the water and heat it, but don't boil.6¼ cup Water, 3¾ cups Sugar
- Make sure the pears are fitting properly in the jars. Tab the jar on a surface so that the fruit pieces fill up the space in the jar.
- Put a rubber gasket on the jar.
- With a ladle, fill each jar with syrup. Cover pears completely.
- Close your jars properly with the latch.
Canning the Jars with the Water Bath Technique
- Place closed jars next to each other in a water bath canner. If your canner comes with a rack, place the jars on the rack as per canner instructions.
- Fill canner with water. The jars should be submerged in water and the water should cover the lids by at least ½ or a full inch.
- Close the canner with the lid and set the temperature indicator.
- Heat up water bath canner gradually to 200 Fahrenheit or 90 Celsius. This can take about 20–30 minutes, depending on your heat source.
- Once you hit 200 Fahrenheit or 90 Celsius, turn off the heat completely and leave the canner to sit for another 30 minutes.
- When done canning, take out hot jars carefully with a jar lifter and place them next to each other on a kitchen towel so that they dry and cool off.
- Once cooled off, store your jars in a cool and dry environment on a shelf, away from direct sunlight. *See Notes
- Use canned pears in your food and the syrup is good too.
Notes
Equipment
- 1 3.5" Paring Knife
- 1 Peeler
- 7 24 ounces (¾ liter) Canning Jars with Rubber Gaskets *See Notes
- Replacement Rubber Gasket Seal set, *See Notes
- 2 Sauce Pan One to prepae the light syrup, the other to boil rubber gaskets
Nutrition
Flavor Variations
Enhance your pears with subtle flavors. This is very optional, for the adventurous. (The basic recipe is without spices and herbs)
Add any of the following ingredients to your basic canned pear recipe, just before pouring the light sugar syrup over your pears.
- Vanilla – Add a whole bean or vanilla bean paste for warm, comforting tastes.
- Cardamom – Another warm spice. Crush one green cardamom pod and add that to a jar.
- Cinnamon – A ½ inch piece of a cinnamon stick is enough to take one jar to the next level.
- Clove – One clove spice is usually enough to add Christmas themed aroma.
- Star-Anise – For the brave looking for licorice flavors. Only add a tiny corner of a star anise to your pears in the jar.
- Lemon Balm – This herb adds subtle, refreshing flavors to your canned pears. A few fresh leaves will be enough for each jar.
Equipment
Knife and Peeler to cut open and peel pears.
Canning Jars with Rubber Gasket – I use 24 ounces (¾ liter) jars. You can use larger 1 quart jars (1 liter) too or smaller 16 ounces (½ liter) jars. I prefer the 24 ounce (¾ liter) jars because they are just right, not too small nor too big. Le Parfait or Fido Jars are great!
Replacement Rubber Gaskets – Just in case you have a bad one that needs to be exchanged. 24 ounces (¾ liter) jars require 3.25 inch or 85 diameter rubber seal gaskets, preferably from the same brand. BUT Le Parfait rubber gaskets are the same as Bormioli Rocco gaskets. Loo out for brand reputation and quality when purchasing replacement rubber seals.
Two Small Pans – One small pan to prepare the medium to light syrup with a cooking spoon and a second small pan to boil the rubber gaskets (killing all germs).
Ladle – To pour the homemade hot syrup over your pears in your jar.
Canner Pot with temperature indicator – Or a large pot with a lid to slide a thermometer through.
Canning Jar Lifter (aka jar grabber/tongs) – To take out the jars from the water bath canner once they are done cooking.
Kitchen Towel – To place hot jars so that they can drip down, dry and cool down.
Storing
Once your jars are done cooling, store them in a cool and dry place away from heat and direct sun.
The smartest way to store them is in a row on a shelf in a pantry area where you can see them.
I don't recommend wet cellars as a storing space because the humidity can take down the quality of your homemade canned pears, BUT we do just that because we are out of space.
So, when storing canned pears in a cellar, keep an eye on your jars periodically.
If you have followed all the steps as per instruction, your pears should store well without turning bad for about 12 to 24 months.
Opened, unsealed jars, need to be stored in the refrigerator once the vacuum seal was broken.
Uses
To use your canned pears, just open up the jar by pulling the rubber seal. This will release the vacuum.
Use up the contents of the jar within a few days once opened, and keep leftovers in the fridge in a sealed container.
Use the canned pears in your food. Add them to a tart, cobbler, crisp, cake, or breads.
You can make pastries too, by adding a pear piece to puff pastry, for example.
Prepare a fruit salad with the pears and light syrup and add home canned cherries, canned peach or homemade canned plums to that or fresh fruits of your choice.
Party drinks and bowls, such as Fruit Sangria or Punch, can include canned pears too.
Moreover, home canned pears are great in smoothies too, and you won't even need to add sugar to your smoothie.
Serve up your canned pears Melba style with vanilla ice cream, whipped cream and a sauce of your choice OR with a Bavarian Cream.
Custard-based dessert are great with canned pears, too, such as clafoutis or flan. You can also cut the preserved pears into smaller pieces and add them to semolina puddings.
FAQs
Sugar helps in preserving fruits when canning, and cutting down the sugar quantity will reduce the shelf-life considerably, making your pear unsafe for consumption. Therefore, I do not recommend changing the quantity of sugar in this recipe. I also don't recommend making this with honey, as I haven't tested it myself. Plain sugar is still the best ingredient to use in preserving and canning fruits.
Canned syrup is great as a beverage in itself, or mix it with some water to thin it down to drink or add it to your cocktail or mocktails. You can make a fruit salad with this syrup by adding other fruits to that besides pears.
More Canning Recipes
Comments
No Comments