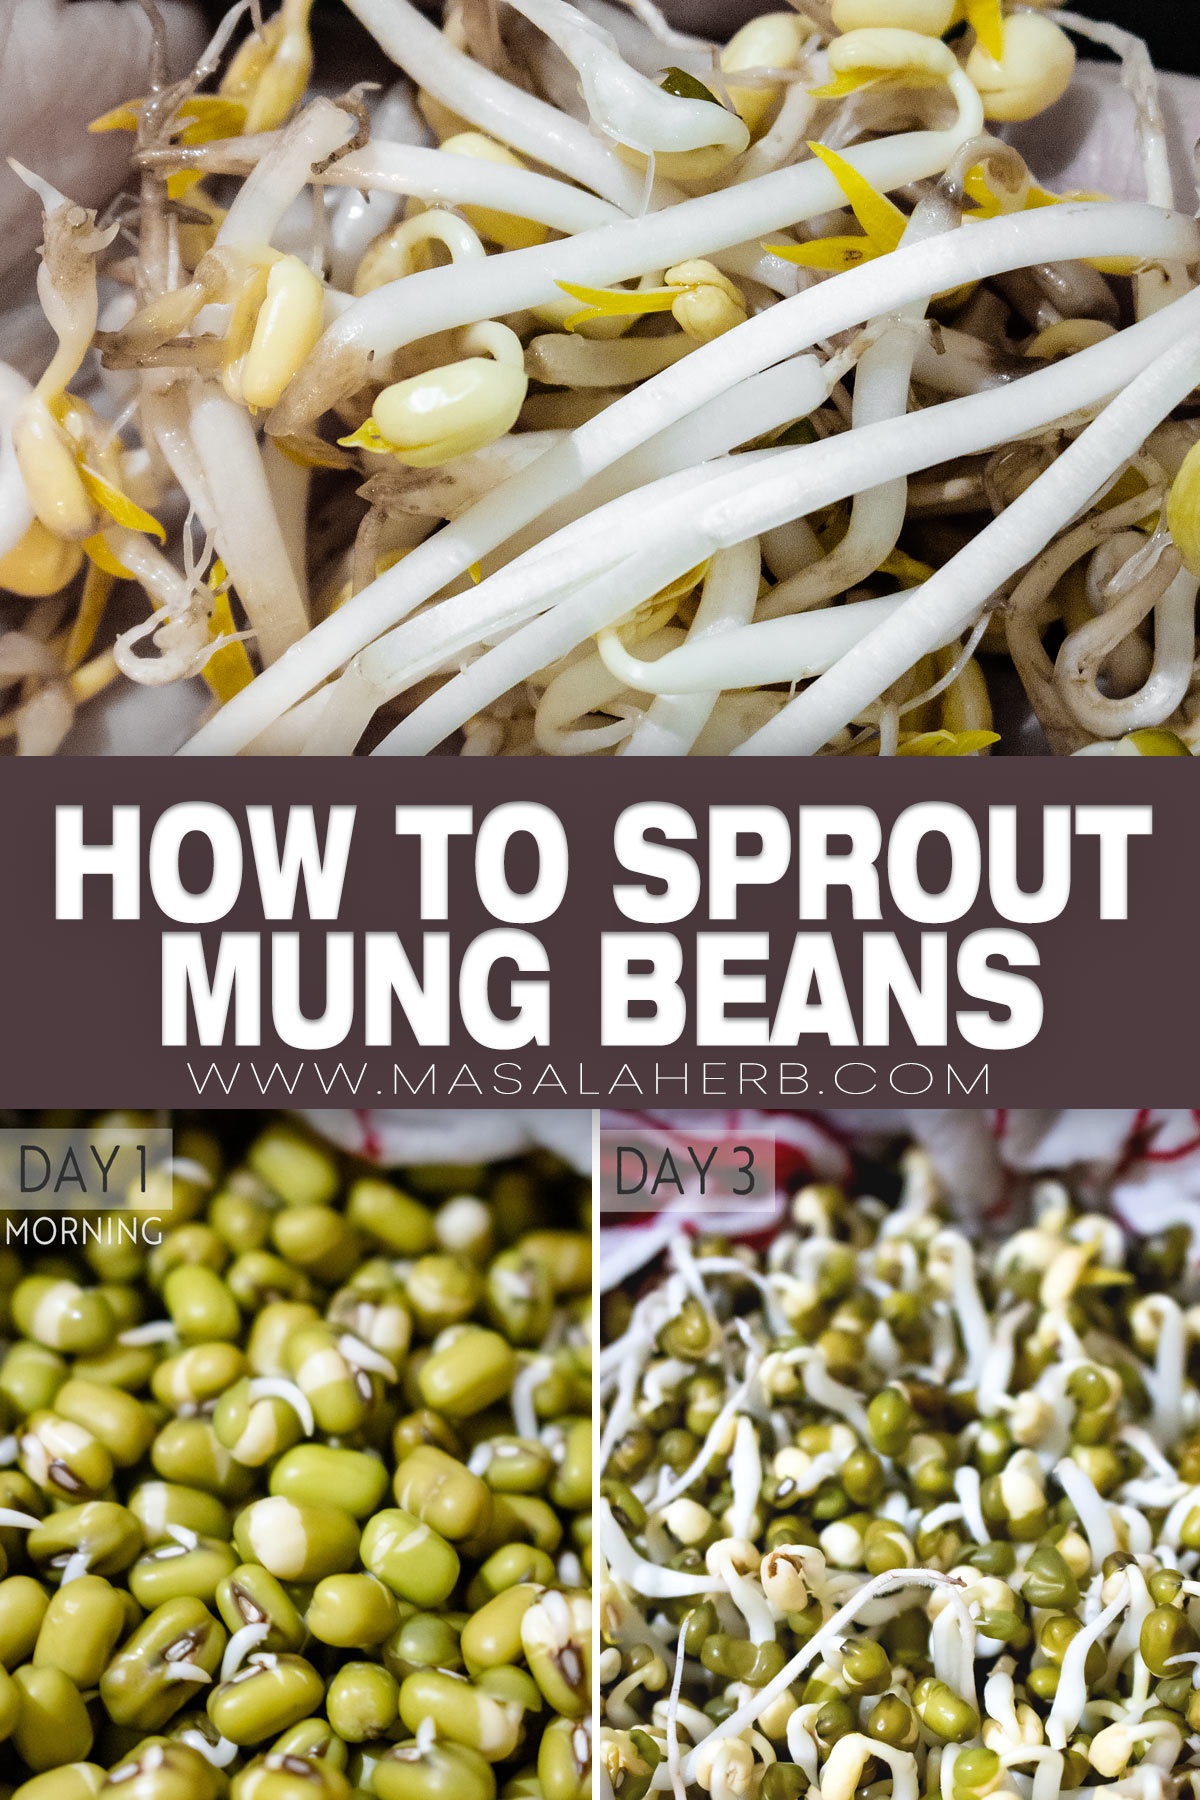
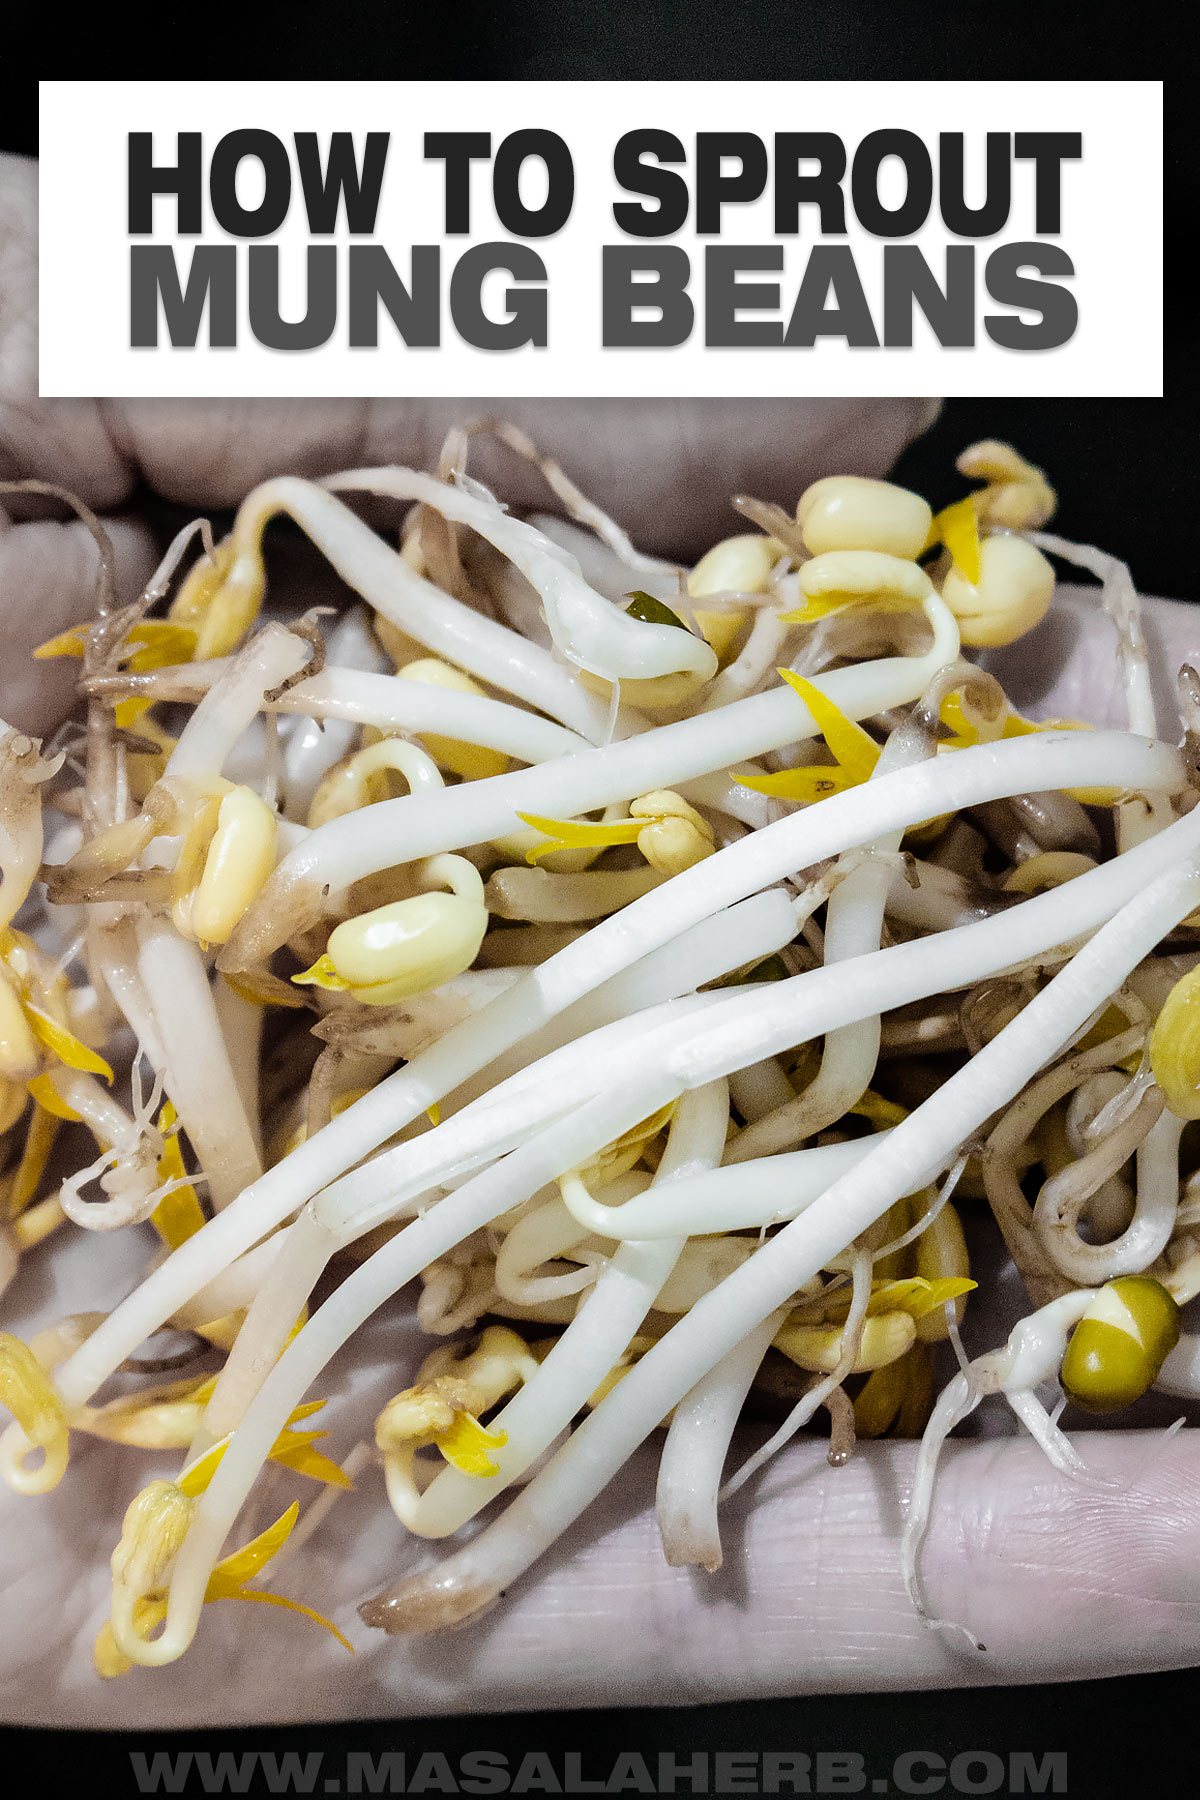
I am showing you in this post how to sprout mung beans easily at home. Here you'll learn tips, what to look out for, and what to avoid.
We will also cover the pros and cons of DIY style Mung bean sprouts at home so that you can make a sprout salad or a pad thai at home!

Global Food Recipes
with Spices and Herbs
Free E-Book available for a limited time. Grab yours now and get instantly inspired!
You missed out!
Jump to:
TL;DR
If you have been following me for a while, you will know that this is not my first post about sprouting seeds.
Besides mung bean sprouts, I have sprouted Wheatgrass to prepare wheatgrass juice which is consumed in shots to strengthen the body's health.
However, this post today is a bit different because mung bean sprouts have numerous uses and are quite nutritious at the same time!
Moreover, you can do that at home, and you won't need a garden or flower pots to grow these delicious young sprouts!
Why I started to Grow My Own Bean Sprouts
A few years ago, my hairdresser shared that she had been using bean sprouts in her salads and stir-fries. I didn't really understand what she meant until I saw mung bean sprouts sold at the grocery store (Mind you, that was 2009)
I picked up a bag, maybe about a cup full, and decided to use it in a fresh salad the same day. The Mung bean sprouts that I had bought would turn into a disappointment that very day!
I unpacked the sprouts and noticed that they were not looking that clean and hygienic. It was a turn-off, but I was determined to try out these bean sprouts! I washed them well in warm water to get rid of impurities and anything else on those young bean sprouts.
This is, of course, not a good thing because bean sprouts are young sprouted seedlings, and they are super sensitive! It damaged the sprouts.
Once they were clean, I took a bite. I hated it! Why?! Well, the sprouts were crazy bitter!!
I just couldn't understand why my hairdresser and friend loved those sprouts so much, and then it dawned on me. I had to try to make my own batch of mung bean sprouts at home! After all, it couldn't be that complicated, right?
Right I was because there is actually nothing easier than growing your mung bean sprouts.
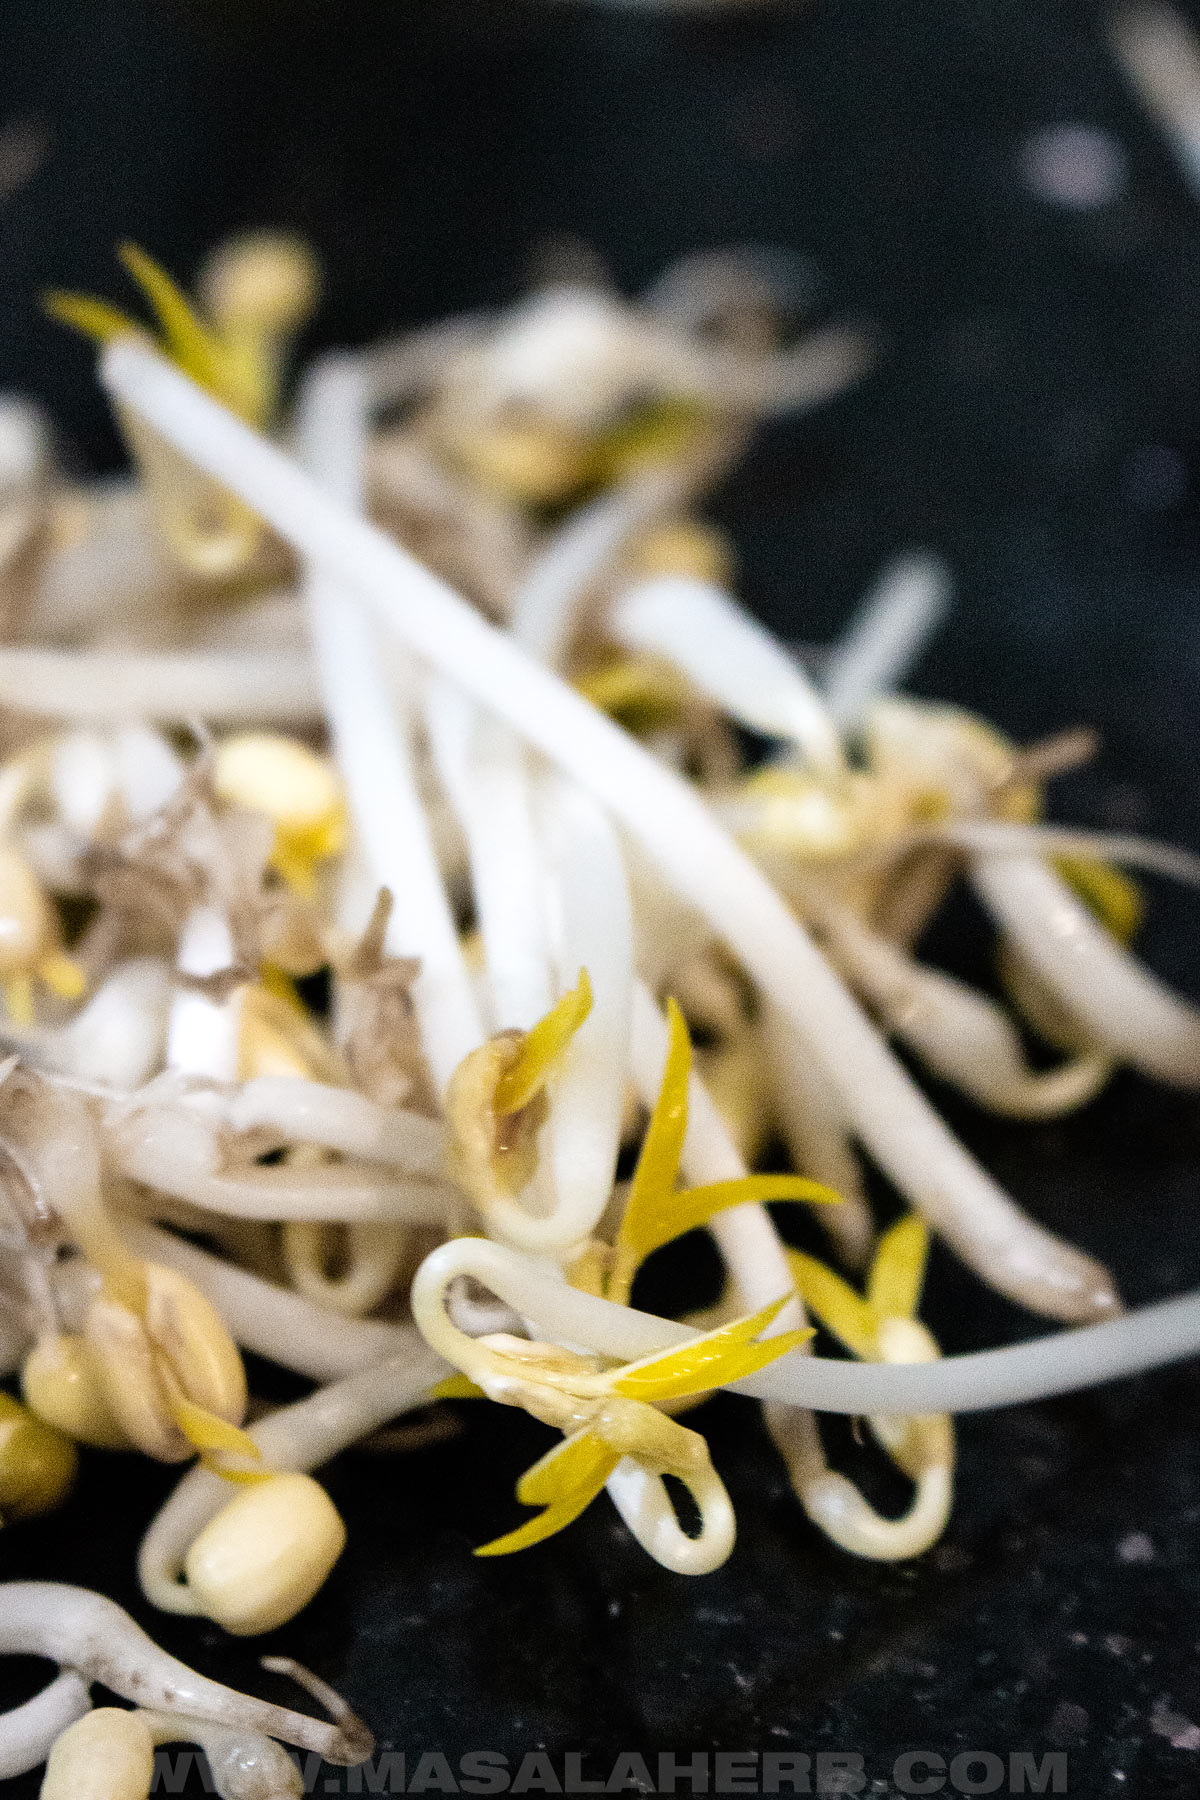
How to Sprout Mung Beans?
To sprout mung beans is not rocket science, in fact, you can do that with your kids (if you have kids or a niece and a nephew).
I think it's a great little project with kids too so that they learn how seeds grow and how to take care of fragile young seeds and that this is actually good food!
You have various options to grow your bean sprouts in.
Grow your mung bean sprouts in
- Strainer/Sprouting Basket
- Cheese Cloth/Kitchen Towel which you don't intend to use again
- Jar
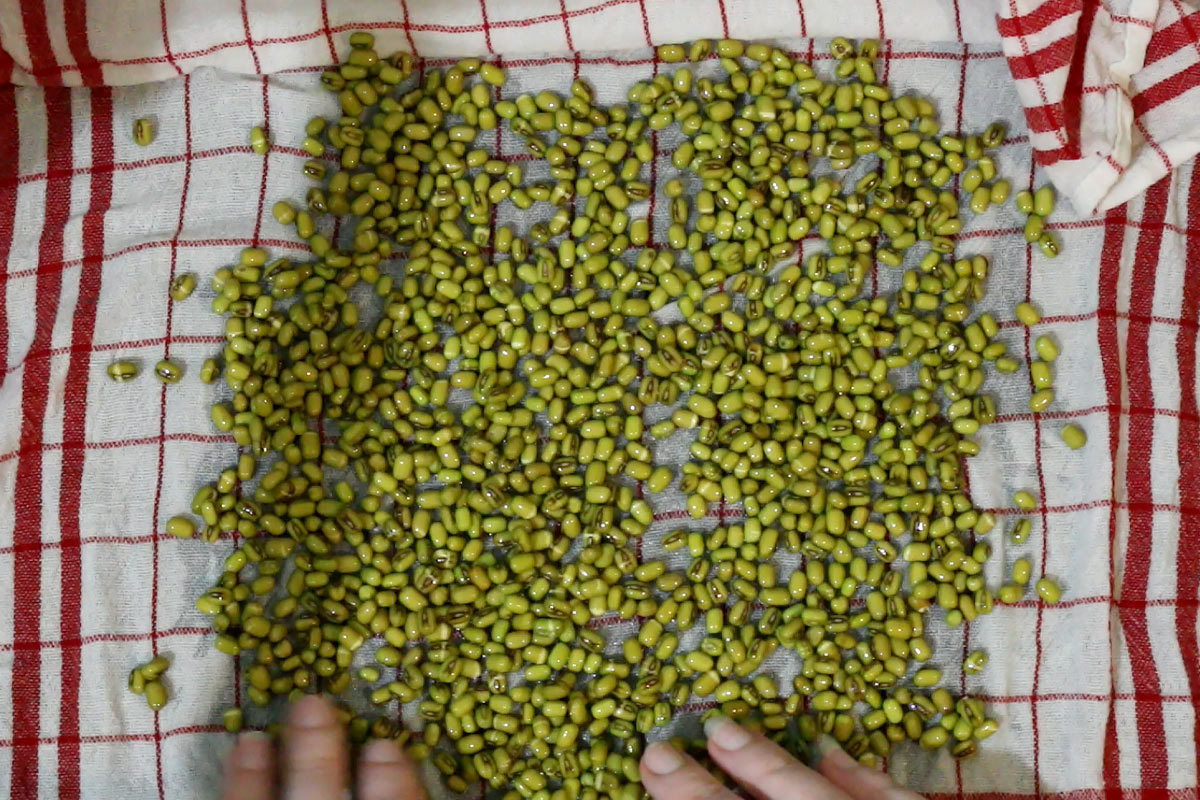
I, personally, like to use the Cheesecloth (or old clean kitchen towel) because I don't sprout mung beans every week. Otherwise, I would get one of these wonderful sprouting baskets.
I find it easier to irrigate the mung bean sprouts with the cheesecloth, then, compared with the strainer or the Jar method. The seeds don't get disturbed when I carefully wash them through the cloth.
The jar method is great if you intend to make copious amounts of sprouts. You can use all jars too, but in that case, I would rather use a simple cheesecloth.
What I don't like so much about the jar method is that the seeds don't get much oxygen.
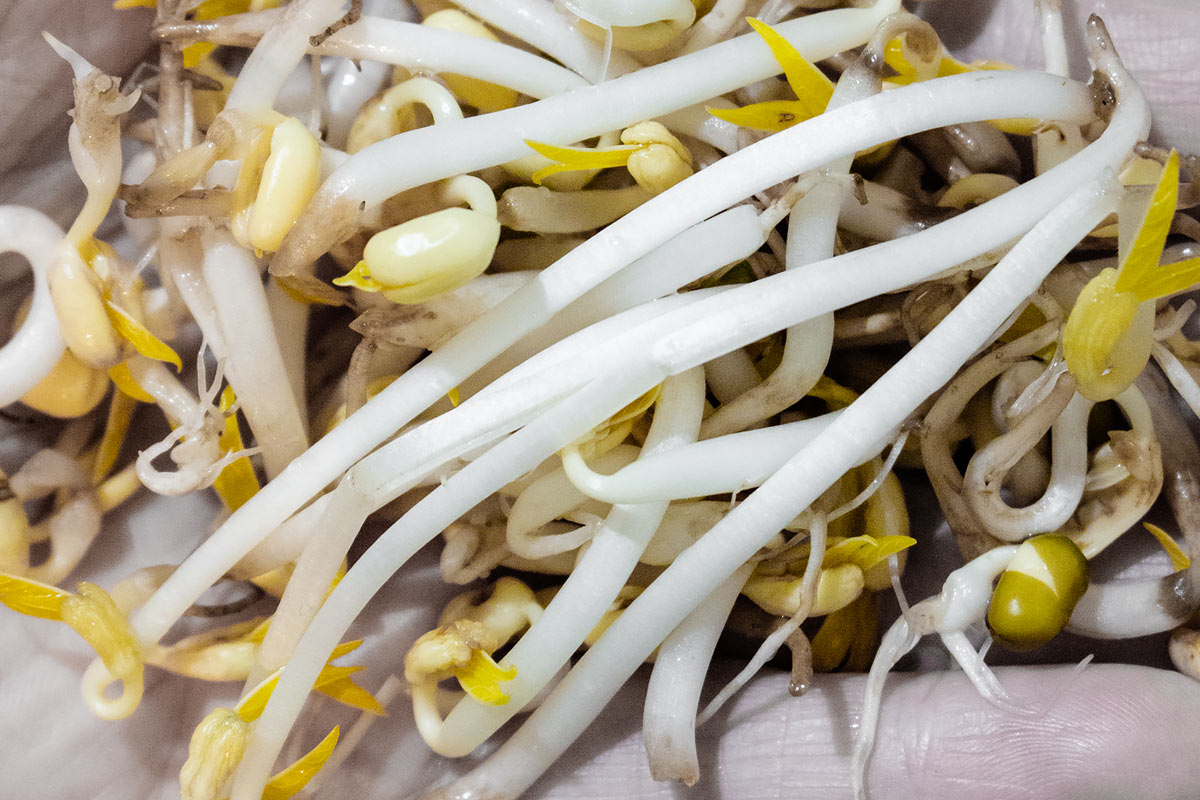
I think it does make a difference if your seeds get to grow in a jar or in an airy clean cheesecloth.
The Jar might seem more hygienic, but the seeds are closed, and you can't really stop the growth of a few bacteria.
That is why you follow a rinsing step (More about that below)
At the end of the day, it's up to you how you do it. Sprouts will turn out a bit different when grown in a cheesecloth, sprouting basket vs a jar. You can try each version out to see what suits you the best.
What I don't recommend is to use paper towel to sprout seeds. I saw this somewhere online and I just find it a bit yuk. I don't like the idea of my sprouts, which I am planning to eat, touching paper towels.
Steps (Days) to Sprout Mung Beans
Day 0
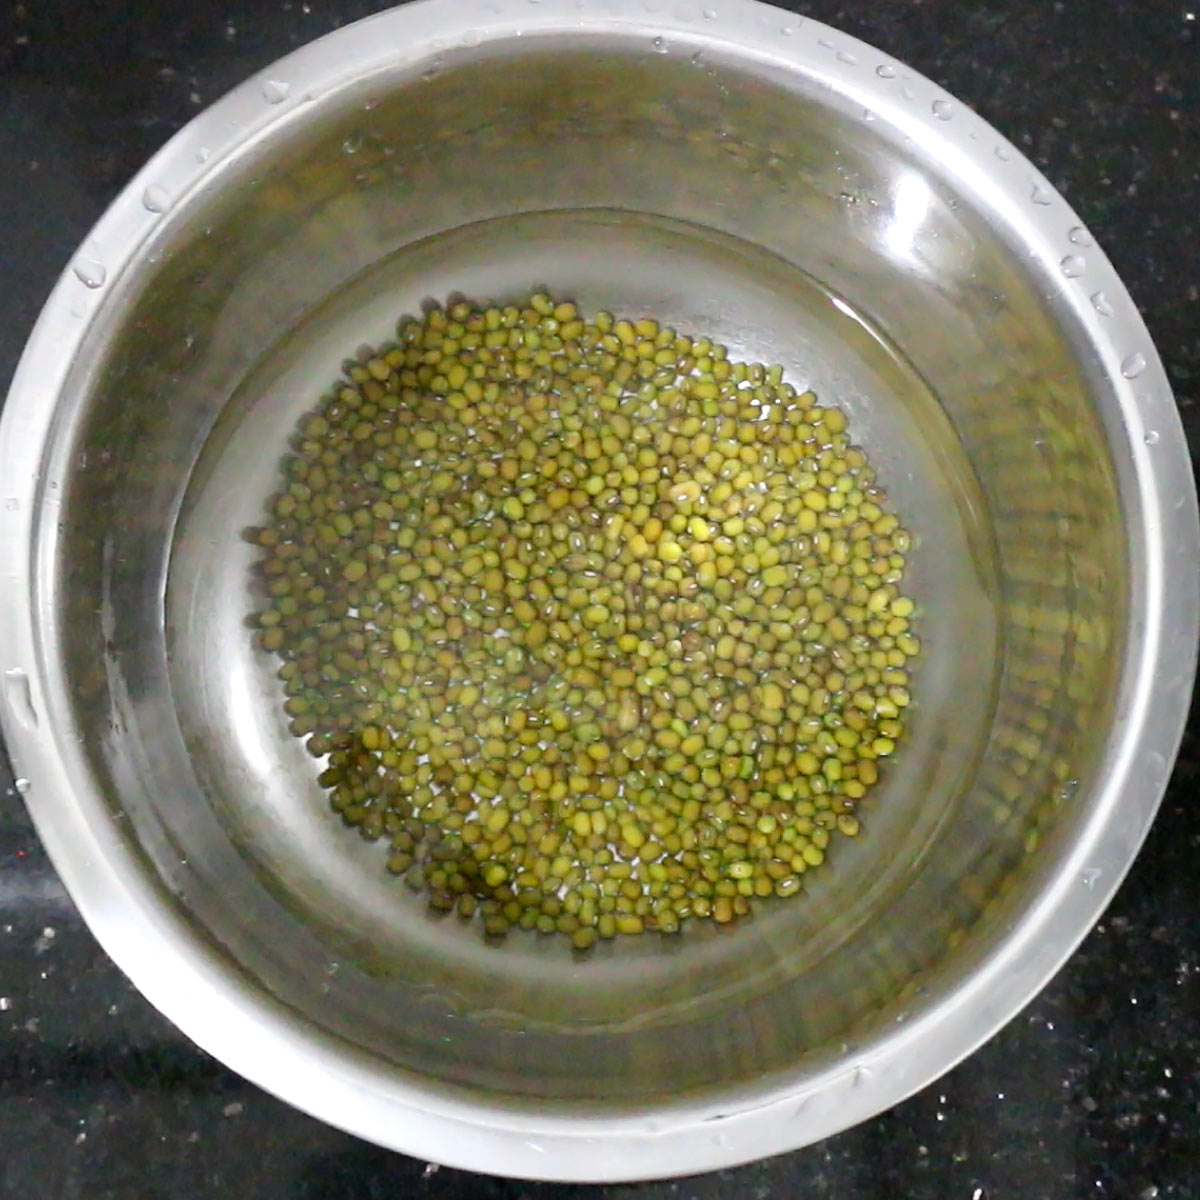
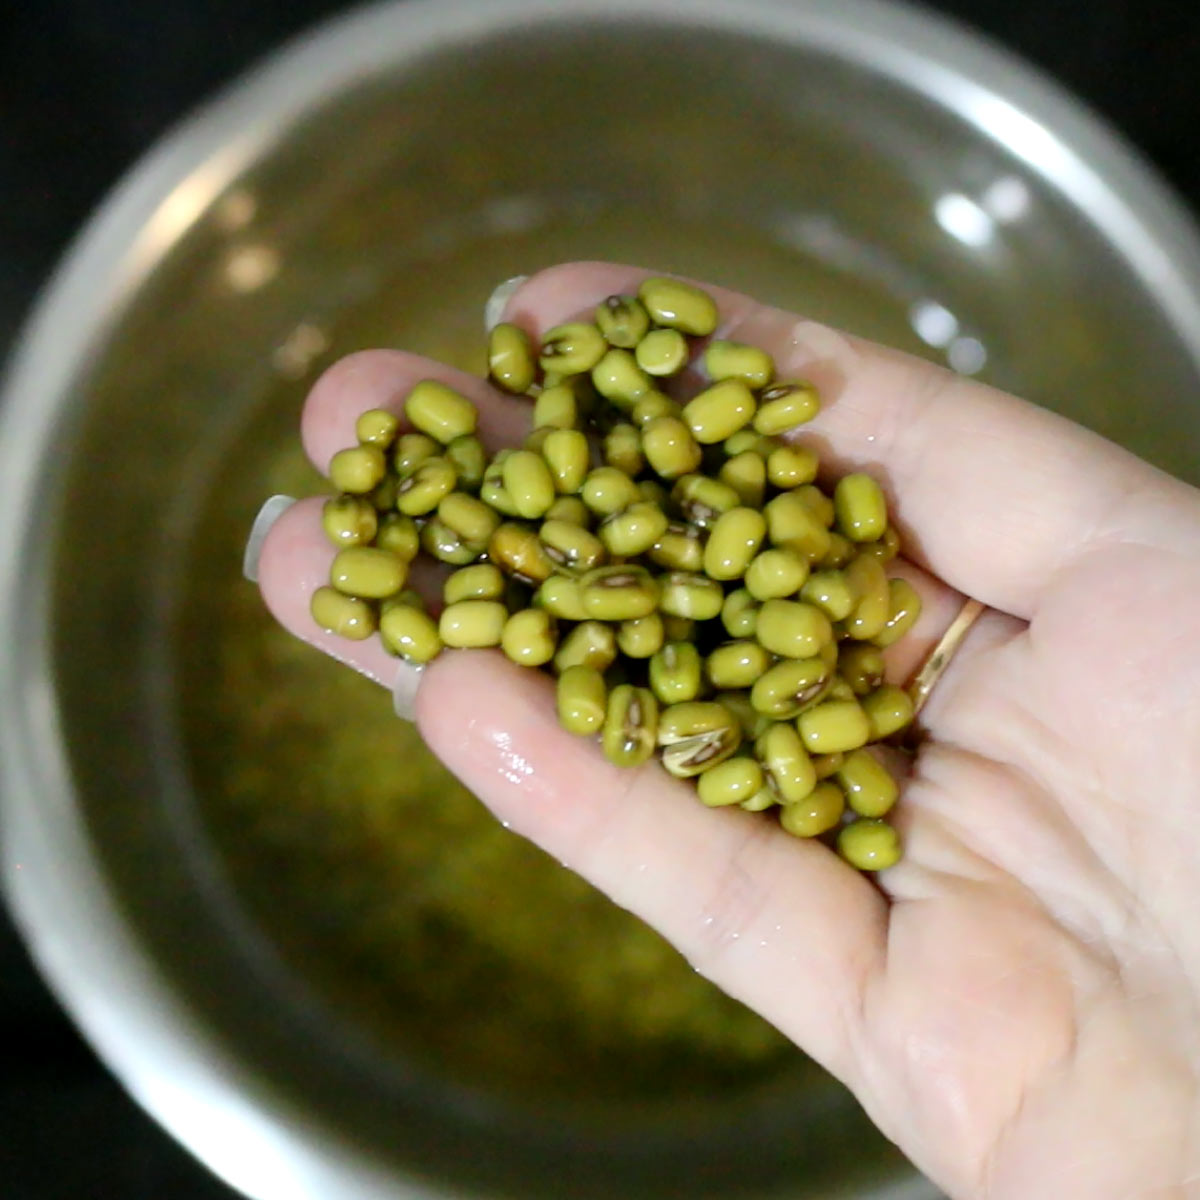
Place your mung beans into a bowl. Pick out bad mung beans.
Wash the beans. Cover with water. Close the bowl with a lid.
Leave to soak overnight.
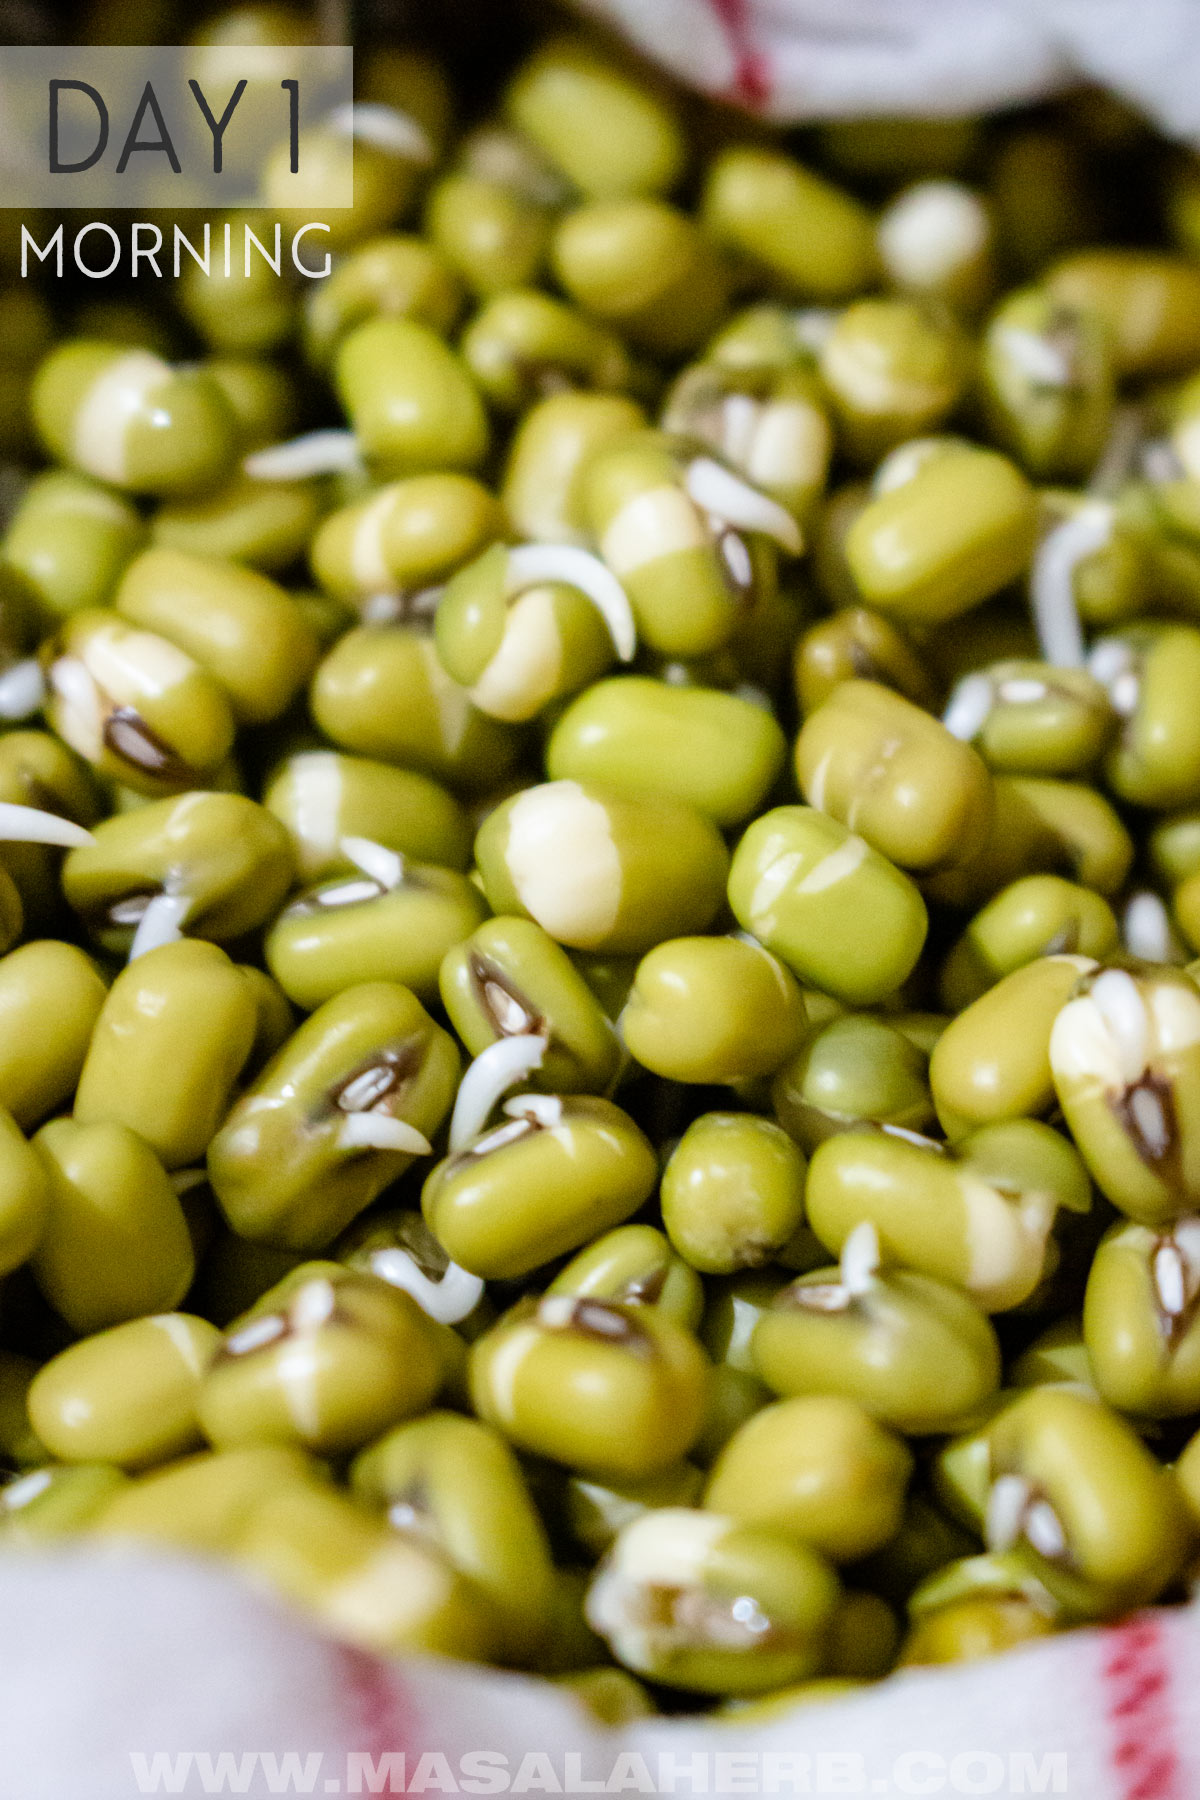
Day 1 Morning
Strain your beans and just rinse them once with clean water.
Now place your rinsed beans into a damp cheesecloth or into a colander and place that in turn into a bowl.
Cover the bowl.
I use a cheesecloth and I flip the cloth over the seeds to protect them.
We keep the seeds in the dark because the seeds get bitter when they come in contact with light.
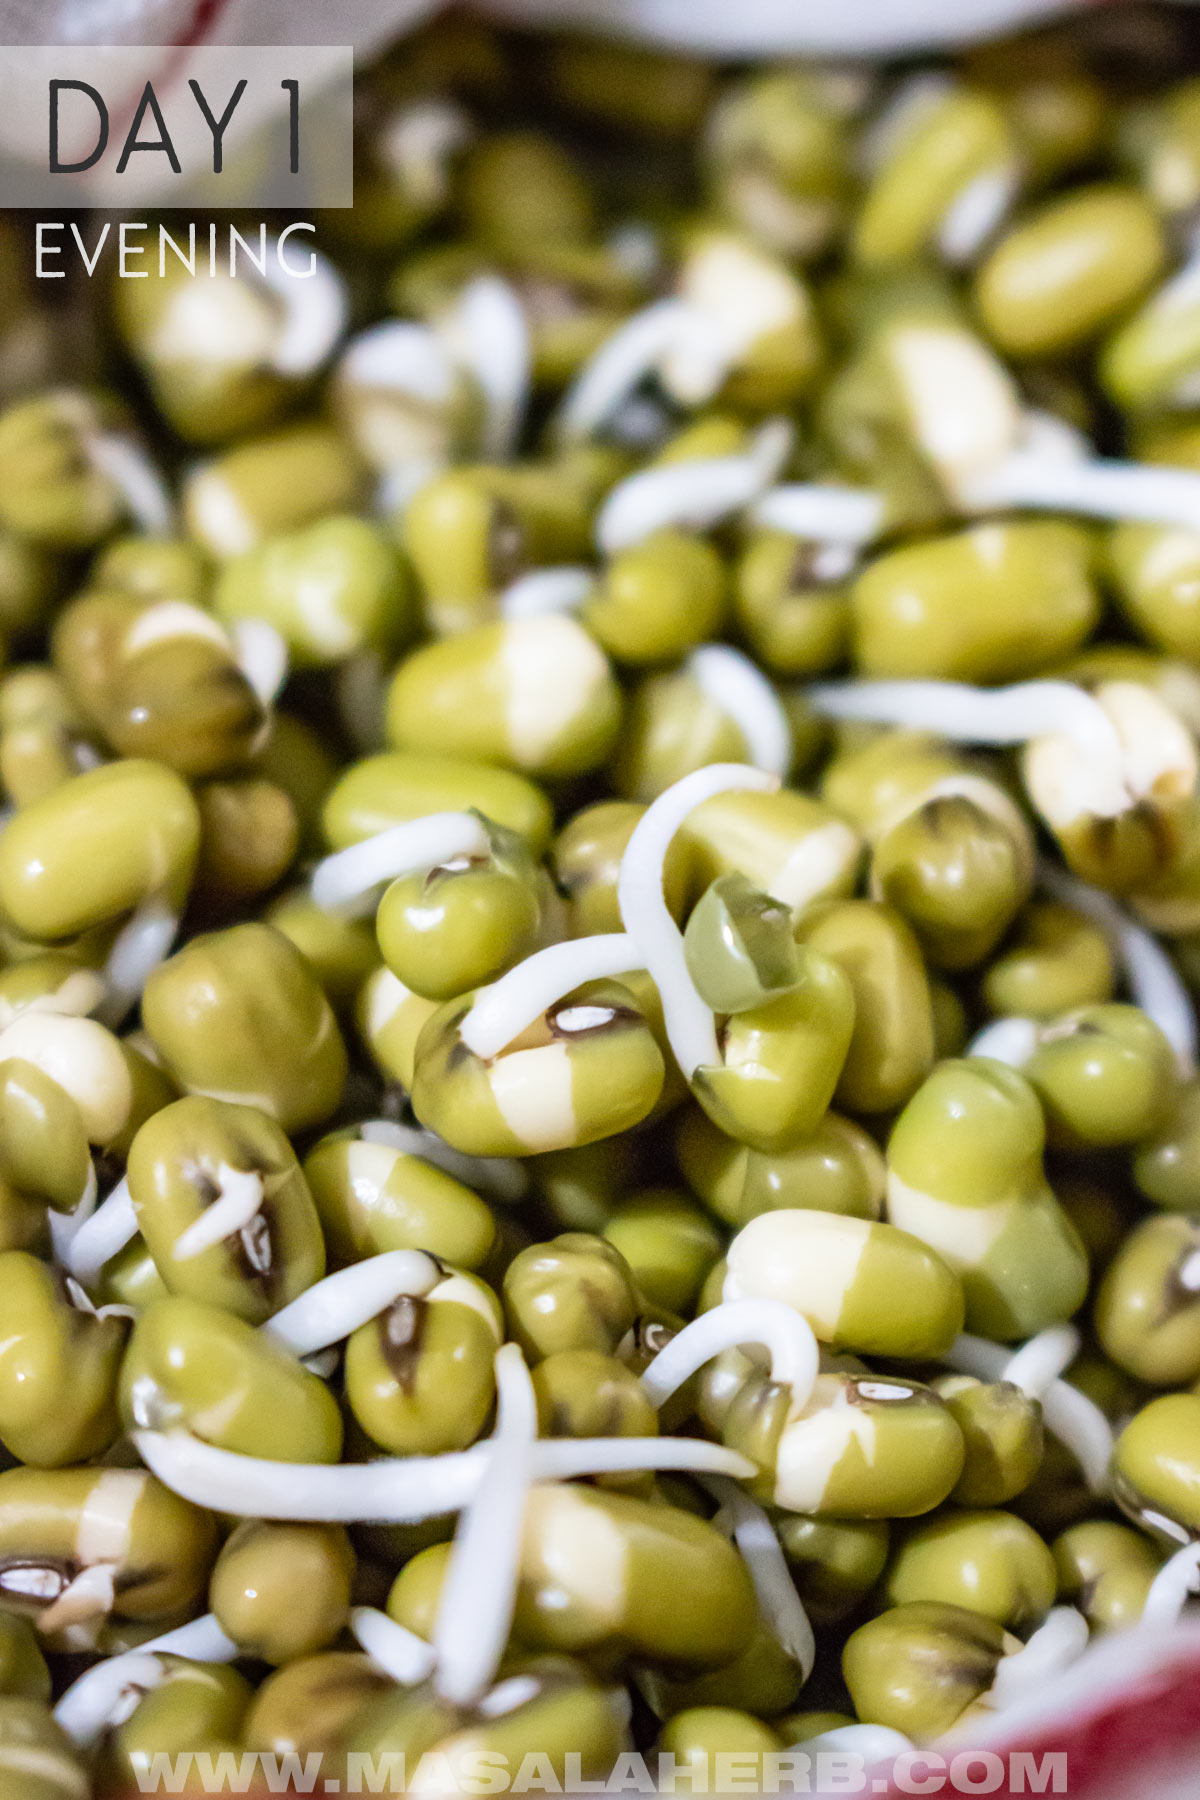
Day 1 Evening
Take your mung beans in the cloth through a clean stream of water to rinse them properly.
Make sure the cloth is not soaked, carefully press it out a bit to get rid of excess water.
Place back into the bowl and cover again. You will see your sprouts have grown considerable already.
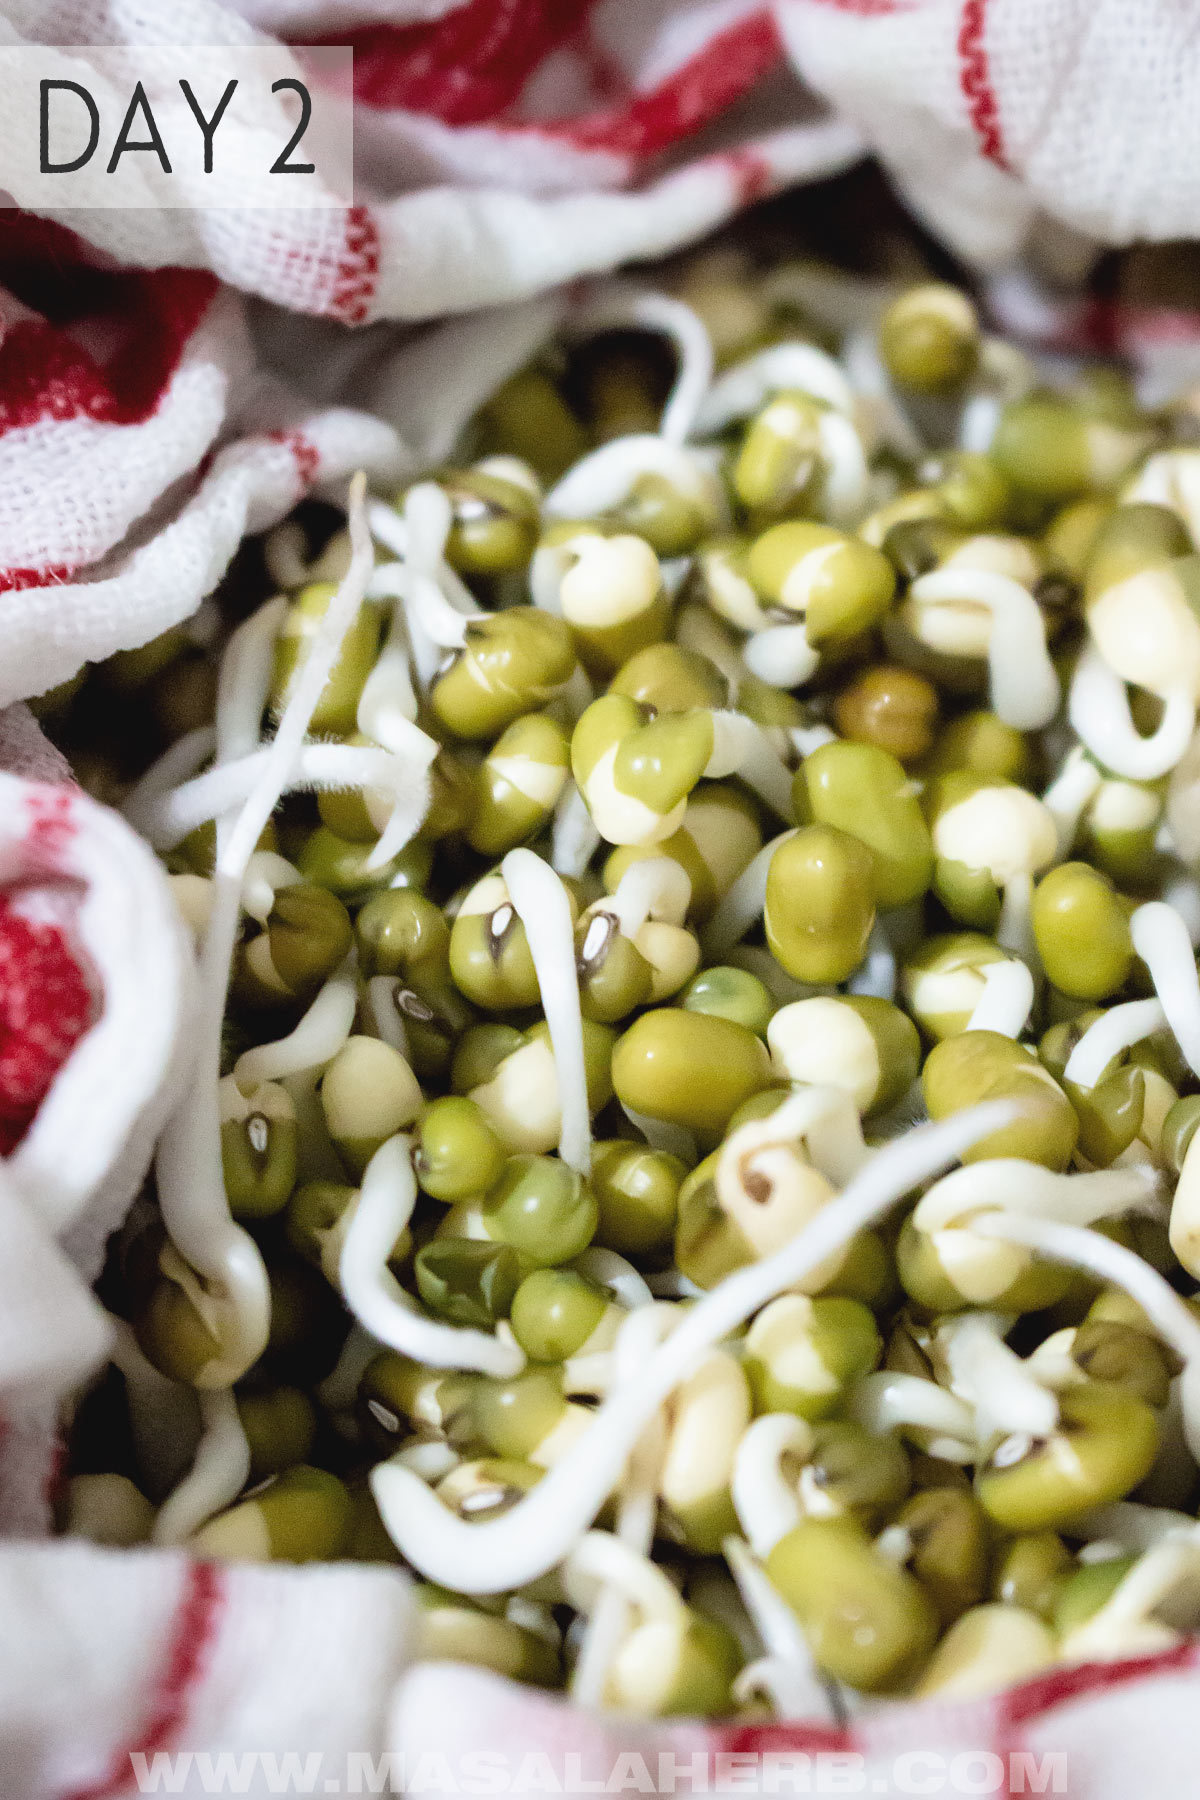
Day 2
Rinse and repeat once a day at least.
I usually do one wash in the morning and one at night, just to keep the seeds fresh and to promote healthy growth.
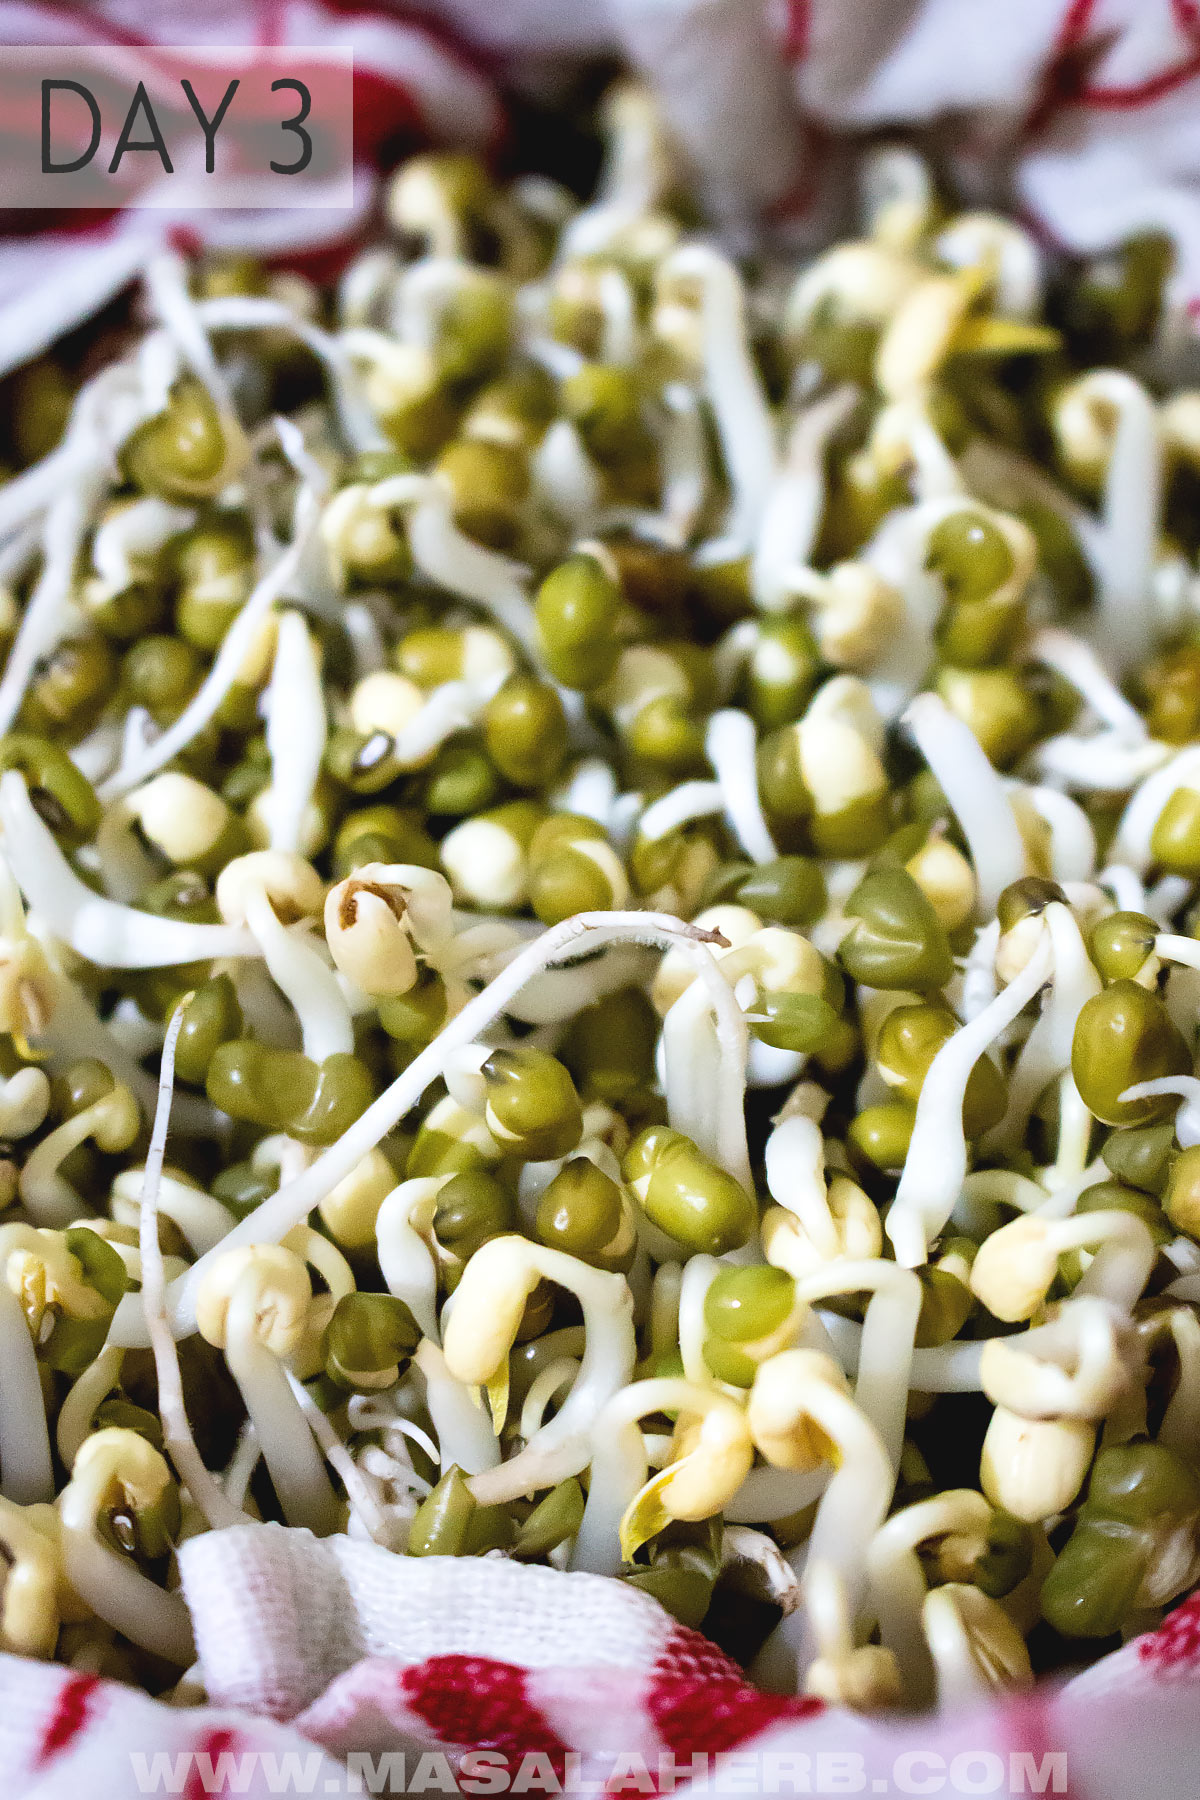
Day 3
Your seeds will have grown well by now.
At this point, you can harvest them already or leave them for another day.
But before you do any of that, rinse again very well!
📖 Recipe
How to Sprout Mung Beans
Ingredients
- Organic Mung Beans
- Water
Instructions
- Pick out bad beans, wash your beans and cover your beans in a bowl with clear water.Organic Mung Beans, Water
- Leave your beans to soak overnight.
- Next morning, rinse your beans, place into a damp cheesecloth/into clean jar/ or sprouting basket. If you use the cheesecloth or strainer, place a bowl underneath, which will collect excess water. Cover or make sure no light hits the mung beans, it's important, or the beans will get bitter.
- In the evening same day, check your mung beans, rinse them again, drain off excess water. Keep in the dark again.
- Next morning, rinse and repeat and the next day again do the same thing. I like to rinse twice a day, making sure the beans remain damp but not soaked in water.
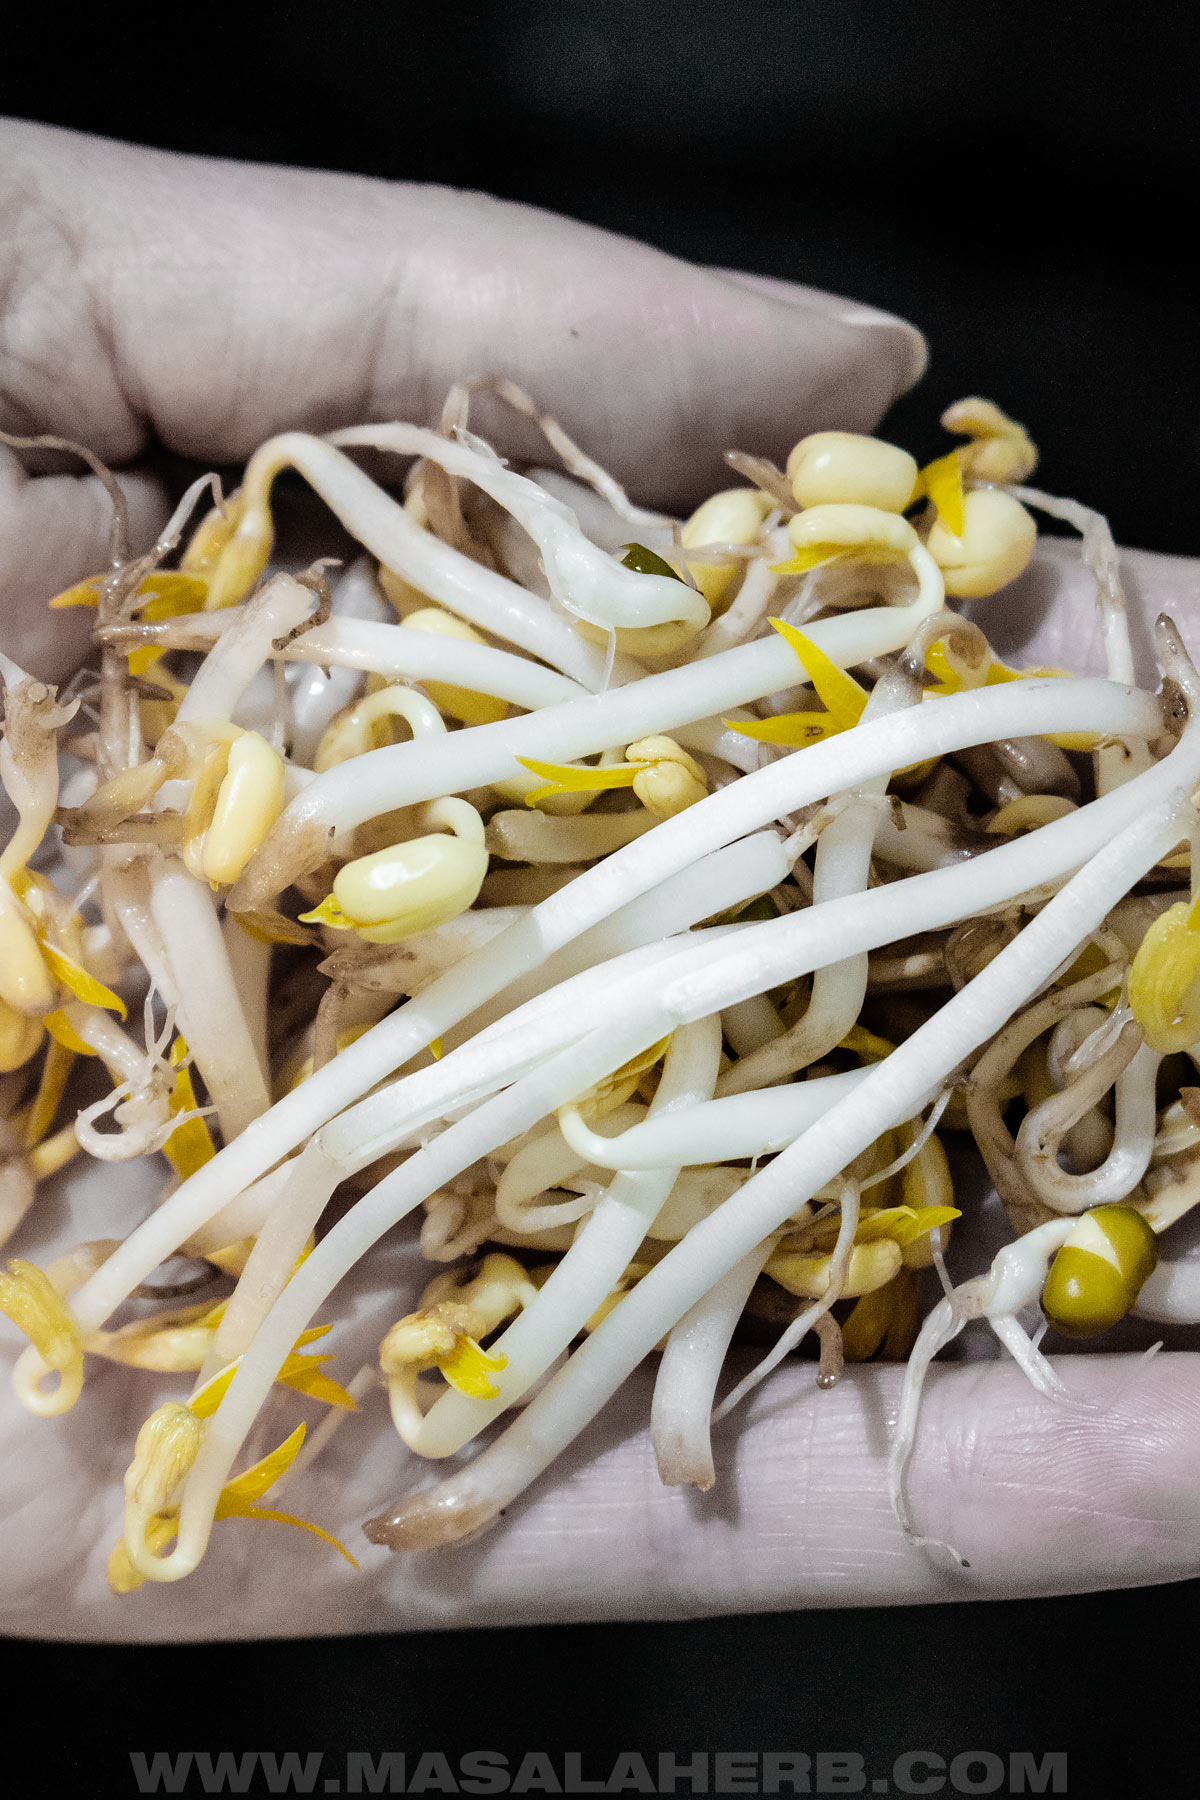
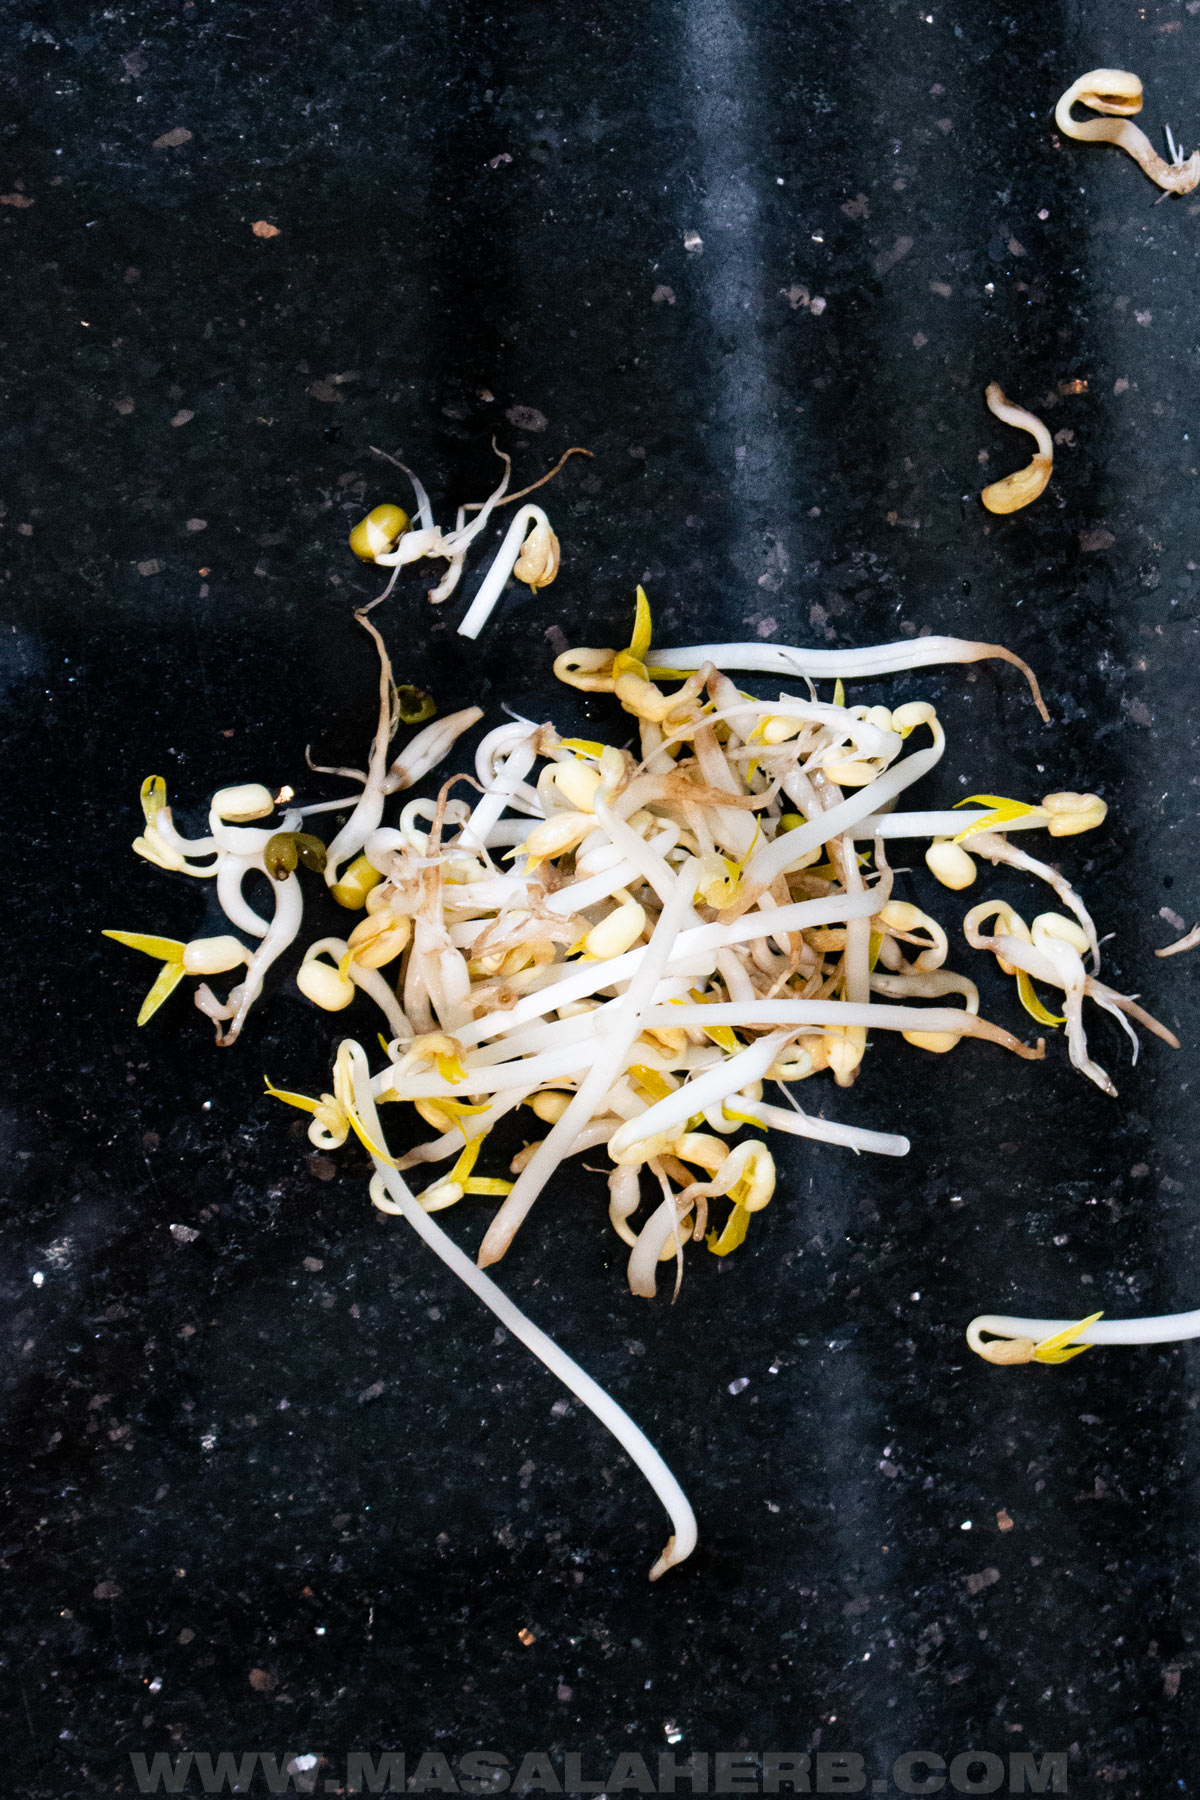
- On the last day, wash your beans so that the green shell falls off. Some will still have their shells on them, that's ok. Pat dry, store in the fridge in an airtight container or clip bag.
- Before using the beans in your food (if you are concerned about bacteria) you can prepare a pan with boiling water and blanch the sprouts for a few seconds to kill off bacteria.
Notes
- A small amount of Mung Beans is enough because they grow and if you soak too much, you will have too many, which you won't need. Less than ½ a cup mung beans will do for the beginning.
- The roots grow thicker of the sprouts if you make it tight for them so that the roots don't get to thin out and find space to grow. You can add weight over the mung beans to achieve that (without damaging the mung beans). A friend of mine would use emptied coconut shells as weights.
Equipment
- Cheesecloth or strainer or sprouting basket or jar *see post
Tips to Great Growth
When the sprouts are pressed to the bottom, they seem to grow thicker roots. That means the less space, the thicker the roots.
Some sprouts take longer than others to sprout. The quality of beans, weather conditions and water softness or hardness can all make a difference. I don't have experience growing mung sprouts in high altitude conditions.
Also, cold, arid and humid climate conditions can increase or decrease the growth speed. As a reference, the ones in the picture grew in a humid tropical climate.
Before you use your sprouts in your food, wash them well to get rid of the green shells and any impurities. Some shells don't come off, but that's ok and not the end of the world.
If you are concerned about bacteria, then I suggest blanching the sprouts in boiling water for a few seconds before using them in your cooking.
I do that, and then I keep the roots in some water so that they look fresh again until I add the mung bean sprouts to my food.
You can keep the mung bean sprouts in a container in your fridge for a few days. I usually try to use them up within 3 days.
Freezing doesn't really make much sense. I tried it! Freezing turns them boring and beats the whole concept of “fresh” nutritious sprouts.
Store Bought VS Homemade Mung Bean Sprouts — Pro and Cons
I am glad I was able to taste test the store bought mung beans. On later occasions, I got mung bean sprouts from other stores and even bought a batch in different countries.
To see what options my readers had. I came to the conclusion that not all mung bean sprouts were bitter. The more expensive they were, the better they seemed to taste.
In my how-to further below, I explain what causes the bitterness in sprouting mung beans and how to avoid it.
Store bought Mung Bean Sprouts
Pros:
- You can buy the same day when you need sprouts, hence no waiting time.
- Quality sprouts have thick roots. It's difficult to achieve that at home.
Cons
- Can be pricey if you consider that unsprouted mung beans are a fraction of the cost.
- Some store-bought mung bean sprouts are bitter or short in size.
- Depending on where you are in the world, not always available and in stock.
- Organic mung bean sprouts are not that commonly available.
Homemade Mung Bean Sprouts
Pro:
- Watch your mung bean sprouts grow, which is fun!
- Cheap for your pocket.
- You know how they are grown (no chemicals involved). You can avoid that the sprouts getting bitter (see in the how-to below).
- Use organic mung beans to grow organic bean sprouts.
- Doesn't need special equipment.
Cons:
- You need to be careful about your hygiene.
- The roots of homegrown mung bean sprouts are thin.
- You need to wait at least 3 days for the sprouts to grow.
Recipes to use your sprouted Mung Beans
- Chicken Pad Thai with Mung Bean Sprouts
- Tuna Asparagus Salad with Microgreens
- Sprouted Mung Bean Burger from Holy Cow Vegan
- Superfood bowl by Lazy Cat Kitchen
- Miso Soup with sprouts by Parsley in my Teeth
- Savory Korean Mung Bean Pancake by Korean Bapsang
