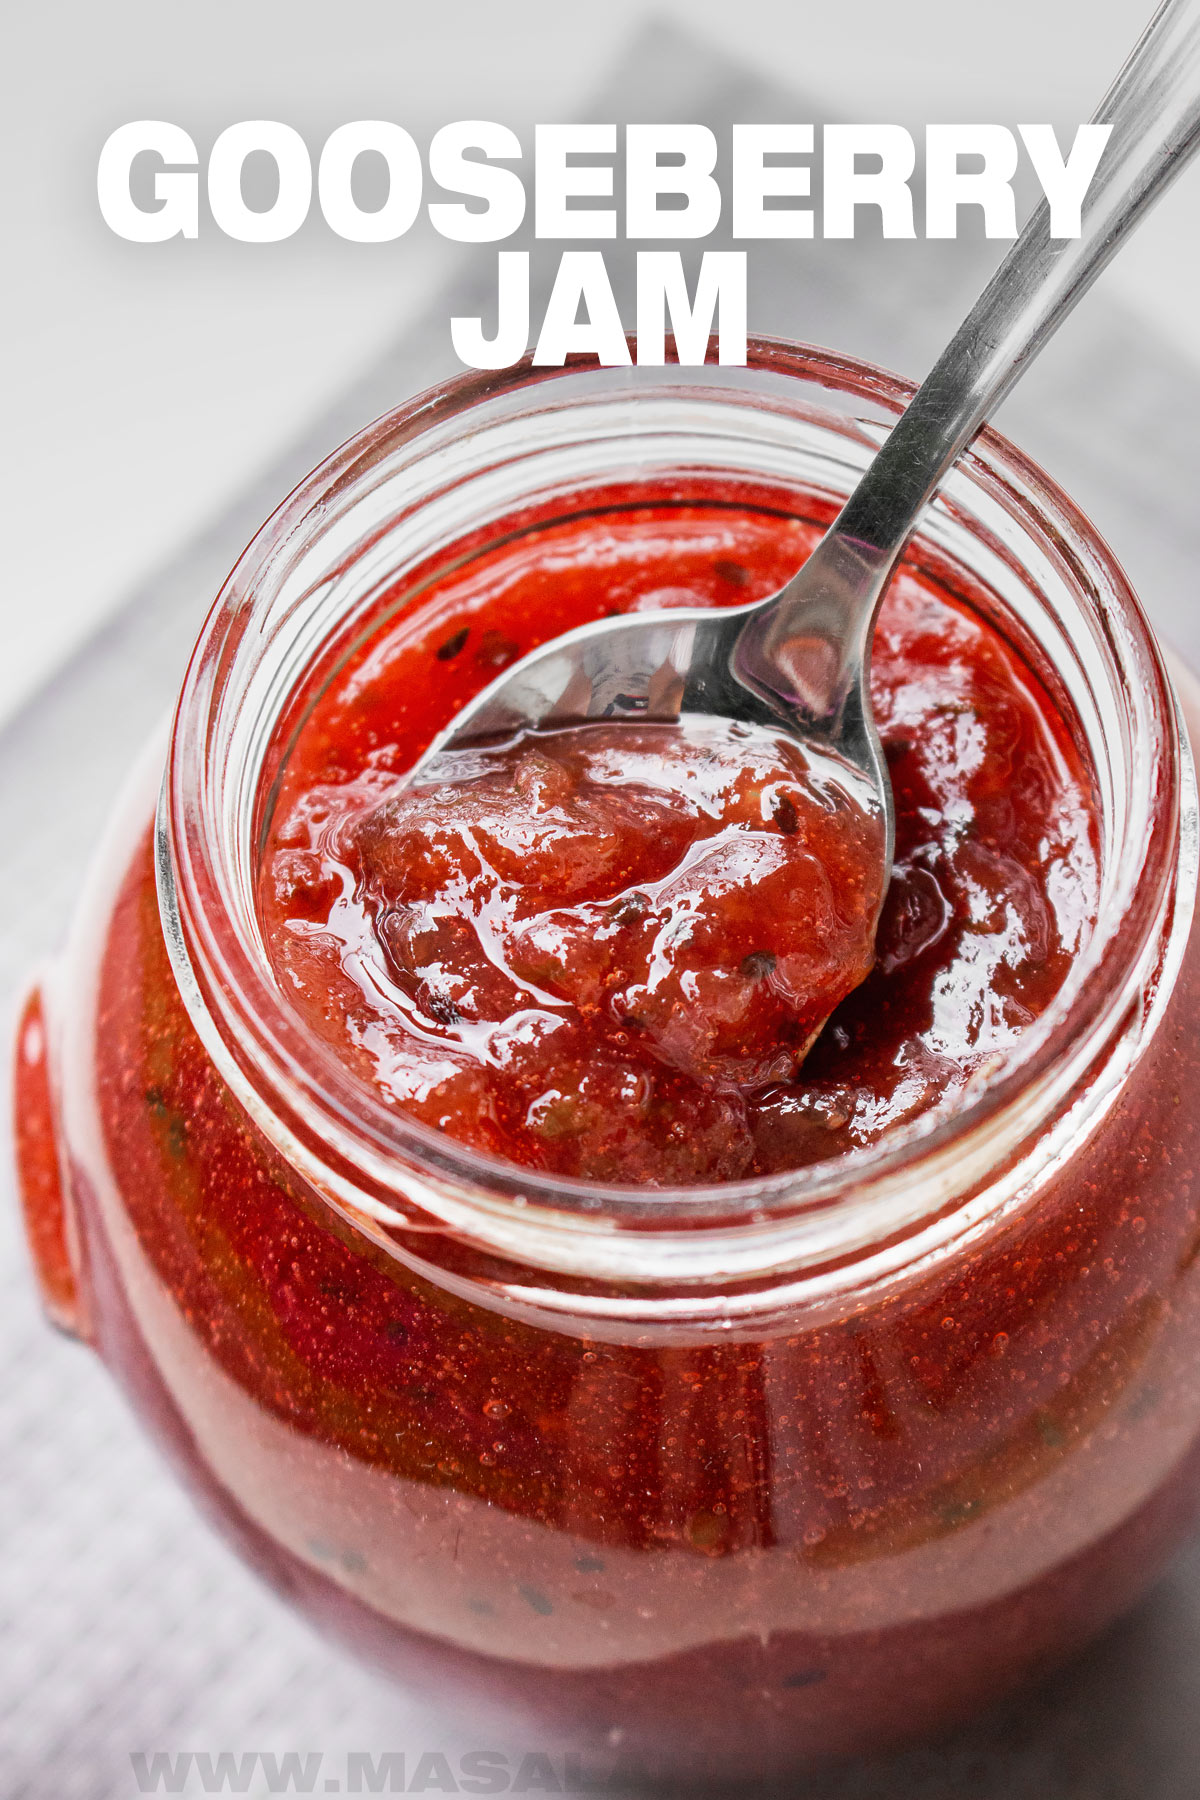
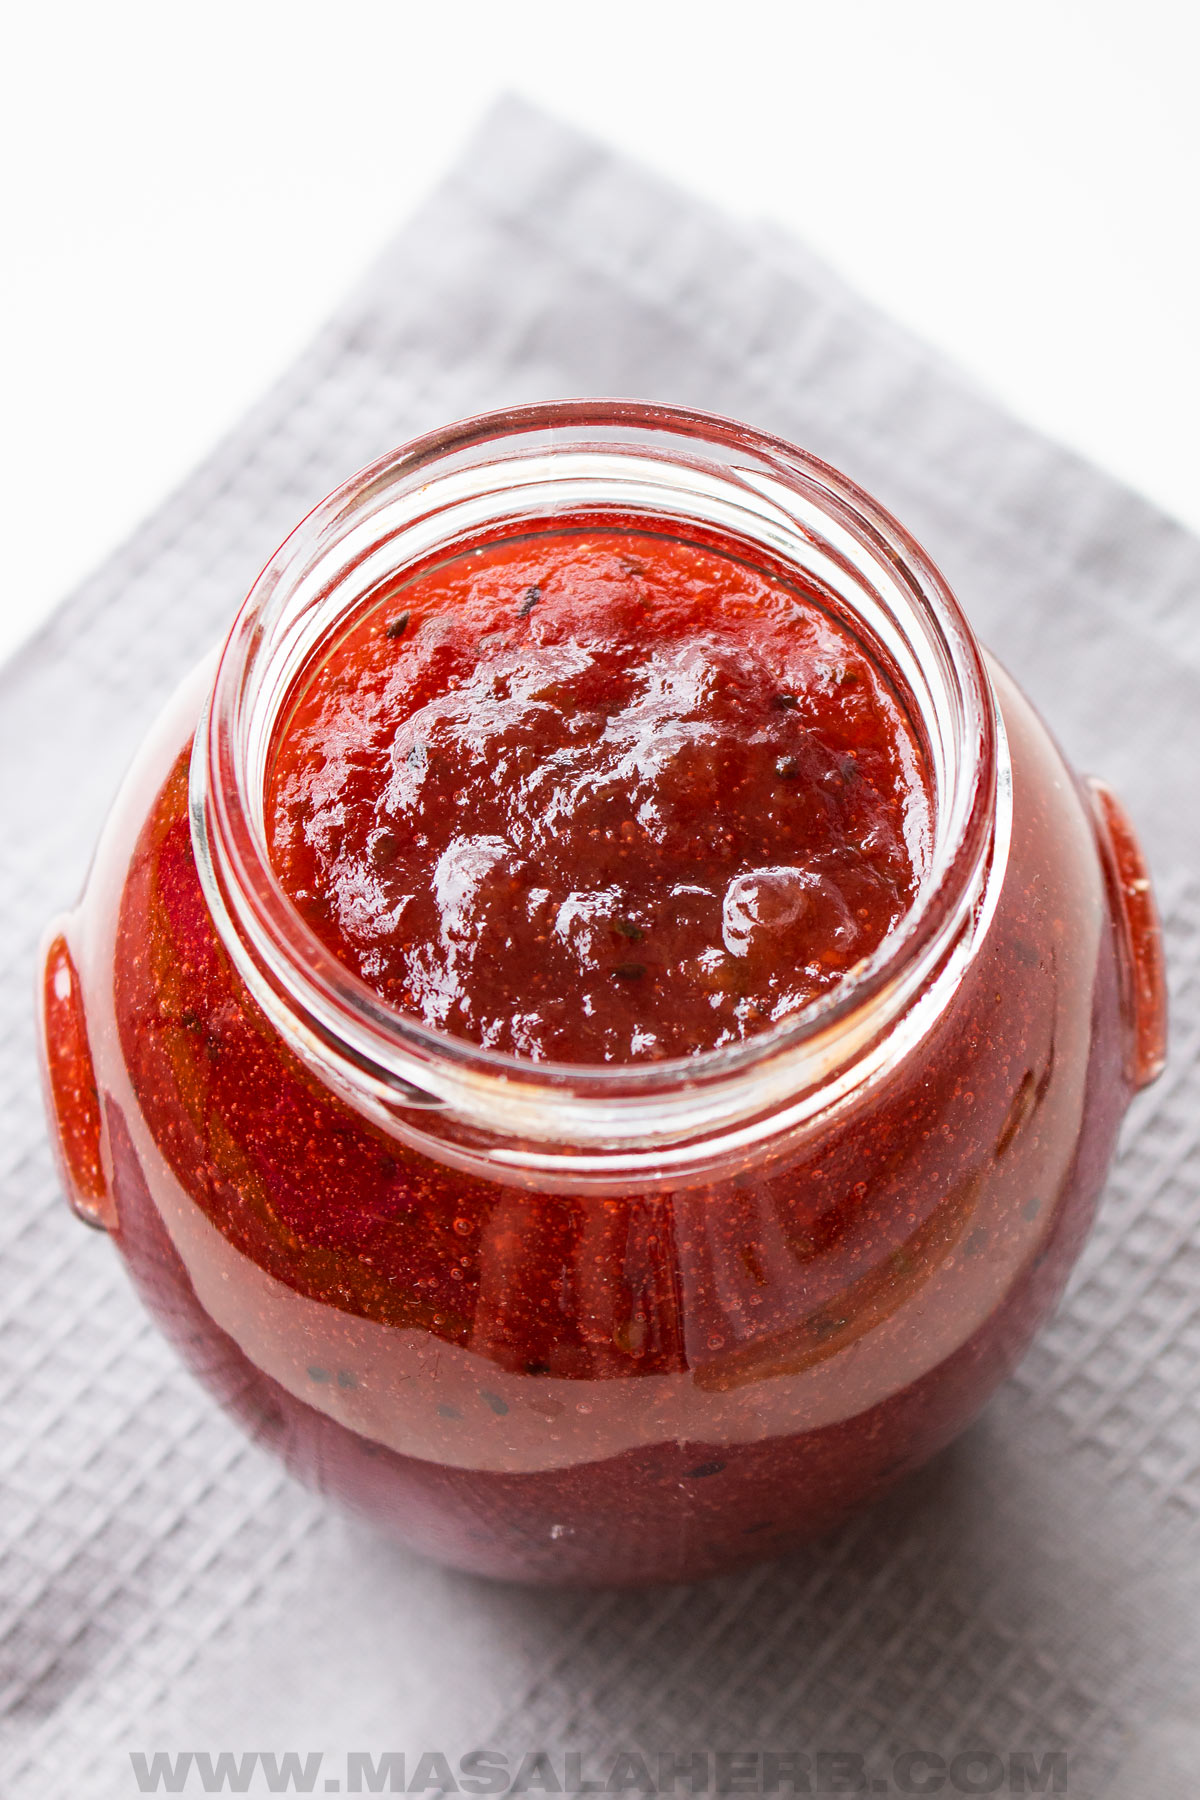
Wonderful gooseberry jam prepared the French way without artificial pectin. You will need just 2 ingredients to make this all natural, foolproof jam from scratch.

Global Food Recipes
with Spices and Herbs
Free E-Book available for a limited time. Grab yours now and get instantly inspired!
You missed out!
Jump to:
Ingredient Notes
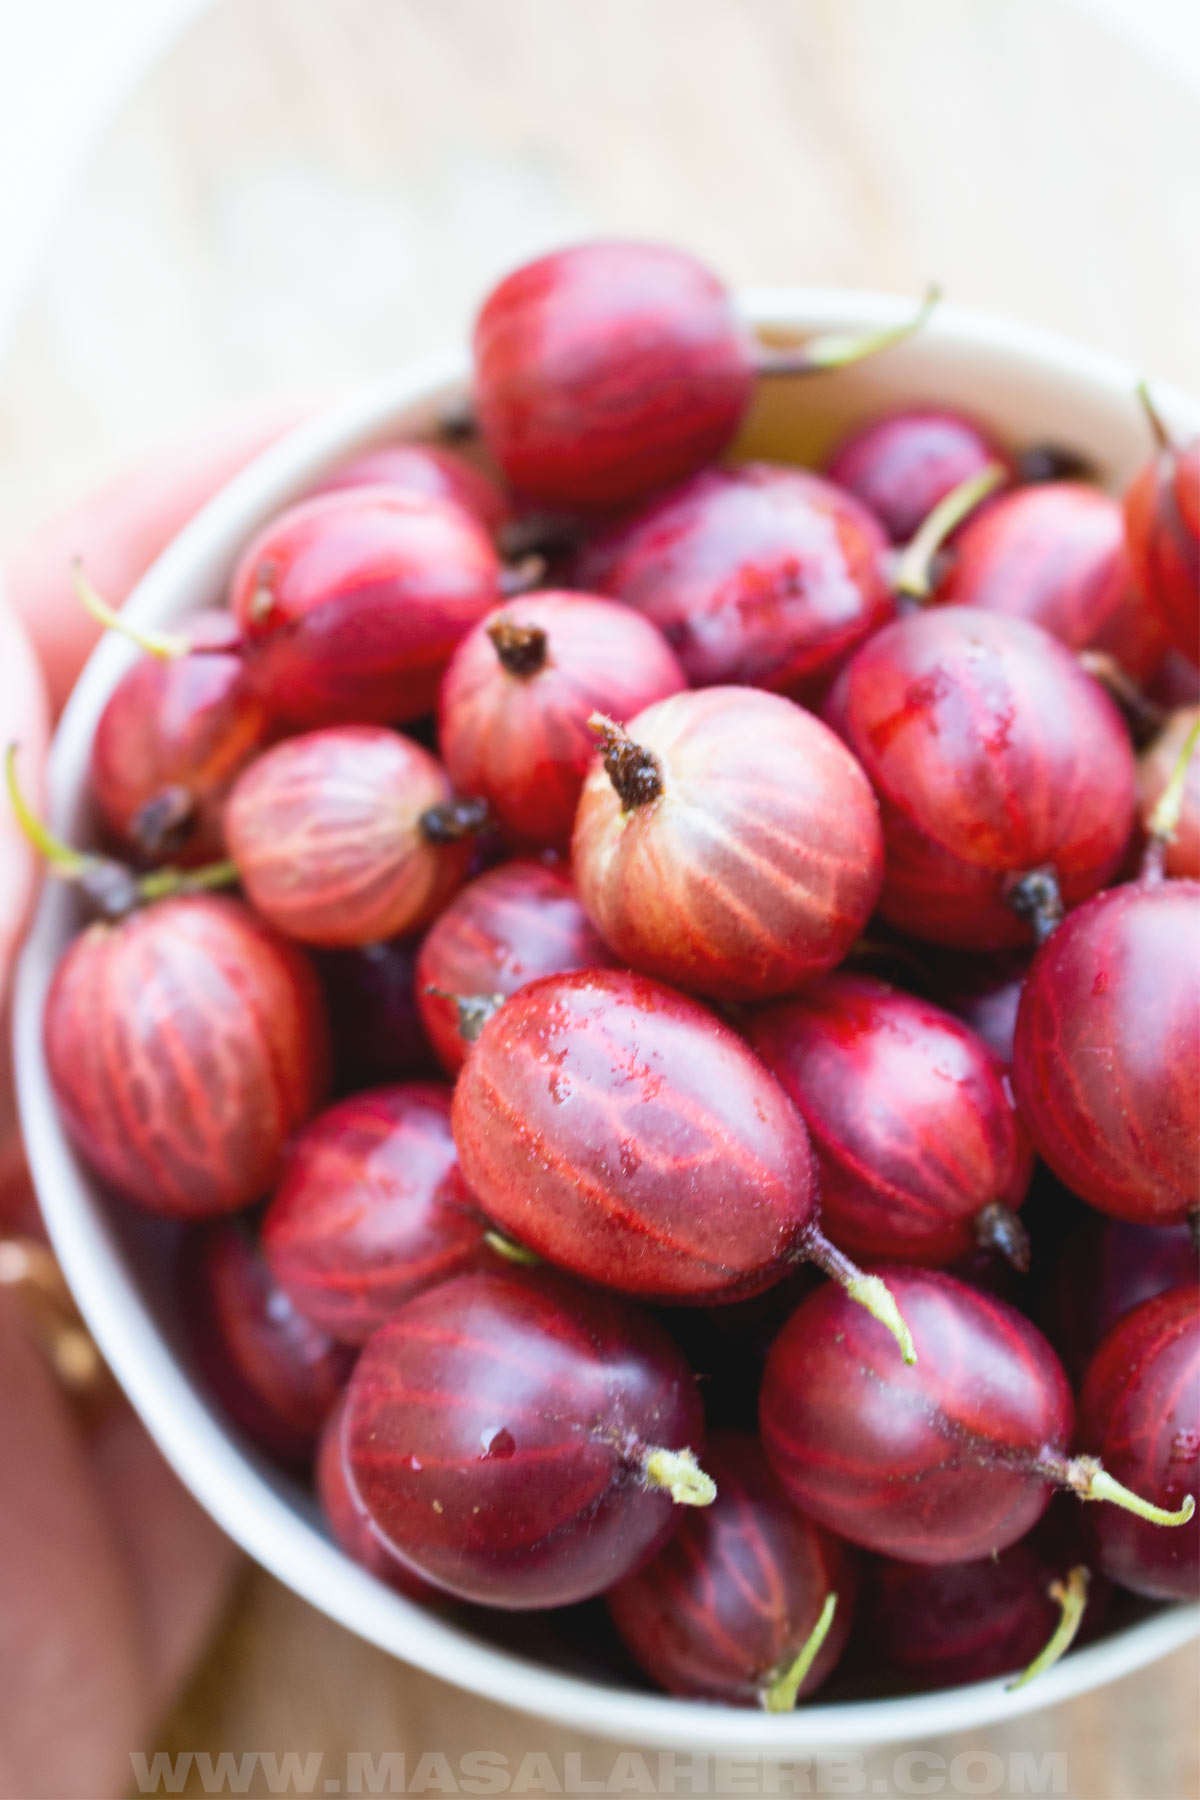
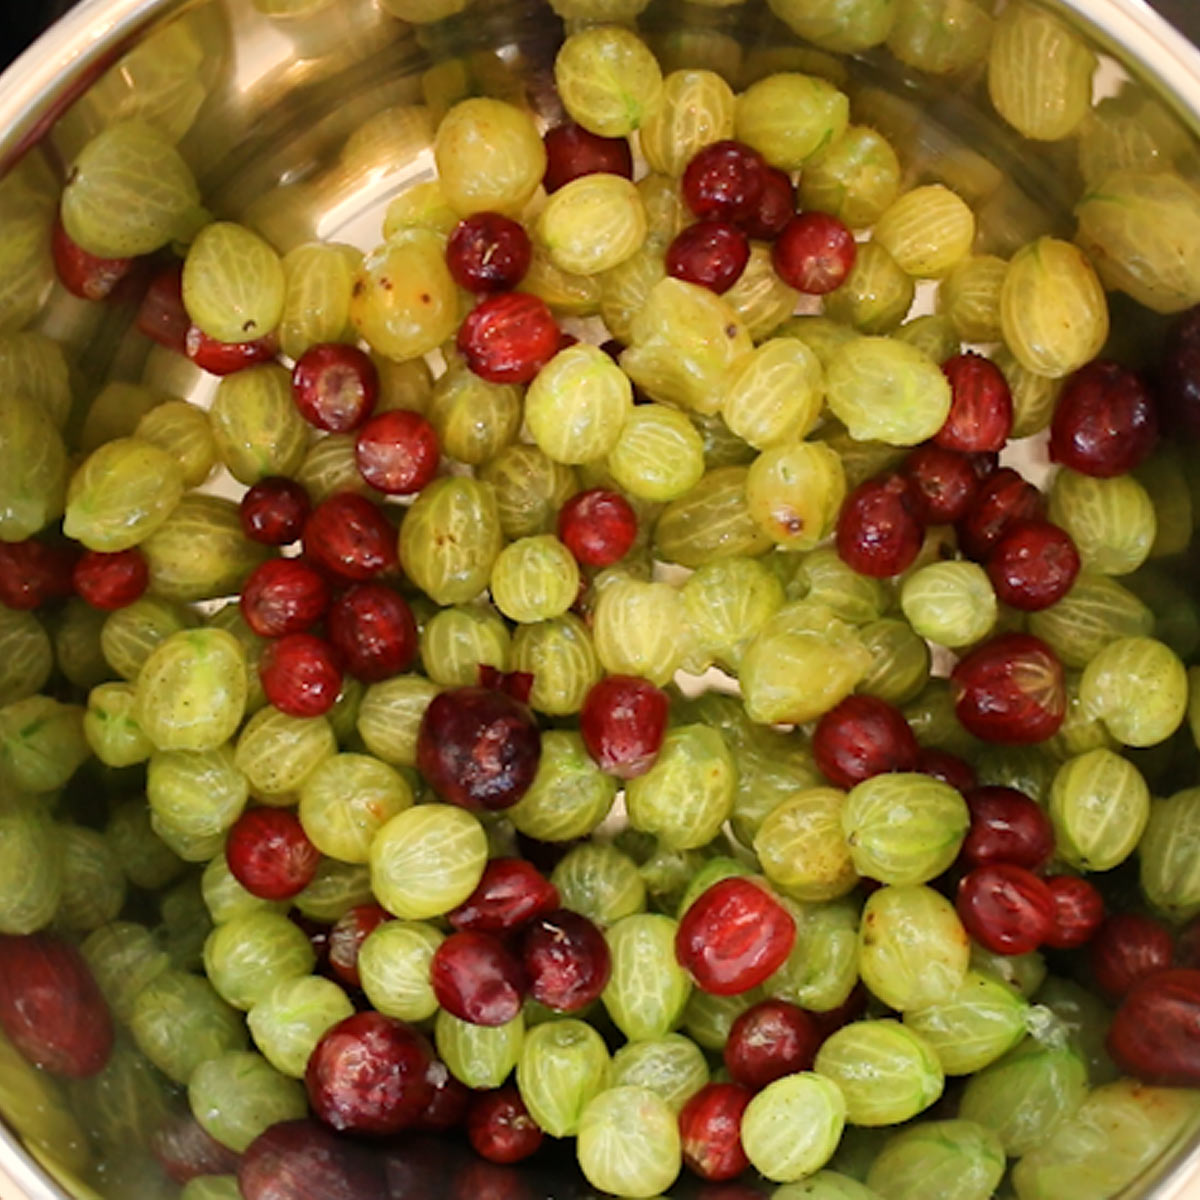
- Fresh Gooseberries — any color. I got green and red ones, you can use lesser known purple and yellow varieties too.
- Sugar — Normal plain granulated sugar. You can opt for brown sugar too. I do not recommend switching sugar with sweeteners because sugar is a main ingredient in jams.
The fruit to sugar ratio is crucial!
Sugar helps in setting the jam and gooseberries are rich in pectin. Pectin preserves your jam so that your fruit preserve is good for months!
Flavor Variations
I figured, you'd love to experiment and enhance this base recipe for gooseberry jam.
You can add the following ingredients to your jam during the cooking process to infuse and add a touch of your own to the preserve.
Other Fruits: You can add currants, apple, strawberries, rhubarb, raspberries, blackberries, figs, cherries, plums, kiwi, and apricots to the jam. Dried fruits such as sweet raisins and dates are another idea. Add half the quantity of gooseberries and the other half the other fruit, or follow a 2:1 ratio.
Herbs: If you are bold, try throwing some fresh herbs into your cooking jam to infuse it. Mint, Lemon Balm and Basil varieties complement cooked sweet gooseberries.
Spices: A warm touch of spices can take this whole jam to a whole new level. Be careful with the quantity and intensity, or you will end up with a chutney (see red currant chutney). I recommend adding only one of the following – fresh or dried ginger, vanilla, clove, star anise, cinnamon, vanilla, juniper berries.
Flower Blossoms: An underestimated aspect but flower blossoms add delicate flavor notes, and they are most suitable with gooseberries. Super fresh elderflower, violet and even dandelions are recommended.
Process Overview
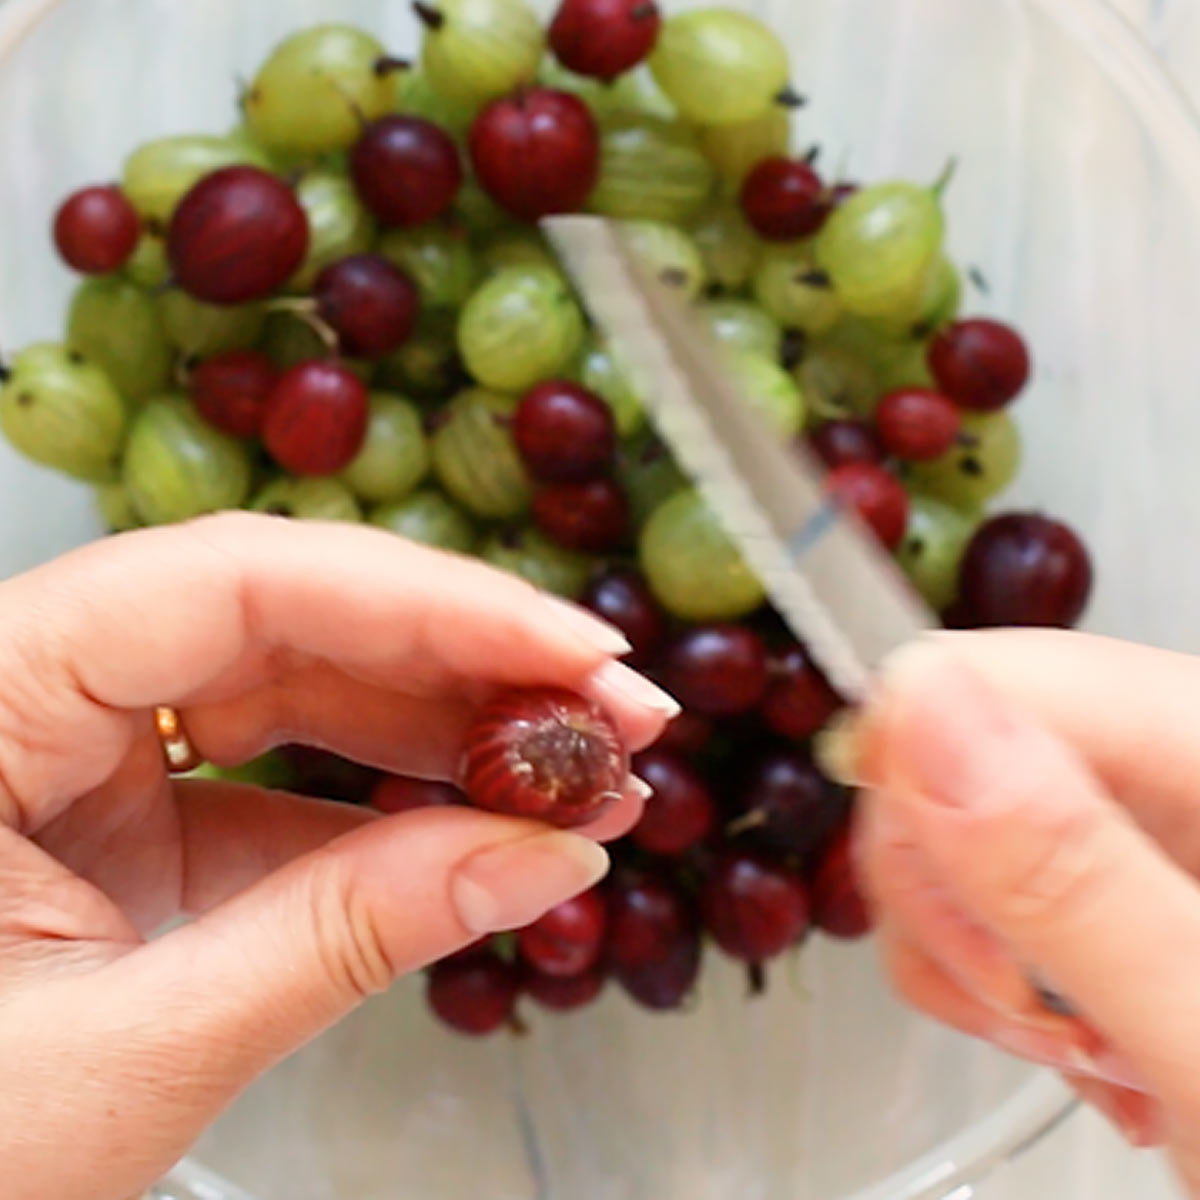
Step 1
Rinse your fruits. Top and tail your gooseberries.

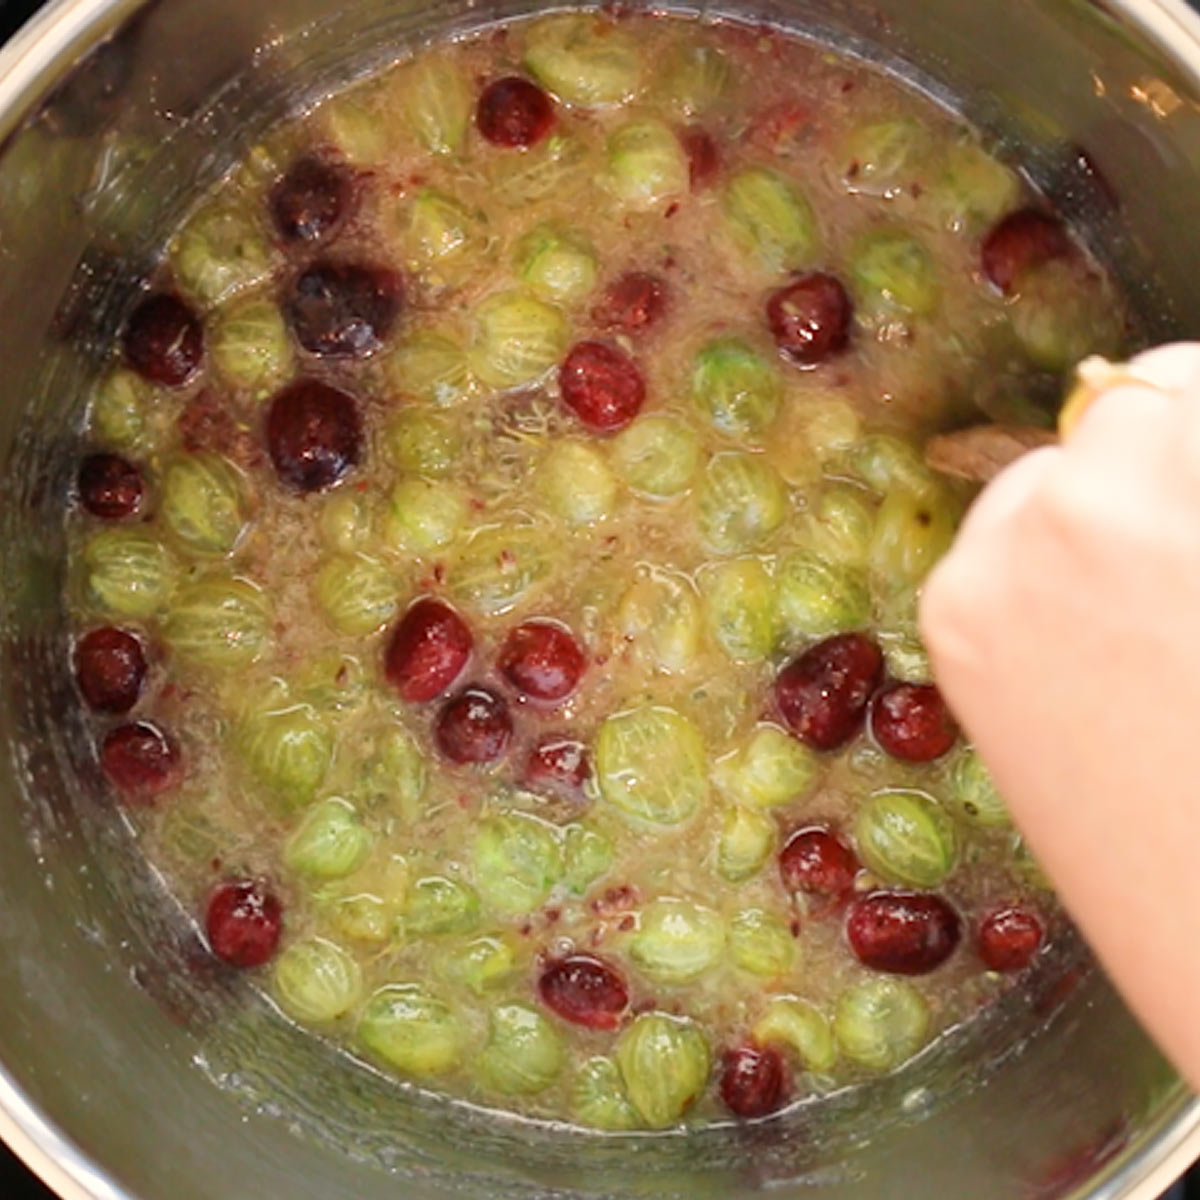
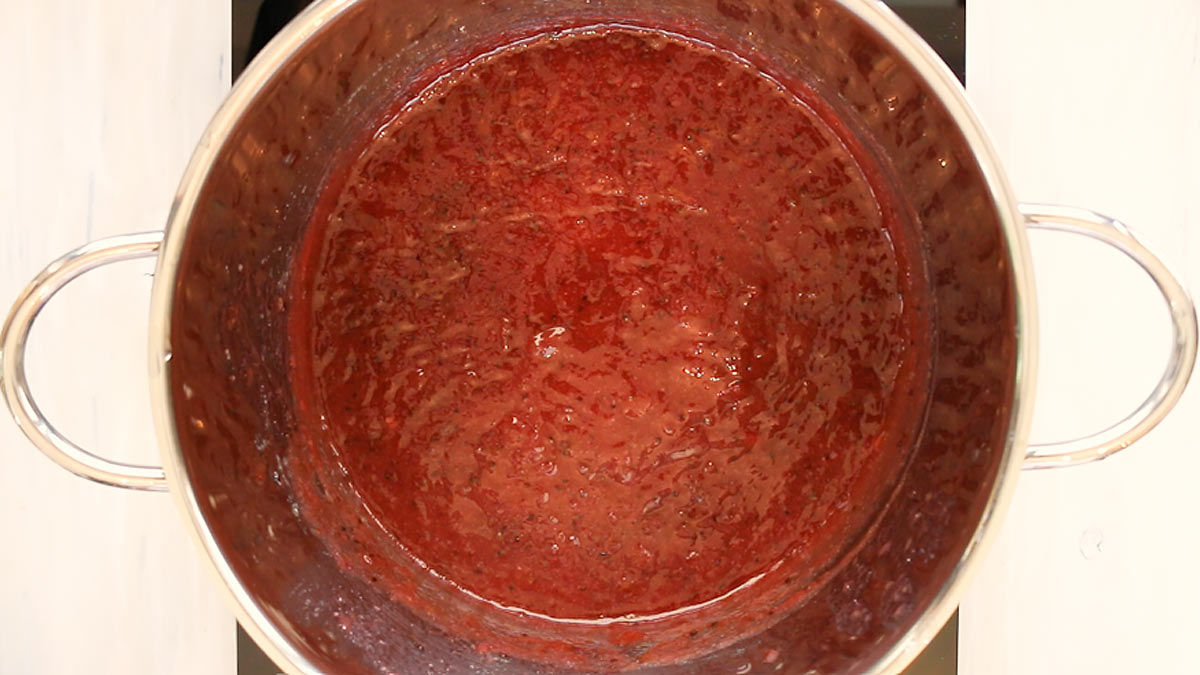
Step 2
Place whole prepped gooseberries into a large pot and stir in all the sugar.
Bring to a rolling boil over your stove on a medium-high heat setting, stirring occasionally.
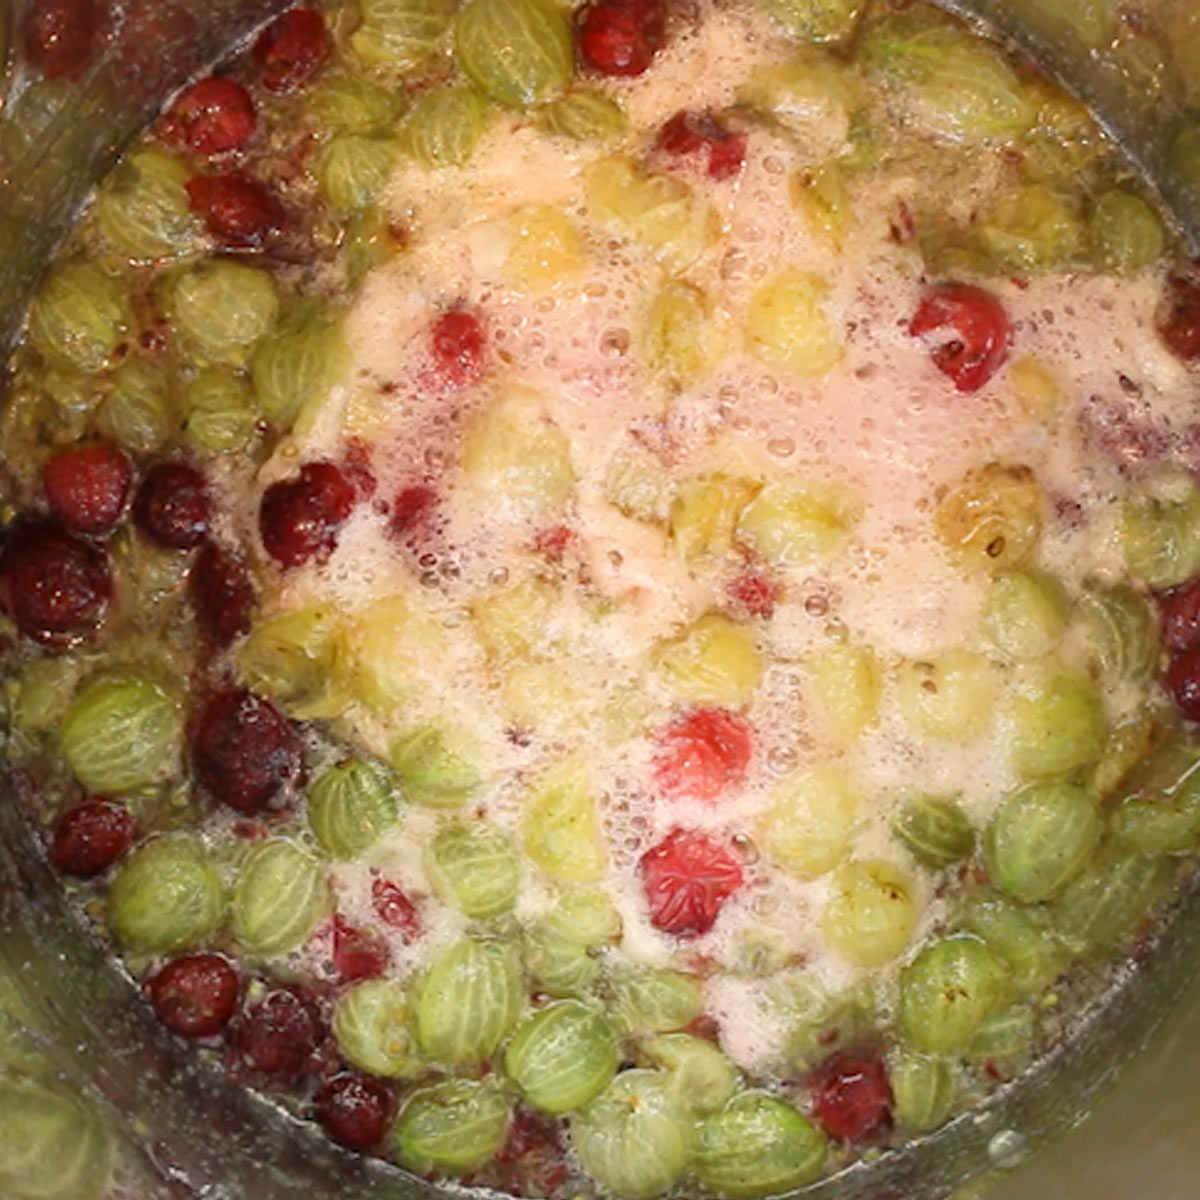
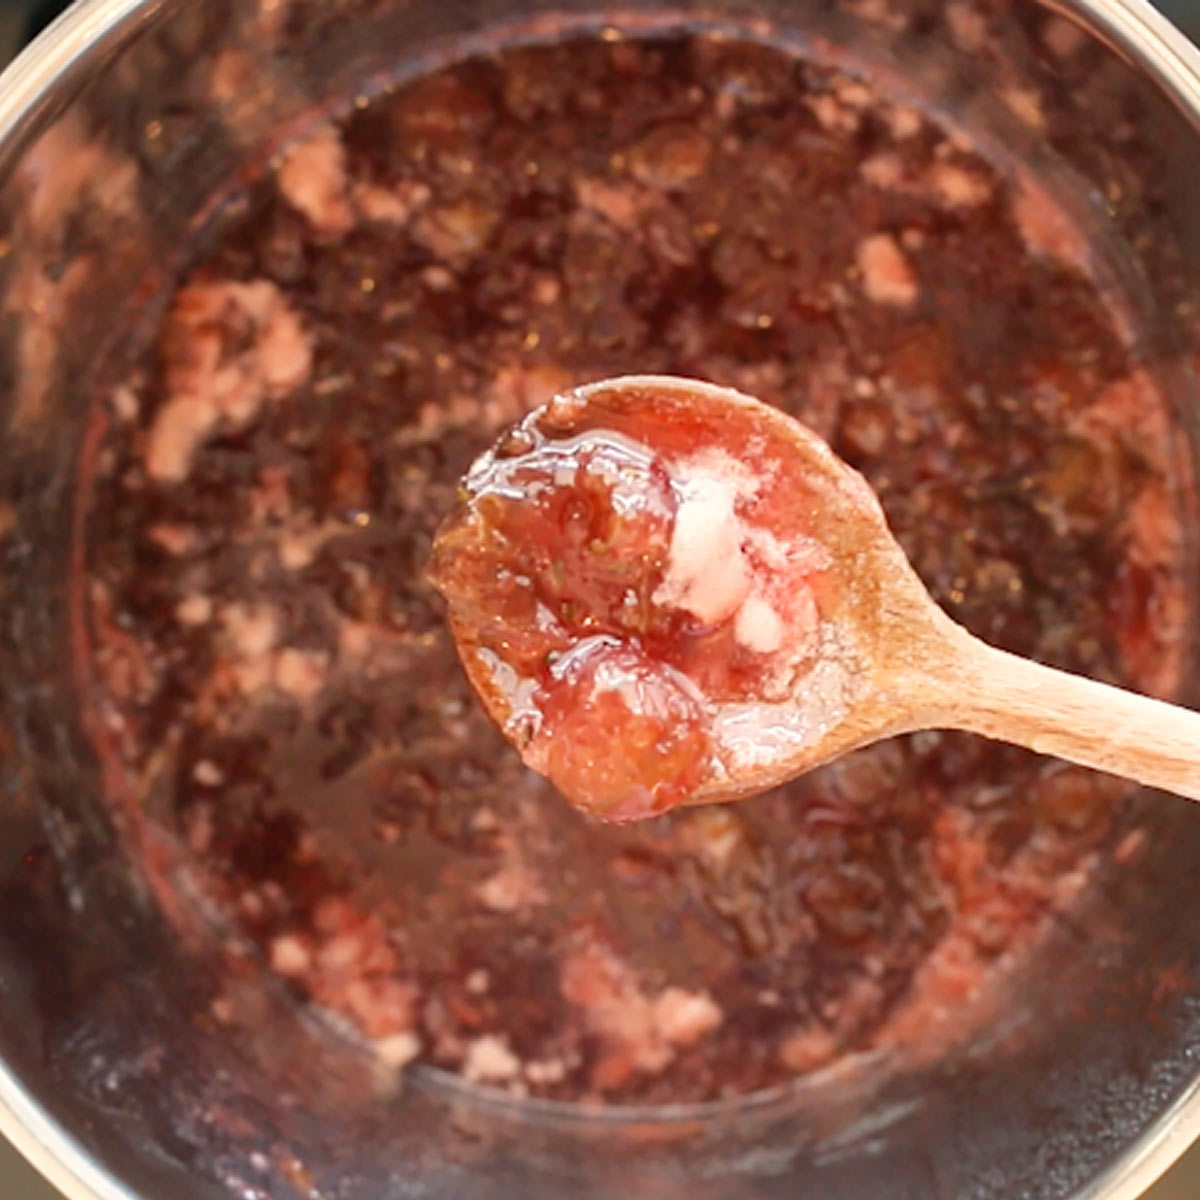
Step 3
Keep simmering over a medium heat setting. Watch the gooseberries pop.
Cook until the fruits start to appear glossy and translucent.
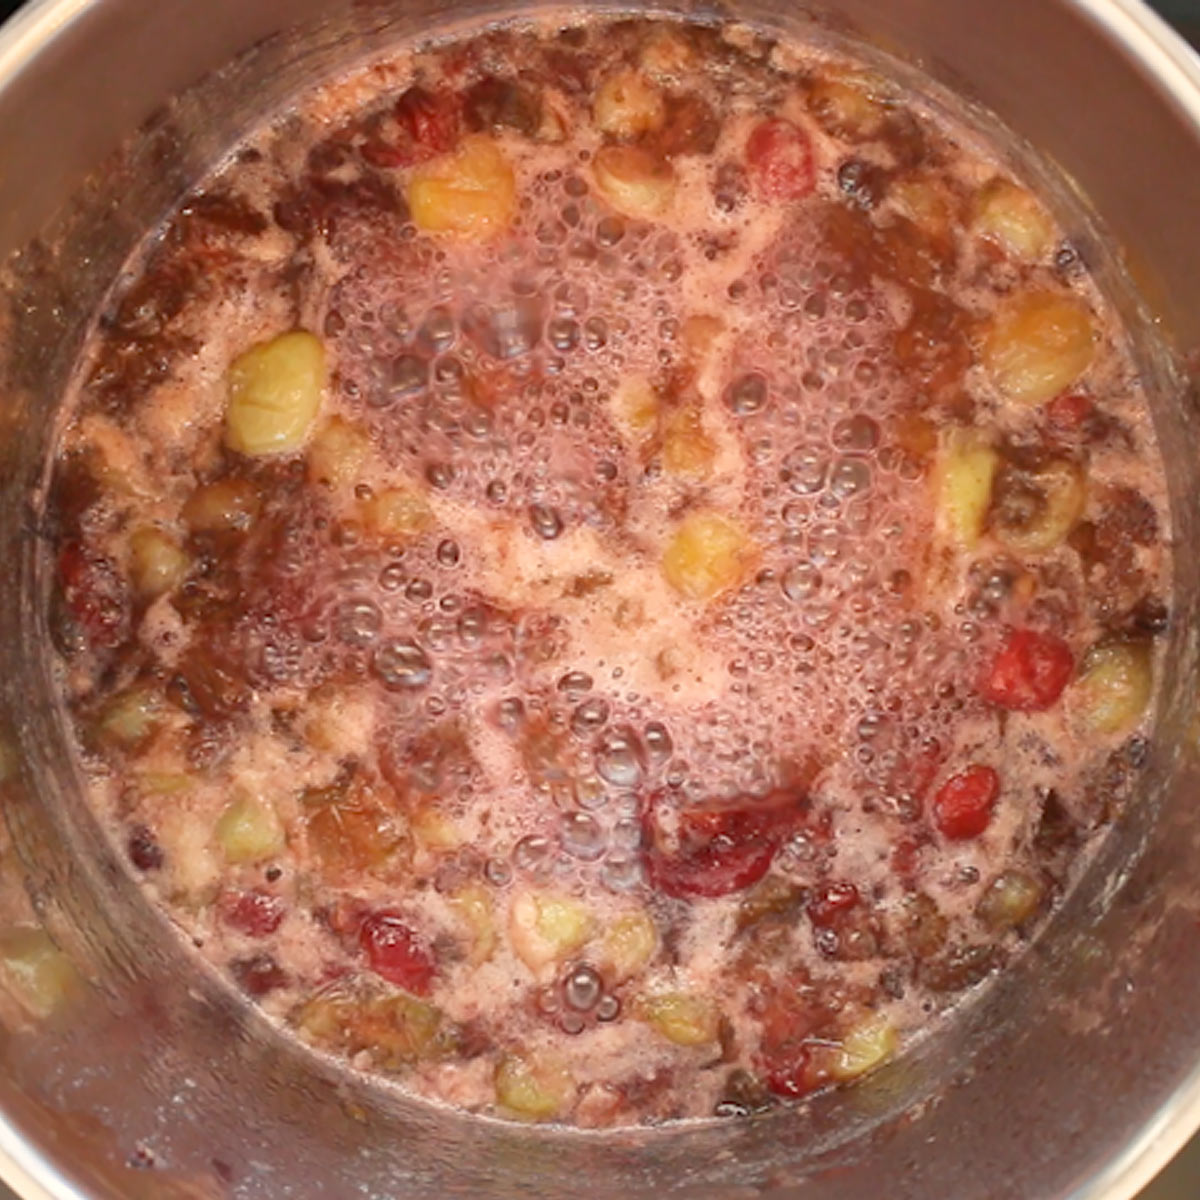
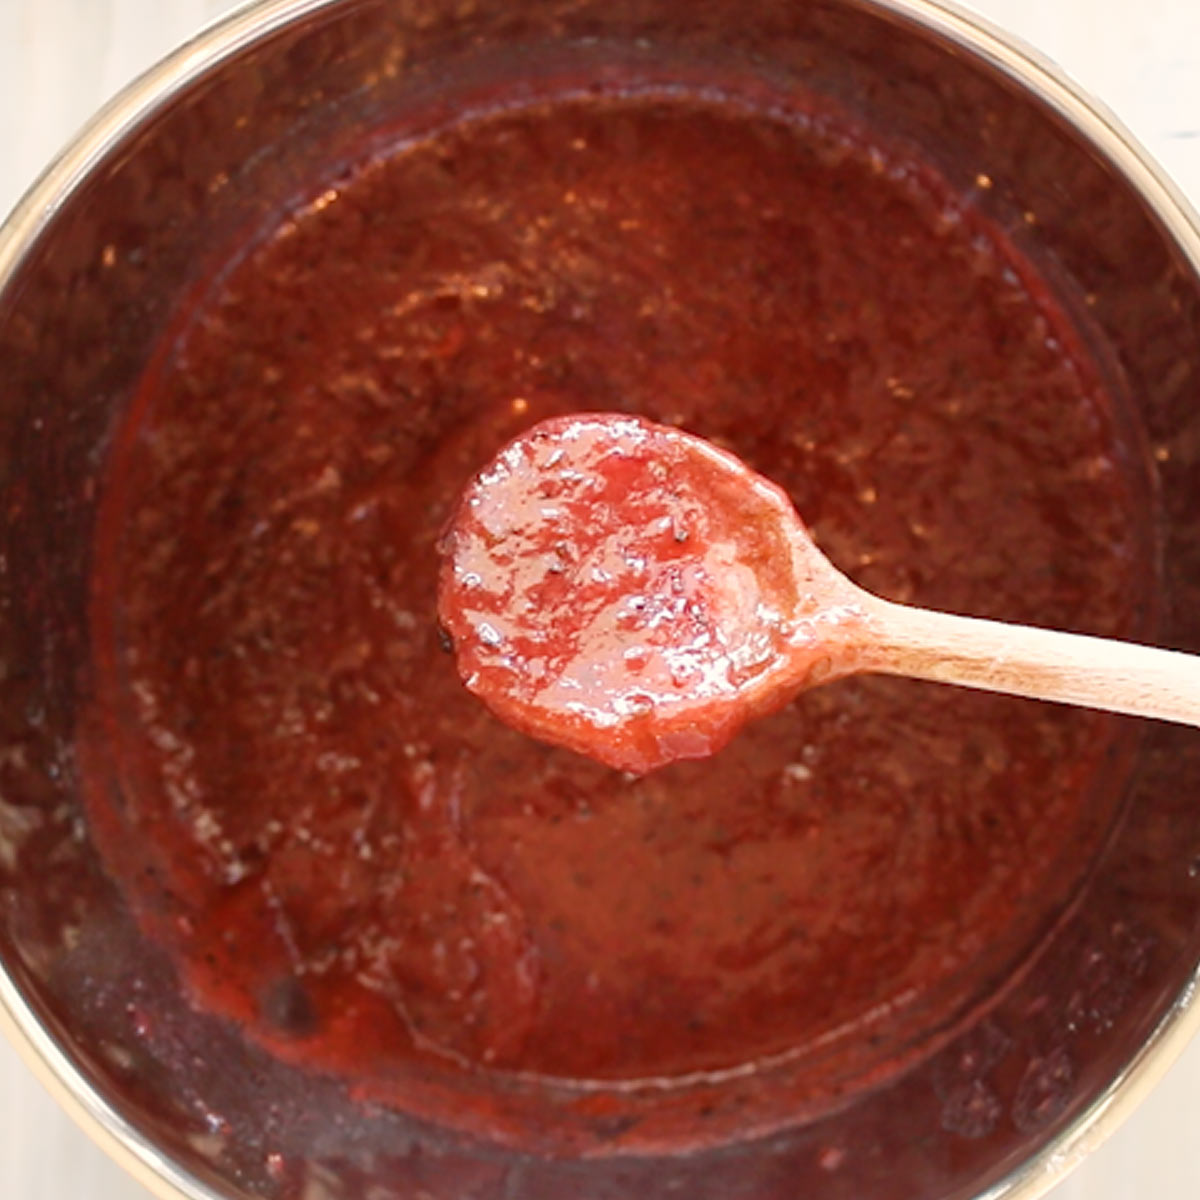
Step 4
Blend the fruit jam with a hand blender (aka stick blender) or in a mixer/food processor.
Keep the jam on the lowest heat setting for a minute.
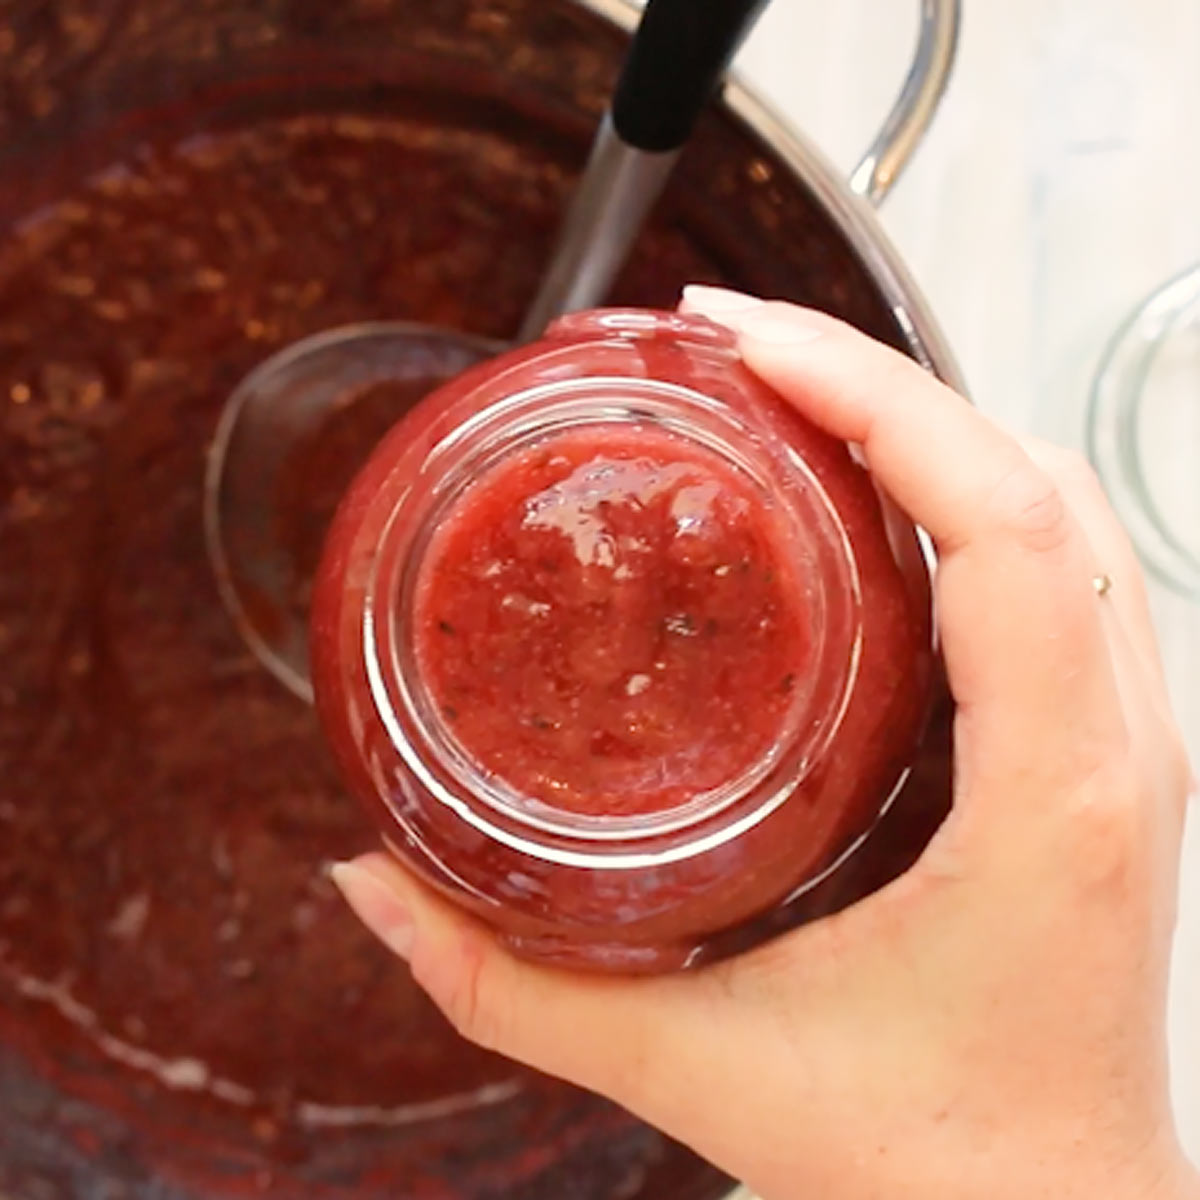
Step 5
Now test if the jam is set, this is also known as the gel stage. Test with a thermometer or an ice-cold plate (details in recipe card and video) to see if the jam is set.
If set, pour into clean jars. If not set, continue to reduce over a lower heat setting, and test again if set.
Step 6
Close jam with your lid and turn upside down to create a vacuum. Turn back head up once the jam has cooled down to room temperature.
📖 Recipe

Gooseberry Jam Recipe
Instructions
Clean fruits
- Rinse your gooseberries in clear water. You can add a dash of vinegar to your berries in some fresh water as this removes impurities and insects.2.2 Pounds Gooseberries
- Top and tail your gooseberries. That means, cut off each end of your gooseberries.
Prep Jam
- Place whole prepped gooseberries into a large pot. Turn on the heat and keep over a low setting.2.2 Pounds Gooseberries
- Pour sugar into the pot over the fruits and stir sugar into the fruits. The sugar will melt with the heat.3 Cups Sugar
- Increase your stove heat to a medium-high level and bring to a rolling boil. Stir occasionally.
- Once you get to that rolling boil, reduce the stove heat to a medium setting. Leave the jam to simmer and watch the gooseberries pop. Stir occasionally so that nothing sticks on at the bottom.
- Cook down until the fruits start to appear glossy and translucent. This can take 30–50 minutes (depends on the pot, heat intensity and ripeness of the fruits).
- When the fruits look done (glossy, translucent), blend with a hand blender (aka stick blender) or in a mixer/food processor. You can blend it chunky or smooth, it's up to you.
- Take back to the pot and keep over the lowest heat setting for a few minutes. It will bubble a bit and this is very you need to be careful that it doesn't jump up and burn you or that it burns at the bottom of the pot. While it's on the fire, test if the jam has reached the gelling stage, so to say if it is set.
- Test setting stage with a thermometer of 220 Fahrenheit (ca. 104 °C) or do the test with an ice-cold plate. Drop some hot jam on the ice-cold plate. Quickly try to move around the jam on the plate to see whether it is running or not. *see notes for explanation and process details.
- When the jam is set, pour it still hot into clean sterilized jars almost up to the rim.
- Lock tight with a clean sterilized lid and turn jar upside down to create a vacuum. Turn it back face up when the jar is not that hot anymore and store your homemade gooseberry jam as per my instructions (please see storing instructions in post).
Notes
Equipment
- 1 Jam Pot I mainly use a tall and large stainless-steel pot to cook jam (16 quarts or about 15 liters). My mum has a copper jam cooking pan and that would be the preferred choice. Copper cooks jam evenly and better, and it's also the traditional way in France to cook jam.
- 1 Long-handled Wooden Cooking Spoon It's easier to stir jam with a long handle and with a wooden one so that the heat doesn't transfer.
- 1 Wide Mouth Funnel Simplifying pouring jam into jars.
- 1 labels To mark name and canning date.
- 1 Heat-Resistant Jam Jar Tongs To pick up the hot sterilized jars or the jars filled with hot jam.
- 1 Canning Thermometer So that you know when your jam has reached setting point.A small plate with spoon (optional) – Placed in the freezer to cool. Drop hot jam on the plate with the spoon. This is an alternative method to check if the jam has set.
Nutrition
French Jam Making Tips
These tips will assist you on your French jam making journey and are not limited in general to this gooseberry jam. You can apply them to most jam recipes.
- Use only good and healthy fruits. A spoiled fruit piece can destroy the shelf life of your jam.
- Do not add water to your jam as it will reduce the shelf life and beat the purpose of jam making. (exception is a stone hard jam, please see FAQs)
- Take the jam ingredients to a full rolling boil, then reduce a bit and allow cooking over a medium-slow heat setting.
- Stir occasionally so that the jam doesn't stick at the bottom.
- Translucent fruits during the cooking process, is an indication that your jam is almost ready
- Blend fruits to smooth or chunky jam, it's up to you.
- Be careful, hot liquid jam can jump out of the pan and burn you!
- Just because your jam appears liquid, it doesn't mean it's not set. Hot jam is always liquid and sets when it cools down.
- Careful with hot jam, it burns!
- Use a candy thermometer to get to the setting temperature 220 Fahrenheit (ca. 104 °C).
- You can also test if your gooseberry jam is set by dropping some hot jam on an ice-cold plate with a spoon so that the jam cools down instantly. Turn around the plate and watch if the jam is running or setting.
- Once your jam is set, directly pour the hot jam into clean sterilized jars.
- Add another layer of protection to the inner part of your lid by pouring a high percentage of liquor into the lid, such as vodka, schnapps, or gin. This is optional.
- Close the jars with the lid tight and turn the jar upside down. This will create a vacuum. Once your jam has cooled to room temperature, turn it back.
- You can choose to water bath can your jam as per FDA guidelines (US) but we don't do that in France because it's not necessary.
Equipment
Things that you will need:
- Jam Pot – I mainly use a tall and large stainless-steel pot to cook jam (16 quarts or about 15 liters). My mum has a copper jam cooking pan and that would be the preferred choice. Copper cooks jam evenly and better, and it's also the traditional way in France to cook jam.
- Long-handled Wooden Cooking Spoon – It's easier to stir jam with a long handle and with a wooden one so that the heat doesn't transfer.
- Wide Mouth Funnel – Simplifying pouring jam into jars.
- Jam Jars – For the base recipe, you will need 3 half pint jars or almost 4 jars at 230 milliliters.
- Labels – To mark name and canning date.
- Heat-Resistant Jam Jar Tongs – To pick up the hot sterilized jars or the jars filled with hot jam.
- Canning Thermometer – So that you know when your jam has reached setting point.
- A small plate with spoon (optional) – Placed in the freezer to cool. Drop hot jam on the plate with the spoon. This is an alternative method to check if the jam has set.
If you want to add another layer of preservation to your jam, follow my water bath canning guide, and for that, you will need extra equipment.
Storing
So that your jam can be stored for many months, make sure to use only clean and sterilized jars. Boil the jars and lids in water to eliminate germs or place them in the oven, so that the high heat will kill all germs.
Right after you are done boiling your jam, pour it into a clean jar until it reaches the rim, then seal it tightly with the lid. Turn your jam filled jar upside down to create a vacuum seal.
Remember to turn the jars back upright once they have cooled enough to handle. This will prevent air bubbles from forming in your jam.
Don't dip a spoon that you have already used for tasting back into the jam because that will encourage mold growth.
You can add another couple of months to your gooseberry jam by water bath canning the jam filled jars.
Storing jam in a cold climate
Find a cool, dry place away from direct sunlight to store your jars. I prefer keeping them on a pantry shelf.
Store your jam in the fridge after unsealing the jar. The jam will be good in the fridge for a few weeks.
Vacuum sealed jars can be stored on your pantry shelf for about 10 months. As long as the fruits used were fresh and unspoiled, and the jam was properly set.
Storing jam in a hot humid climate
If you live in a tropical hot humid climate, store your jam always in the fridge!
Humidity and heat, spoil homemade jam fast.
I live 6 months of the year in this type of environment and the fridge and AC cooled rooms are your best friends in this case.
Ideas to use your Jam
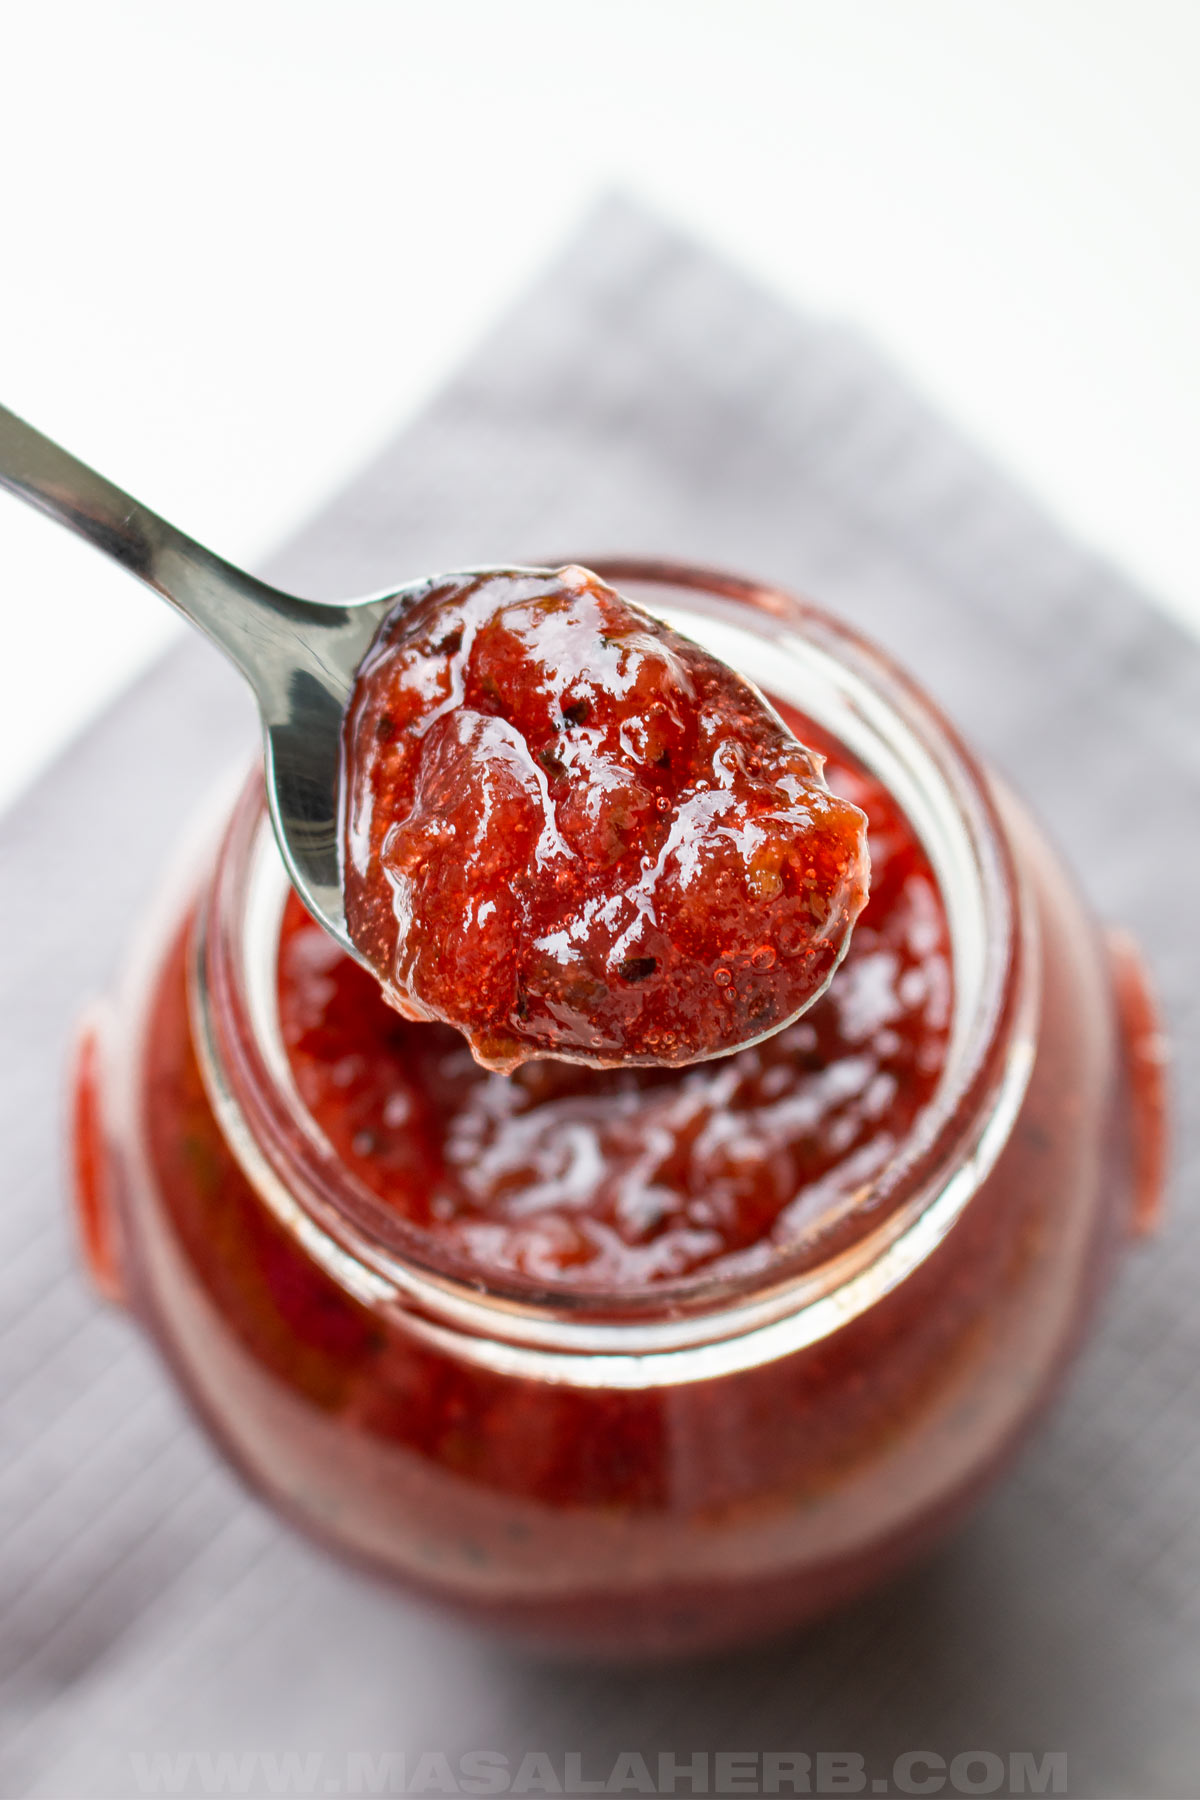
We usually enjoy jam spread over a slice of bread for breakfast in West and Central Europe. So, this is the most obvious way to use up your jam.
Yet, you are free to make better use of it by either adding it to other ingredients or dishes.
- Yogurt – Stir some homemade gooseberry jam into your plain yogurt and enjoy it as a breakfast or dessert.
- Doughnut filling – European doughnuts are roundish and have jam in them.
- Cake layering – Special layered cakes, such as Torte, can include layers of jam besides whipped cream or other fillings, between the cake layers.
- Homemade Sauce – You could use the jam as a sauce with pork meat or fish. Gooseberry sauce with Mackerels is a delicious combo!
What are Gooseberries?
Gooseberries are marble-sized oval-round berries growing on irregular shrub branches native to Europe.
Varieties exist across the board, with green and red ones being the most common Gooseberries sold commercially. Perhaps you have come across yellow and purple gooseberries, they are equally good.
Most have visible veins with an almost transparent thick, but penetrable, skin. Certain varieties are even a bit hairy with soft mini spikes all over.
The hairy part is also more common in homegrown gooseberries. In German, it's given the name Stachelbeere, which means spiky berry.
Cut some fresh gooseberries in half, and you will notice a handful of nonobstructive seeds and a shiny somewhat juicy center.
Gooseberries taste sour, and you will like them if you are into black, white and red currants.
Note: Indian Gooseberries (Amla) and Cape Gooseberries (Groundcherries) are not related to this Gooseberry variety.
FAQs
Yes, you need to top and tail (cut off either side hard end) your gooseberries for this jam. The only exception is if you intend to sieve your finished cooked set jam at the end, because then you can just skip that step.
This is a gooseberry jam recipe from my mother's french family. Artificial pectin sugar isn't used to make jam in France because it changes the flavor and consistency of your jam in an undesirable way.
Usually, French jam recipes call for lemon juice to add an element of natural fruit pectin to help set the jam. In the case of the gooseberry, this is not required because gooseberries are rich in natural pectin and by adding lemon juice, you'd end up with a very sweet and sour jam. This gooseberry jam recipe is well-balanced in terms of flavors so that it will last for months on your pantry shelf.
The Gooseberry jam setting temperature is 220 Fahrenheit (ca. 104 °C). Use a candy thermometer to determine the right temp.
Cook your jam until you have reached the setting point. Check with a thermometer if you are doing this the first time. Know that fruit jams appear liquid when they are cooking or right after the cooking process. When you leave it to cool down, your jam will automatically appear thicker. In the case that your jam has cooled down to room temperature, and it is running and not set, take it back to the heat and let it simmer until it is set.
When you cook gooseberries with sugar to make jam, they will turn pinkish and even red. This is also the case with green and yellow gooseberries, but the result will be a light pink hue (which is also totally fine). A reaction takes place between the acidity of the fruits and the sugar, and this is why they turn reddish pink.
If your jam doesn't solidify properly, it will have a runny consistency. In case your jam is runny, return it to the heat and continue cooking it until it thickens. To determine if it has set, use a chilled plate. Place a small amount of hot jam on the cold plate and gently swirl it around. The jam will rapidly cool, allowing you to assess whether it remains in a liquid state or not.
If your jam happens to turn hard as a result of being cooked for too long, it can be quite a challenge to save it. To restore its desired texture, you'll need to gently warm up the jam again, this time with the addition of some water. Allow it to cook briefly, just enough to loosen the consistency, before carefully pouring it back into your jars. However, please bear in mind that adding water might slightly diminish the jam's shelf life. I therefore advise enjoying your revitalized jam within a few weeks. This is necessary because the added water wasn't given enough time to cook and reduce during the initial process.
You have two options that can be used separately or together. The first one is to place a candy thermometer in the cooking jam and let it reach 220°Fahrenheit/150°Celsius. The second option is to take a cold plate and pour some hot jam on it, then turn the plate around. The hot jam will quickly cool down and show its true consistency. If the jam is set, it won't spread, but if it's still runny, you should continue cooking and try the test again. Another sign of a set jam is when the fruits look translucent or glossy.
Sugar helps in preserving your jam. If you reduce the sugar quantity, your jam won't last and spoil faster. The point of a jam is to store a fruit harvest for a later date, so to preserve for the months when the fruit harvesting season is over. If you decide to reduce the sugar, be prepared to consume it within a few months or even weeks.